St. Patrick’s Day Sugar Cookies
St. Patrick’s Day Sugar Cookies
These St. Patrick’s day sugar cookies use a few techniques like painting with food dye and gold luster dust for an abstract rustic look. This soft and buttery sugar cookie recipe is a tried and tested favorite!
This site uses affiliate links which may result in a small commission at no cost to you. Thanks for supporting Midwest & Wonder!
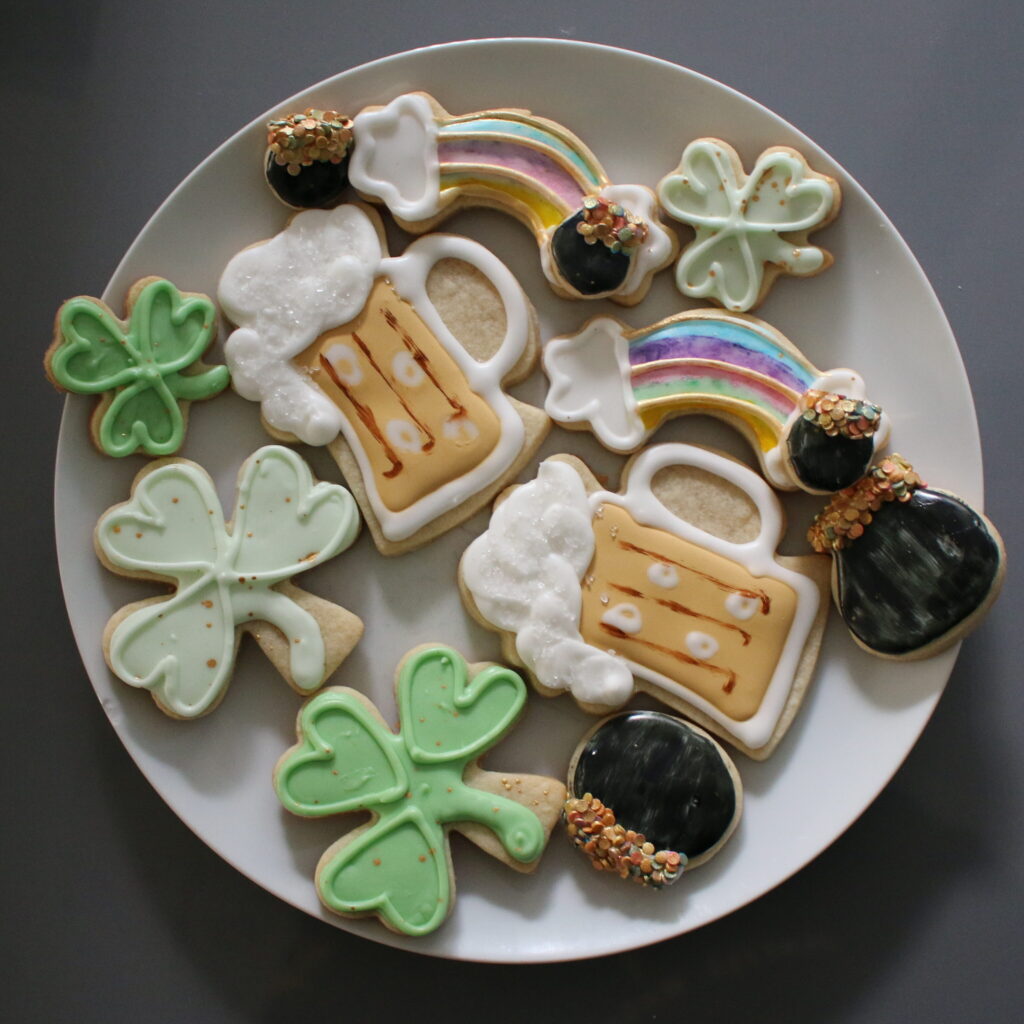
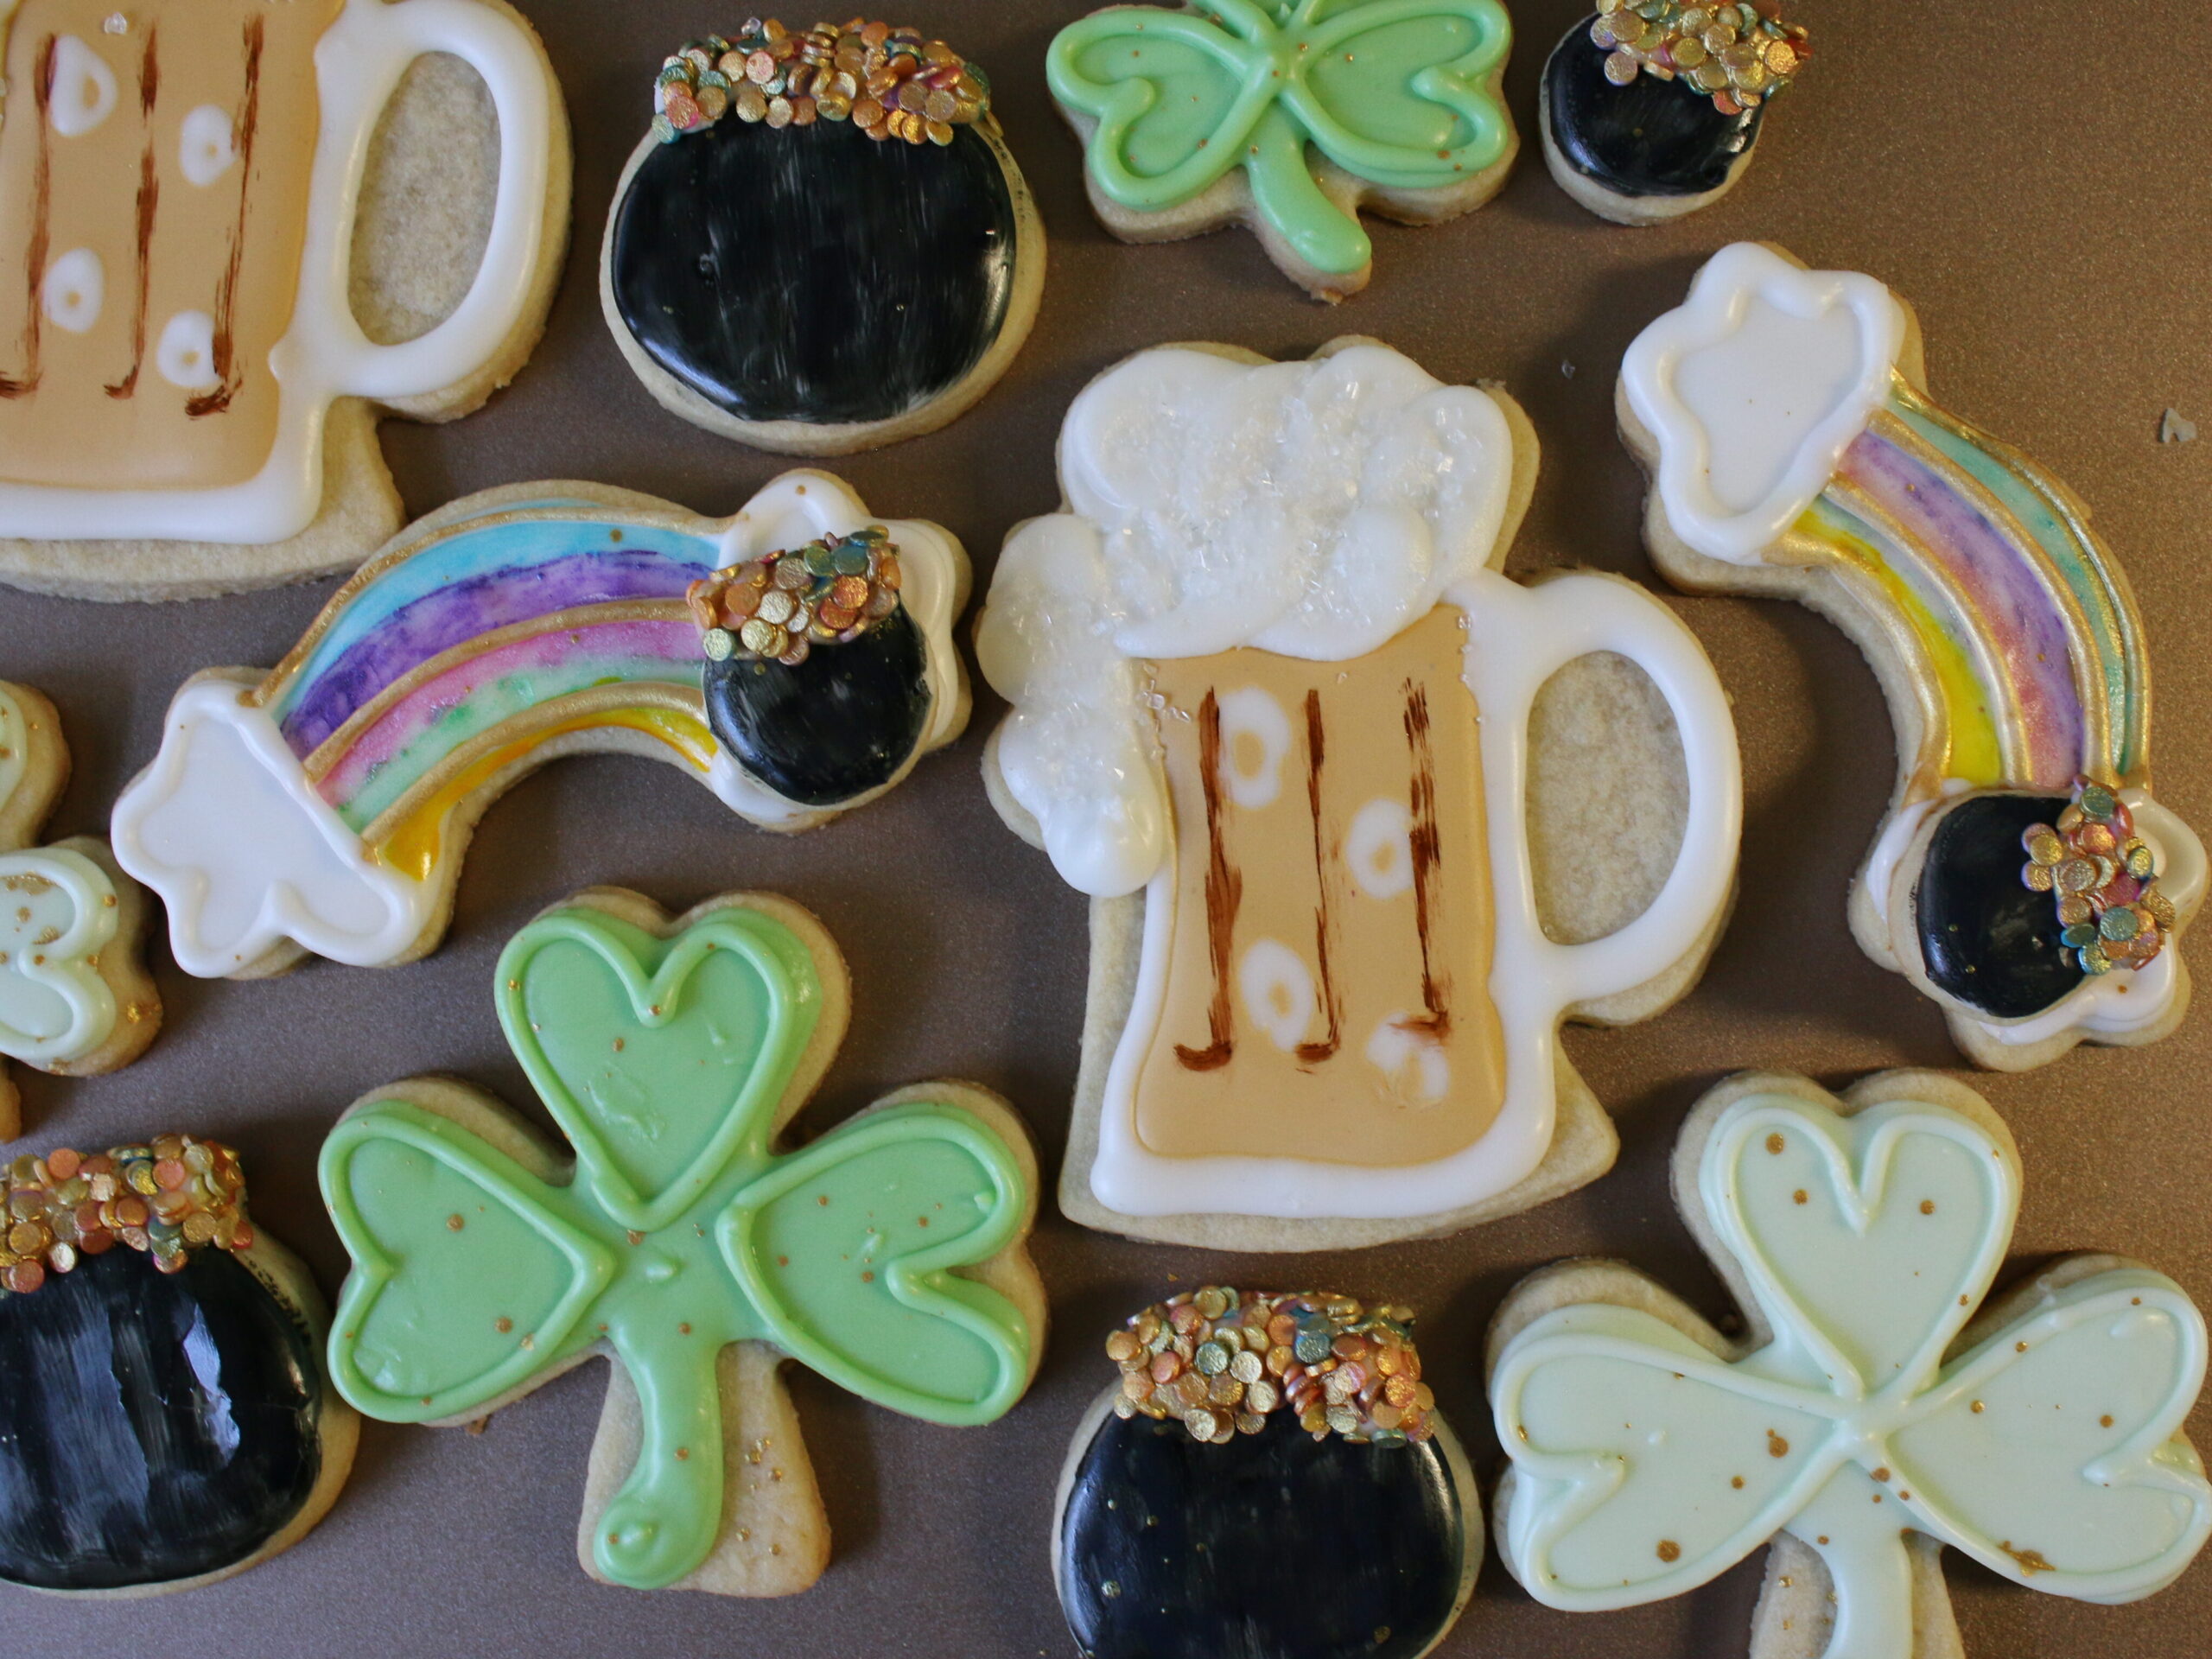
For St. Patrick’s day this year, I decided to decorate a sugar cookie set with fun themed shapes and a few new decorating techniques.
This sugar cookie recipe is my tried and fail proof recipe that’s a perfect blank canvas for decorating St. Patrick’s sugar cookies.
Tools To Get Started
There are 4 cookie cutters I used to make this sugar cookie set. I hand cut the pots of gold with a butter knife. Because the theme is rustic, they don’t have to be perfect. Cut out smaller sized circles.
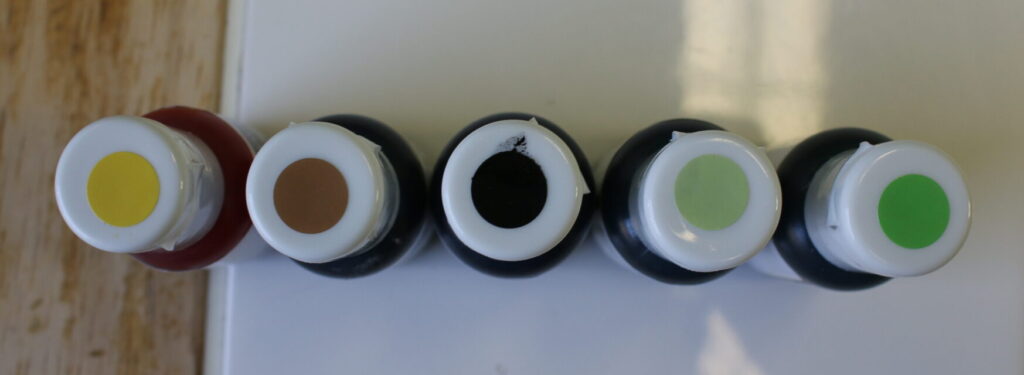
AmeriColor is one of my favorite food gel dye brands that I’ve been using for years. The colors are so vibrant that just a drop or two goes a long way. Food gel dye is more concentrated than liquid and because it’s gel it won’t change the consistency of your royal icing!
I used: Gold, Warm Brown, Super Black, Avocado, and Mint Green.
Painting Sugar Cookies With Food Dye
Have you ever painted on cookies with food gel? This is a fun technique that I’ve been learning to create a more rustic or watercolor look to the cookies.
To paint on cookies you need:
- Edible food brushes
- Vodka (which evaporates or a clear extract)
- AmeriColor food gel dye (I used: gun metal, warm brown, robin’s egg (shimmer), pale peony (shimmer), lilac (shimmer), lemonade (shimmer), and pistachio (shimmer) ).
Additional Decorations
For the pots of gold you can use any color confetti sprinkles since we are painting over them with gold luster dust. Depending on how much gold you add, some of the color will come through. You can also buy gold confetti sprinkles so you can skip painting with luster dust (I didn’t have any gold sprinkles so I painted them myself.)
You will also need sparkling sanding sugar for the beer foam to make it sparkle!
One of my favorite luster dusts is FDA approved and edible. A lot of luster dust out there is not meant for consumption and for decoration only so always check the labels before you buy!
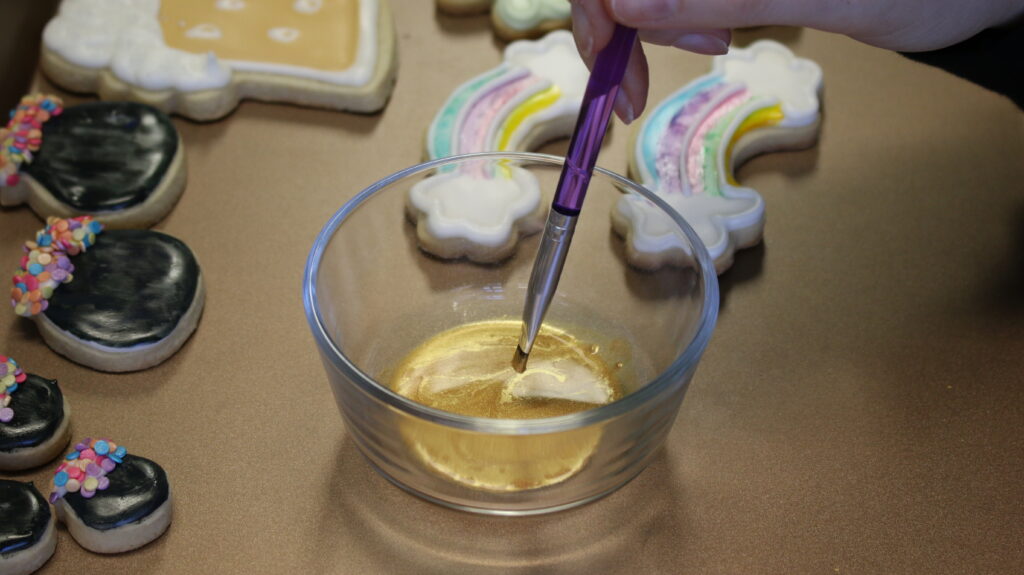
To make a gold paint, mix a few drops of Vodka or clear extract with about 1/2 tsp luster powder. You can play around with the consistency but I like it to be on the thicker side. When it’s too thin, it’s less opaque. To paint onto our cookies, use food safe paint brushes. These really come in handy!
Step #1: Bake Sugar Cookies
Start by gathering your ingredients for my soft cut-out sugar cookie recipe. Let the butter and egg reach room temperature. This sugar cookie dough should be chilled for at least half an hour. If you want to break up the work, make the sugar cookies and store them in an airtight container. Then the next day you can focus on making the royal icing and decorating.
Once your dough has been chilled, it’s time to roll it out to about 1/4 inch thick and cut out your shapes. To make the pots of gold, either hand cut into a circle or use a circle cutter and with a butter knife, cut off one “side” to be the top of the pot.
Place the cookies onto lined baking trays with parchment paper or silicone baking mats and bake cookies according to their size (see the recipe). Once the cookies are done, transfer them to a wire rack to cool.
Step #2: Make Royal Icing
Use my easy 2 ingredient royal icing recipe. You can also make royal icing a day ahead and keep it in the refrigerator in an airtight container. Just give it a stir before using.
Reference the chart below for color, consistency, and how many drops of food gel are needed to dye icing. Learn more about icing consistencies from this video.
| ICING COLOR + CONSISTENCY | COLOR |
| White stiff consistency icing | |
| White medium consistency icing | |
| Tan medium consistency icing | 1 drop warm brown + 1 drop gold |
| Light green medium consistency icing | 1-2 drops avocado |
| Green medium consistency icing | 2-3 drops mint green |
| Black medium consistency icing | 4-5 drops super black |
Watch The Video
sugar cooking decorating tips
Foamy Beer Mug
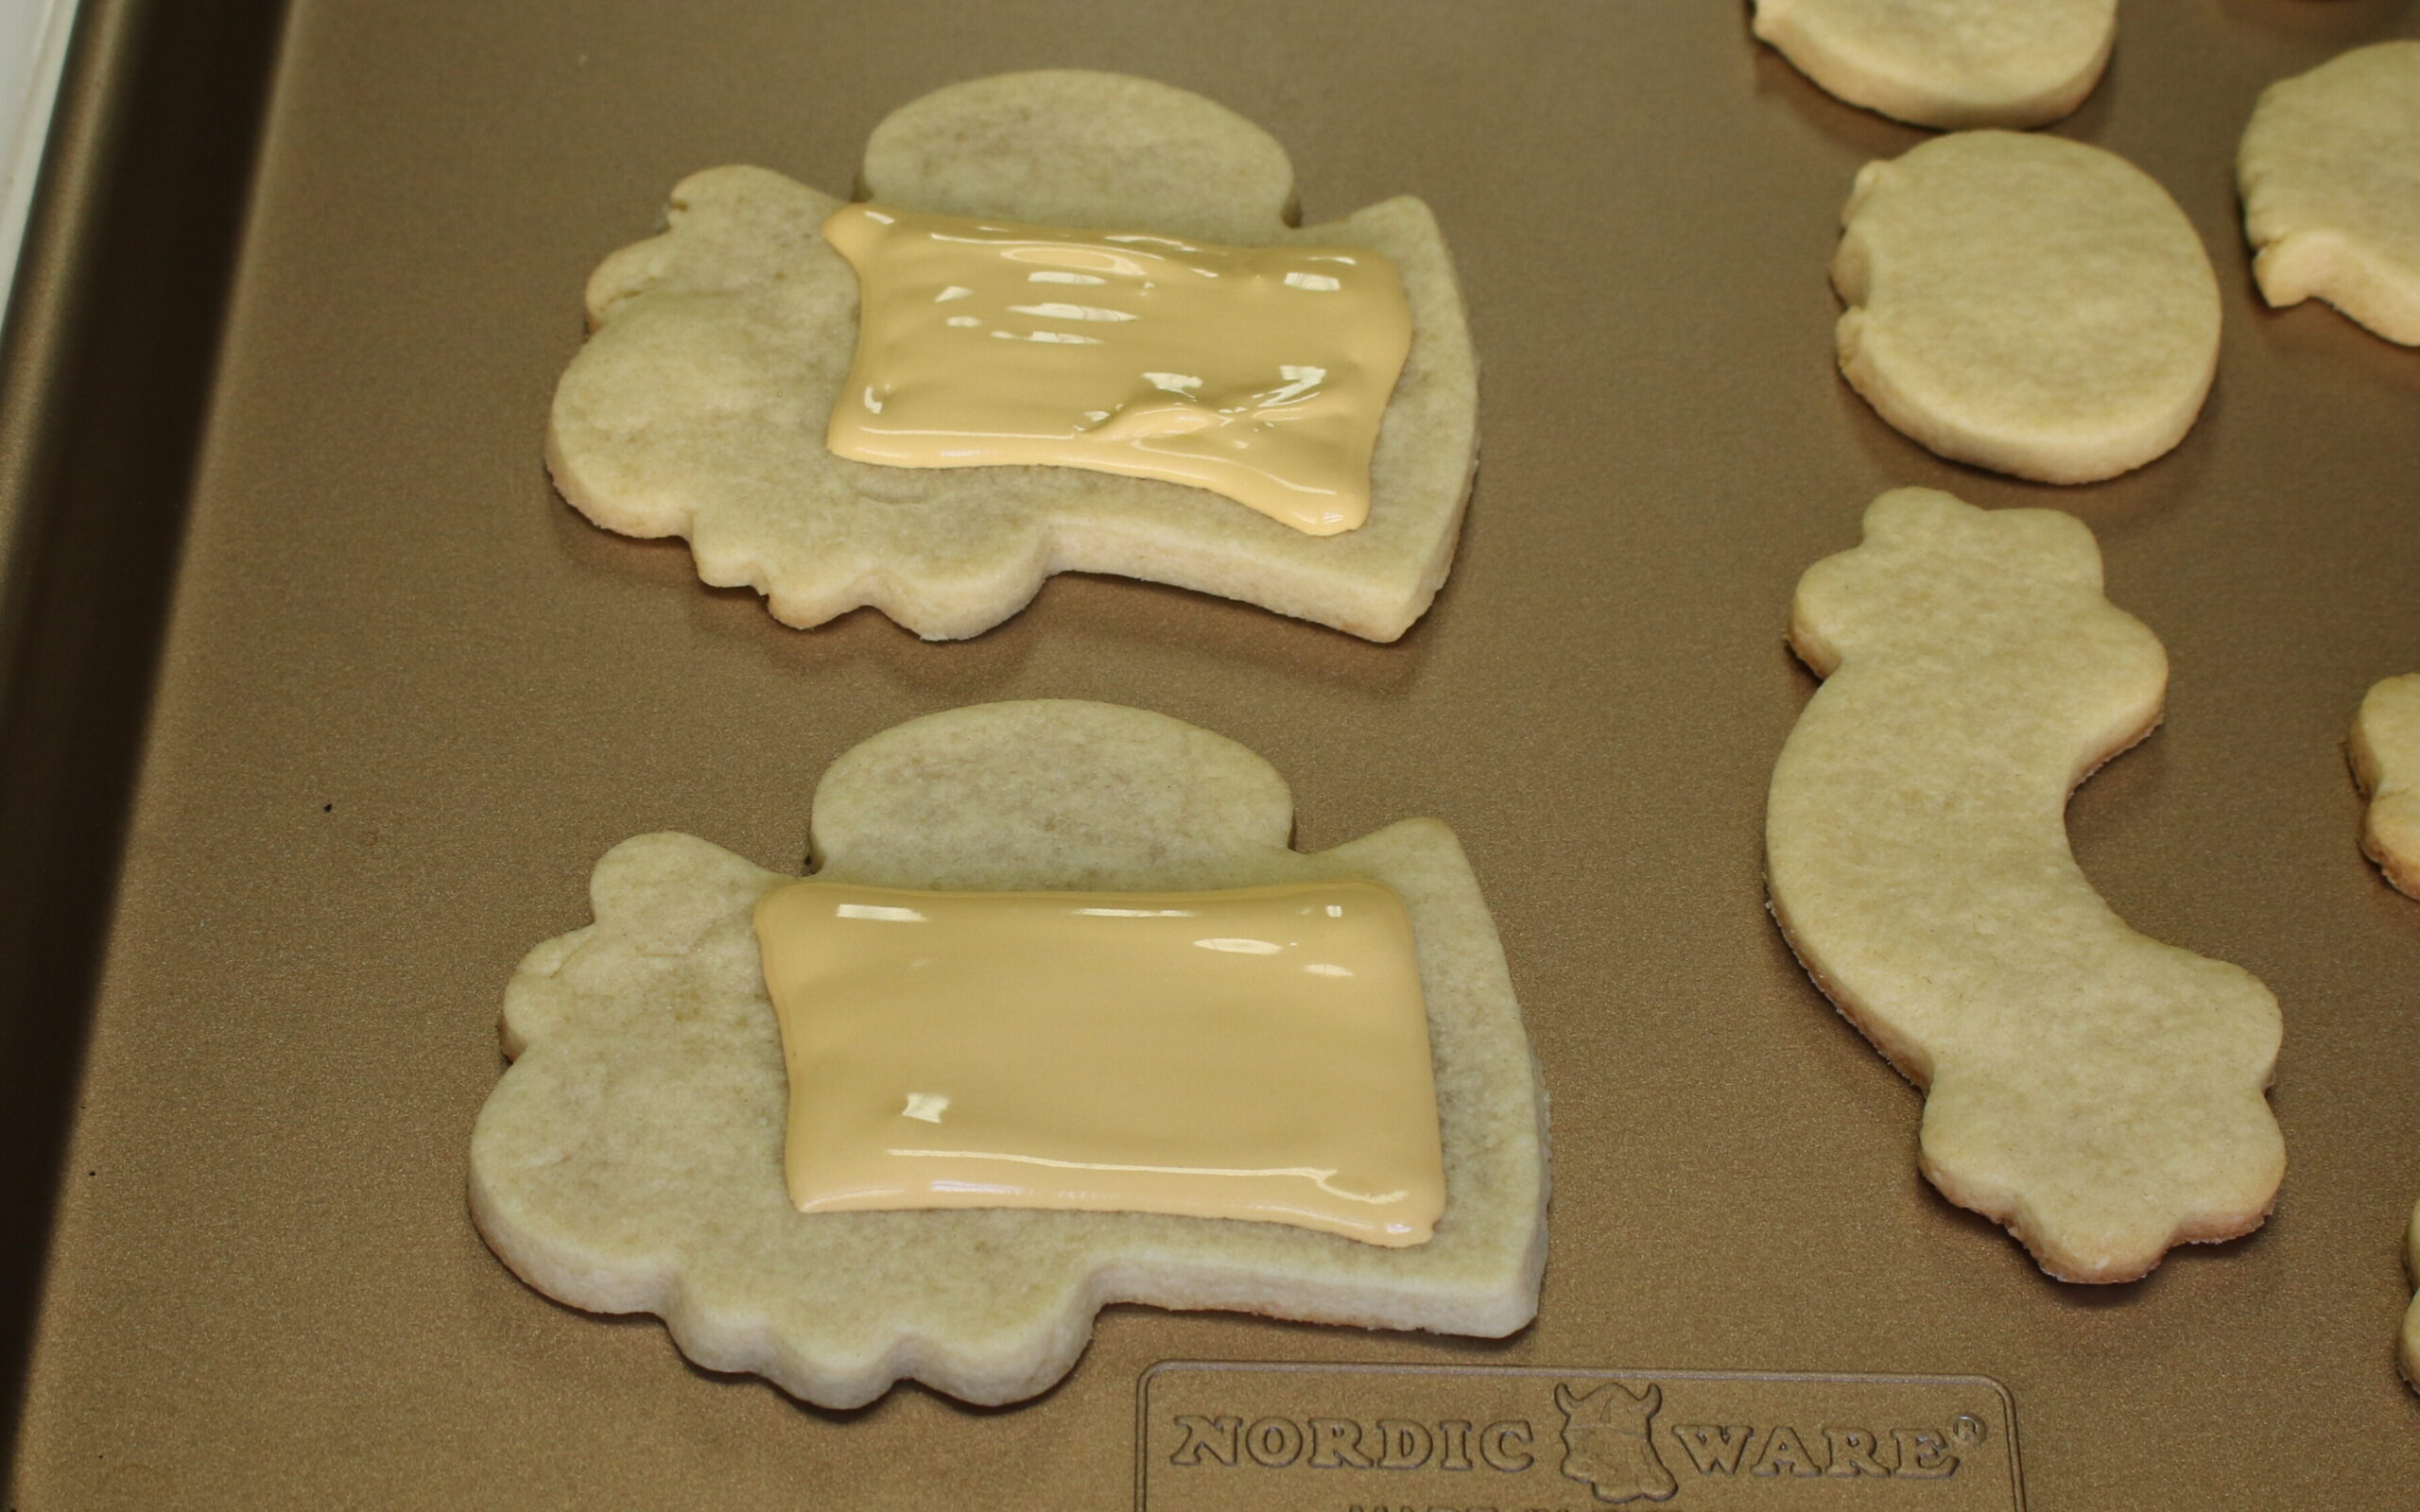
Use the tan medium consistency icing to pipe a rectangle outline and fill in.
Before the tan icing dries, use the wet on wet technique with white medium consistency icing. Add little round circles for “bubbles.” Then outline the mug handle and the beer glass and let dry for 5 minutes.
Place the cookie in a shallow bowl. Using the stiff white icing to pipe swirls to make “foam” and sprinkle clear sugar sprinkles before it dries. Let the cookies dry for an hour or overnight before the next step.
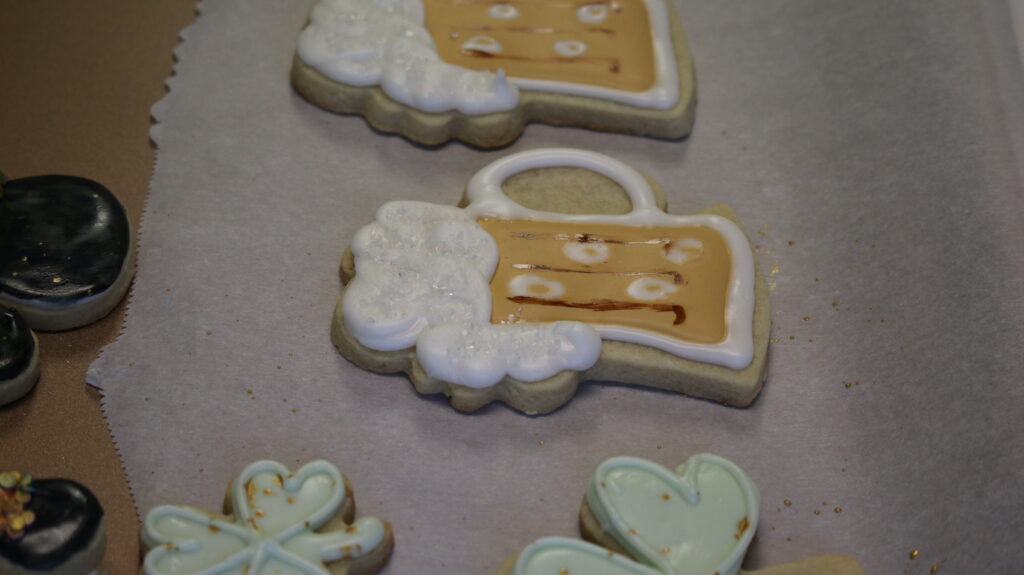
Once dried, lightly paint on lines using warm brown dye to give an illusion of mug lines.
Three Leaf Clovers
Pipe on light green and medium green icings by following the shape of the shamrock cookies and let dry.
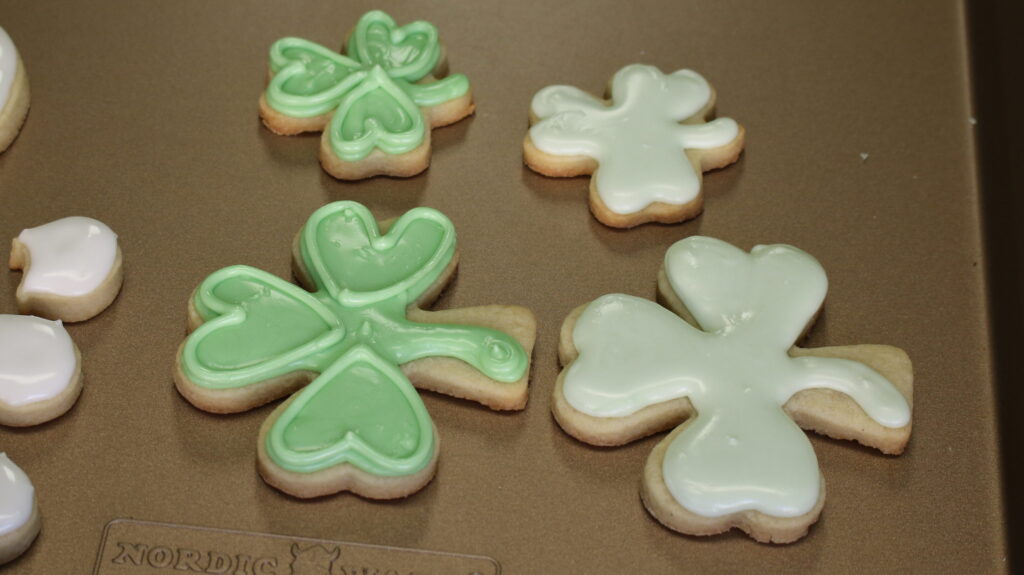
With the same green icings, trace the leaves, making heart shapes, but do not fill it in.
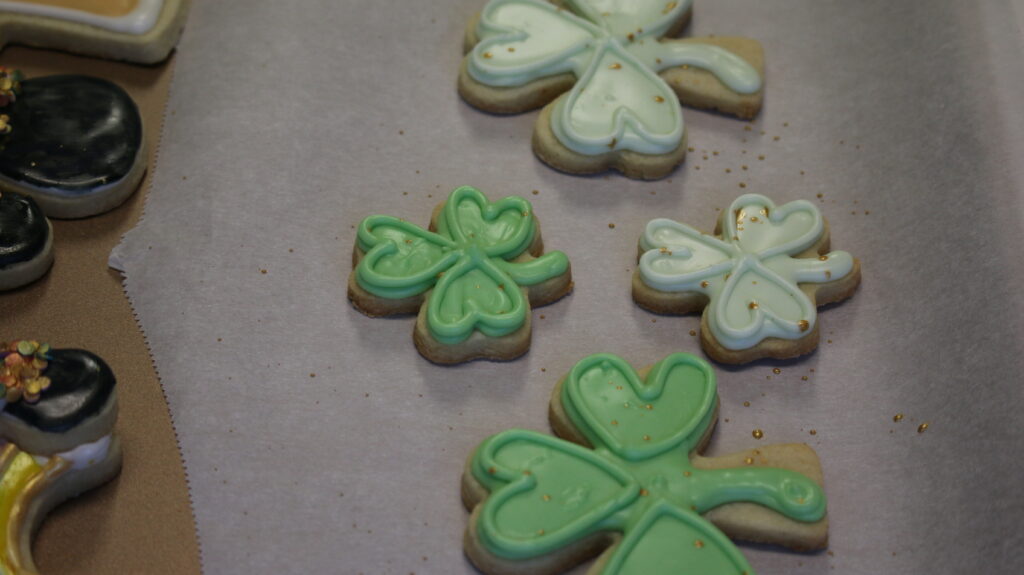
To make a gold paint, mix a few drops of Vodka or clear extract with about 1/2 tsp luster powder.
Place parchment paper under the clover cookies. Using an edible food brush, splatter the gold luster dust paint onto the dried cookies tapping the brush against another brush.
Pots of Gold
Pipe white medium icing onto the pots of gold and let them dry for at least an hour or overnight.
Add a drop of the gun metal dye onto a plate (kind of like paint!). Use an edible food brush and very gently brush the cookie with the dye. Remember that the drier the icing is, the less chance of breaking the thin top layer with pressure from painting.
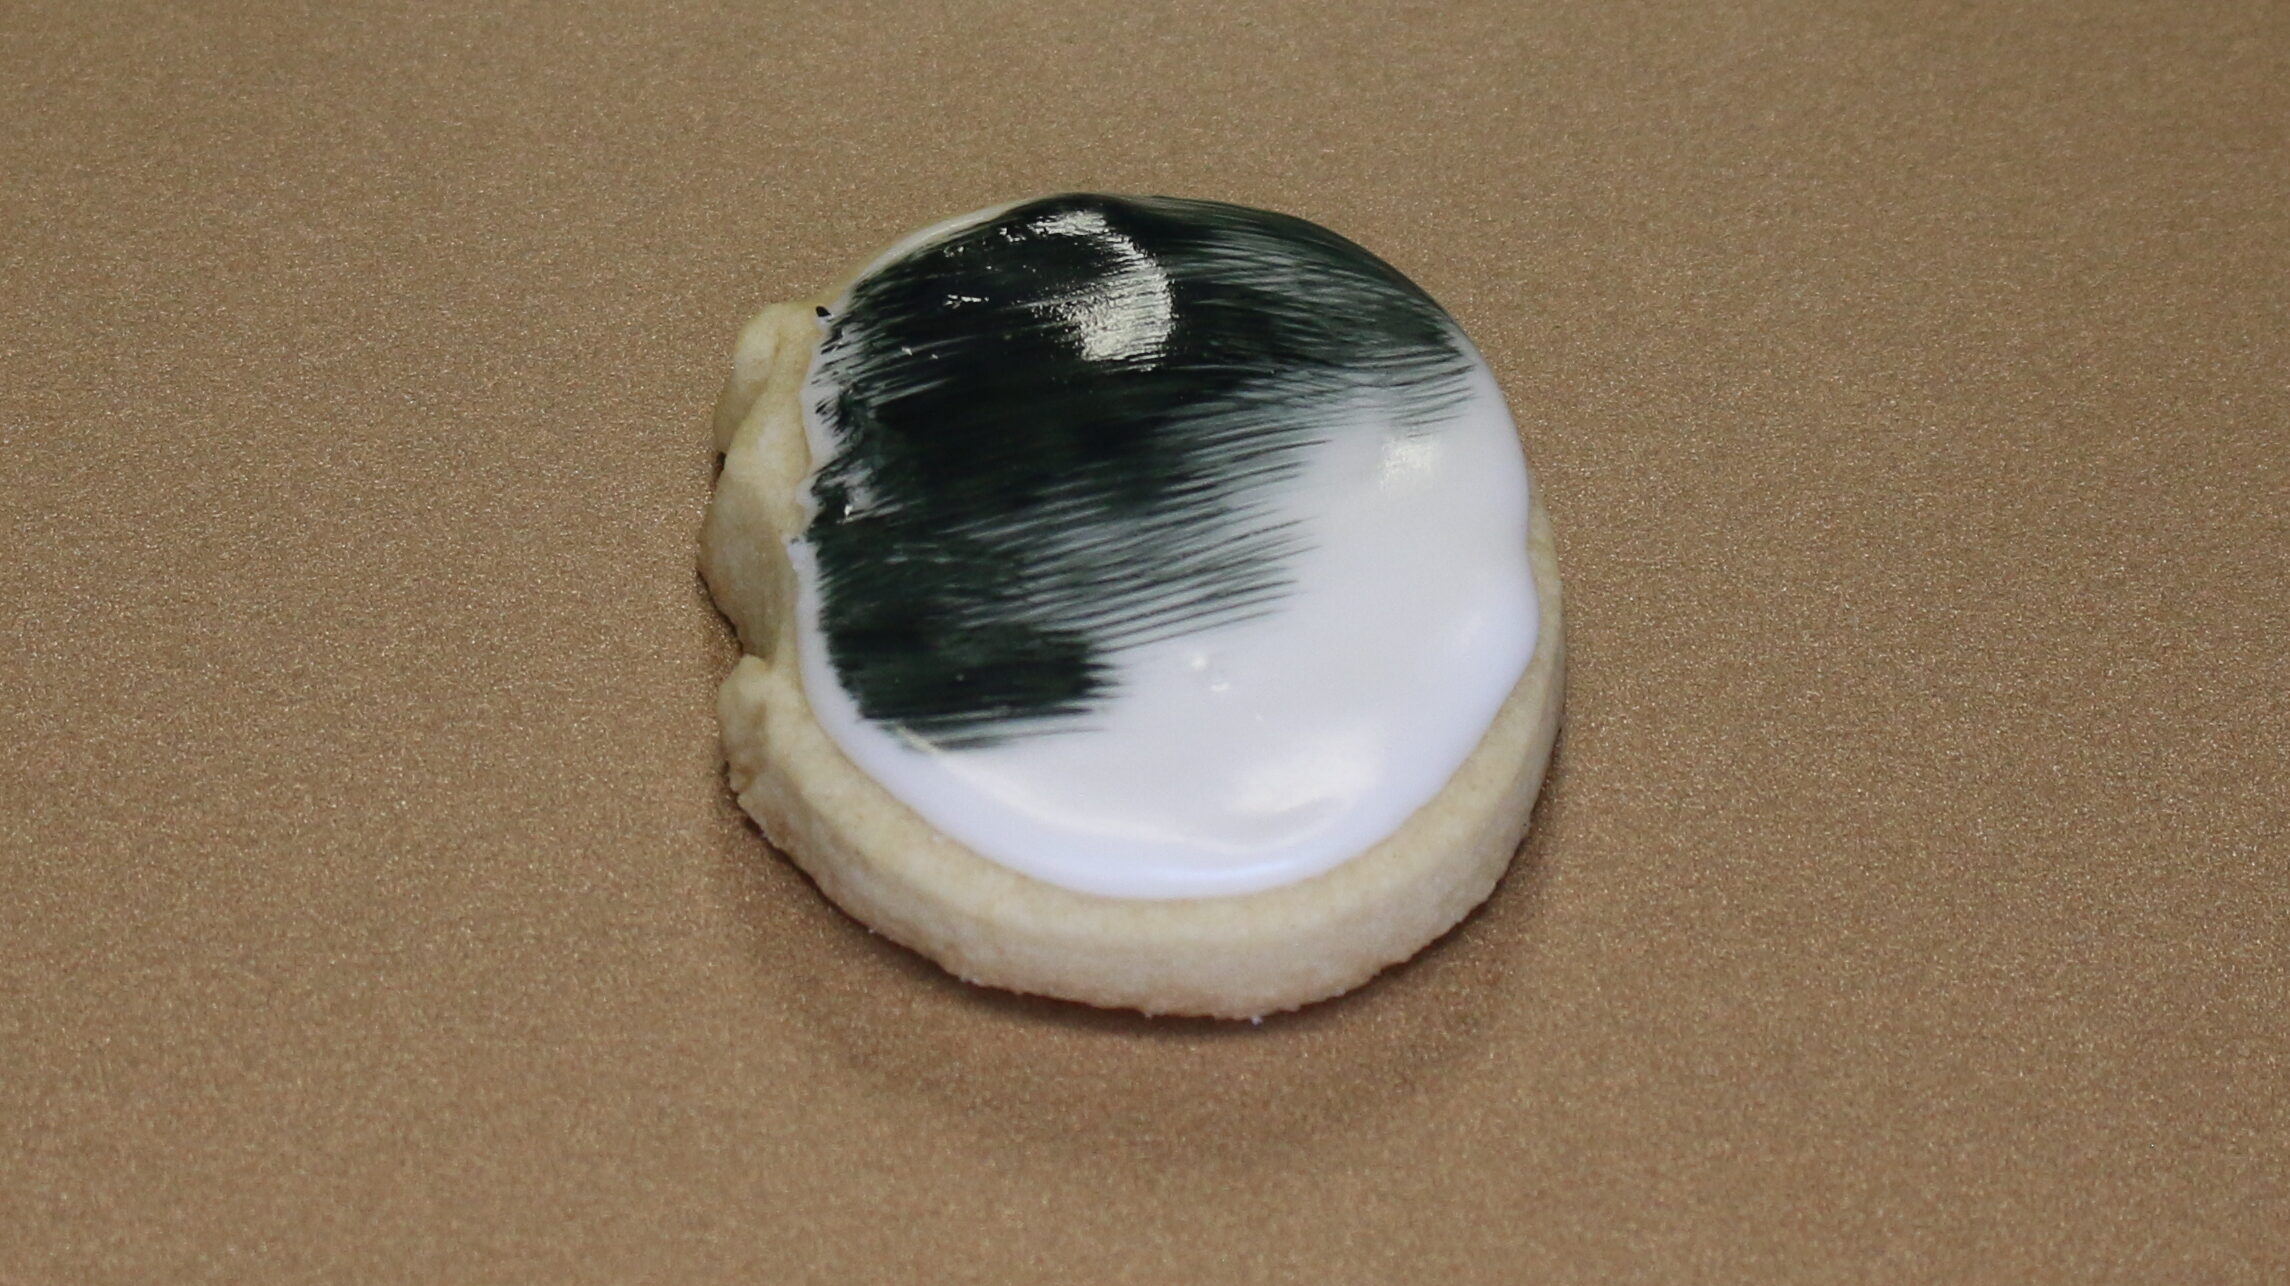
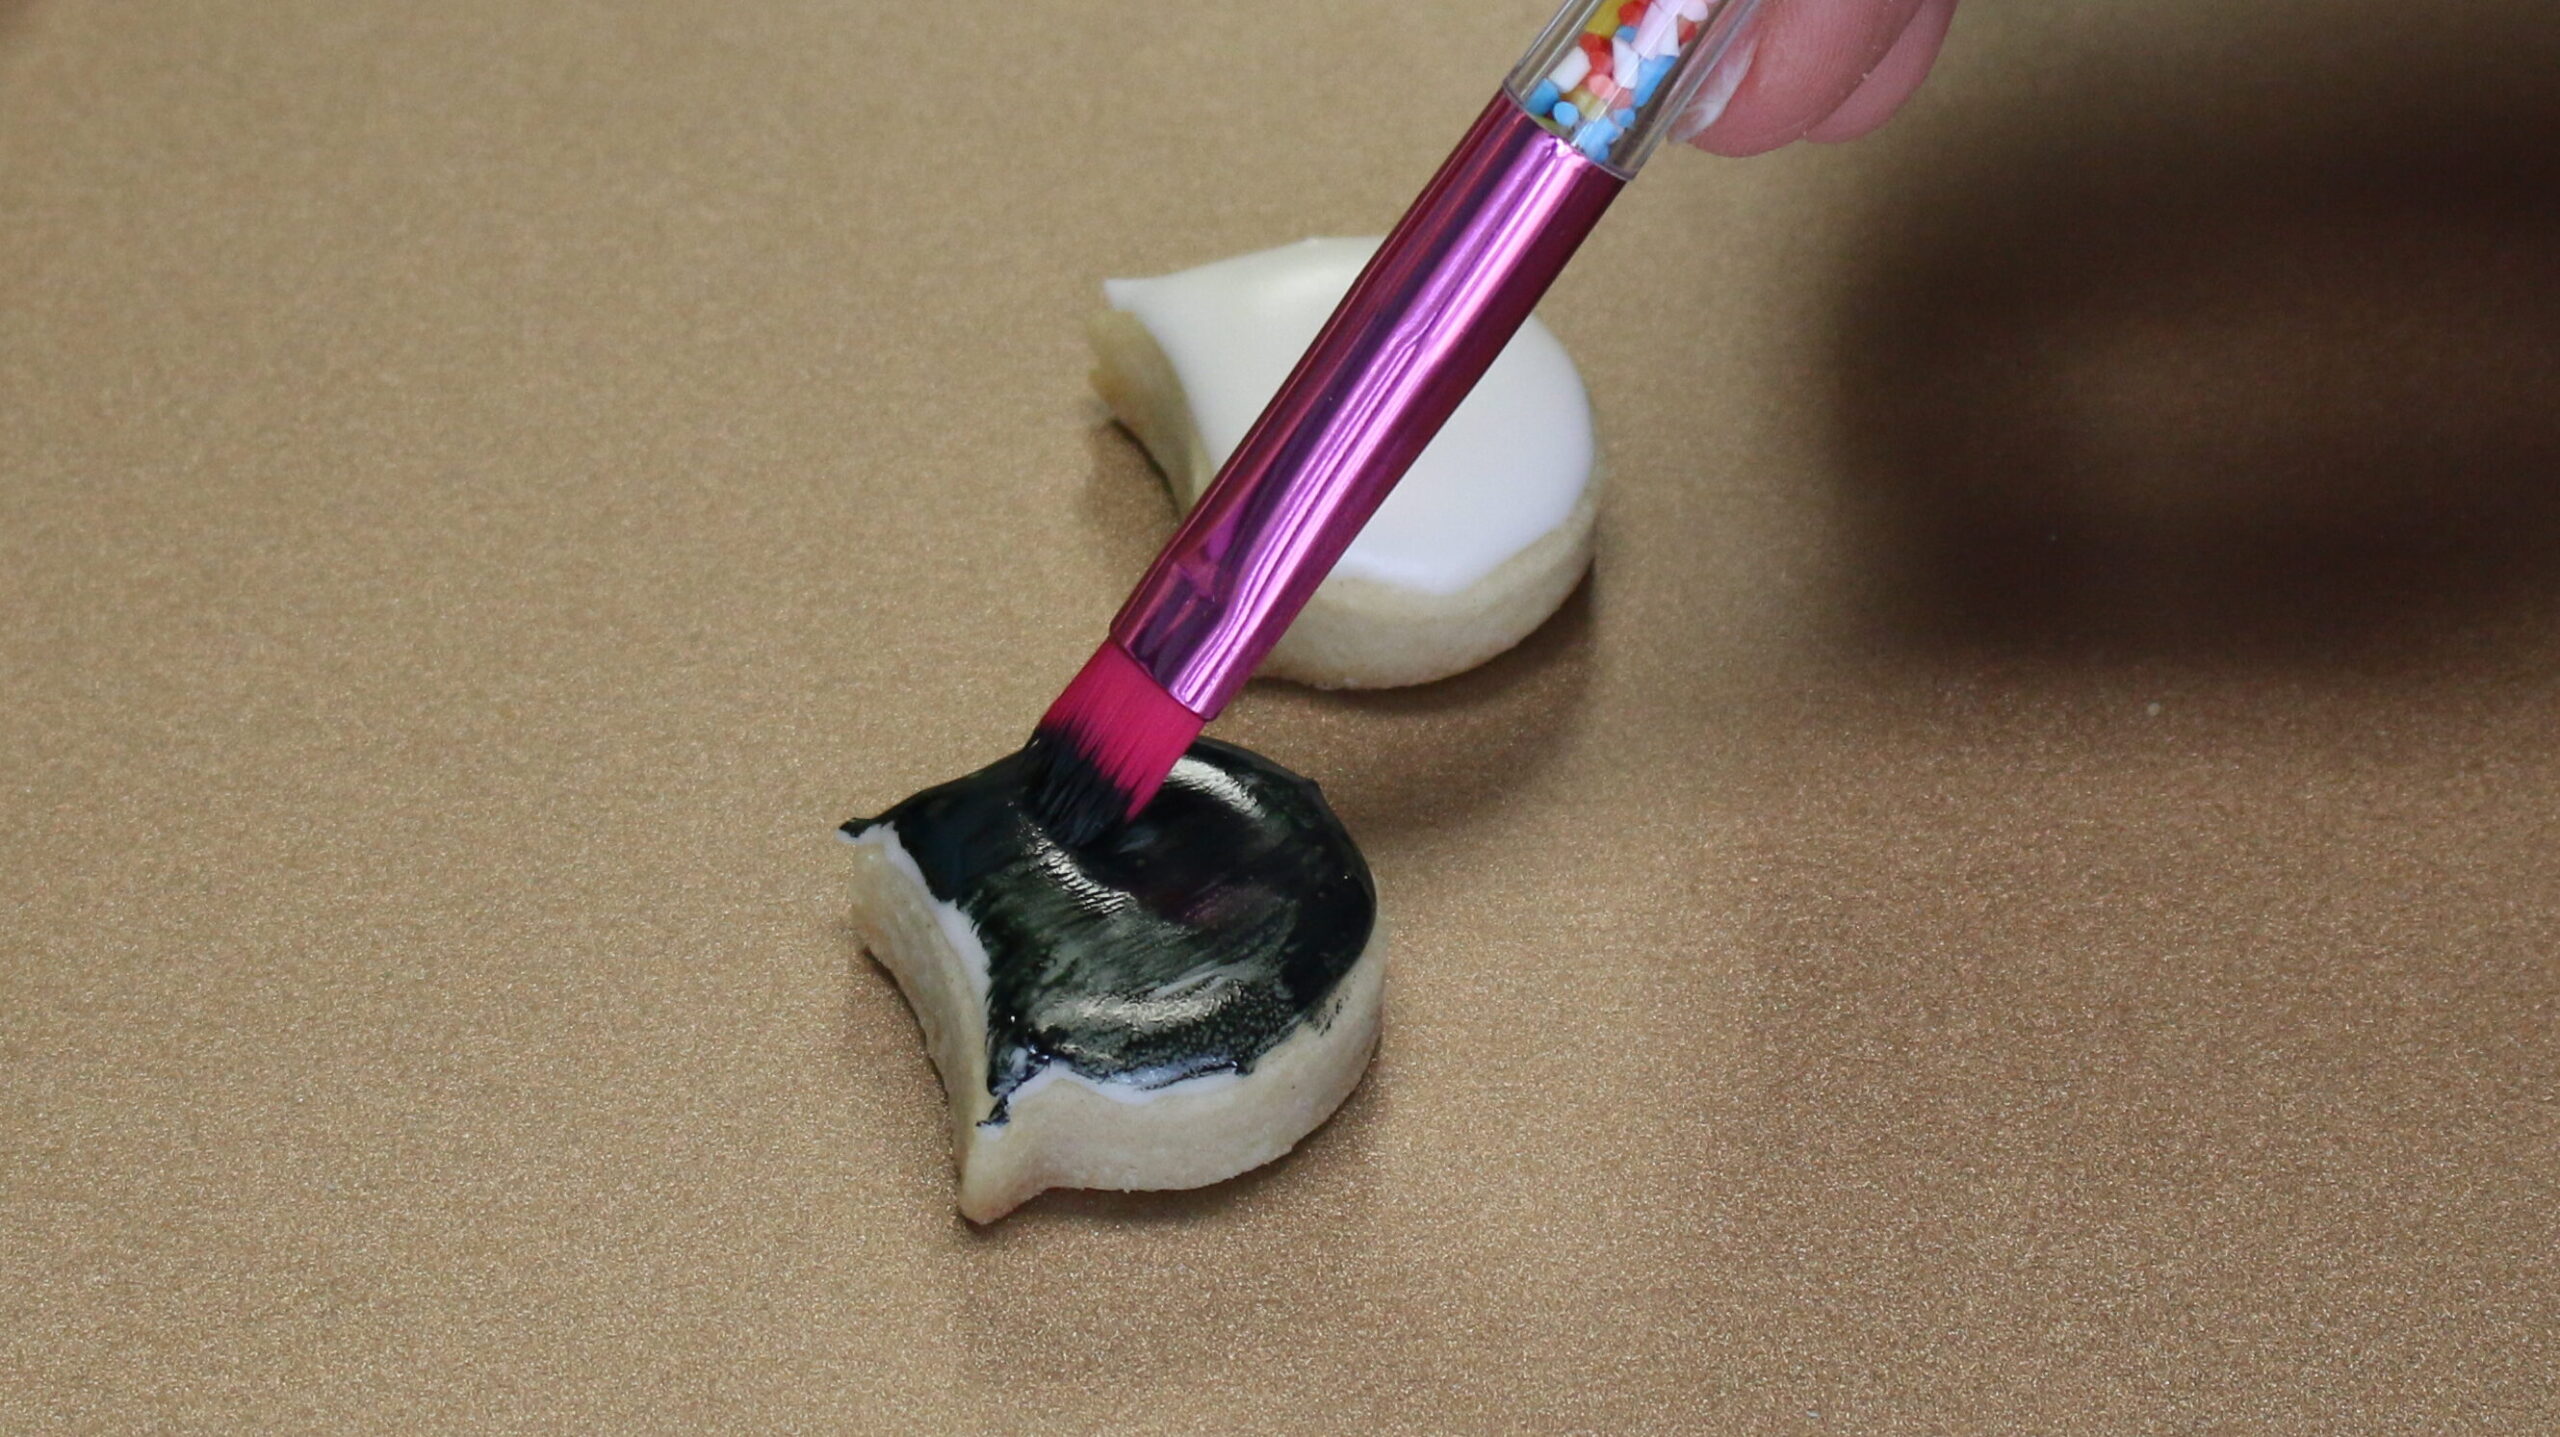
Note that the food dye can stain your mouth. To avoid this, dye some icing a dark color and pipe it on instead.
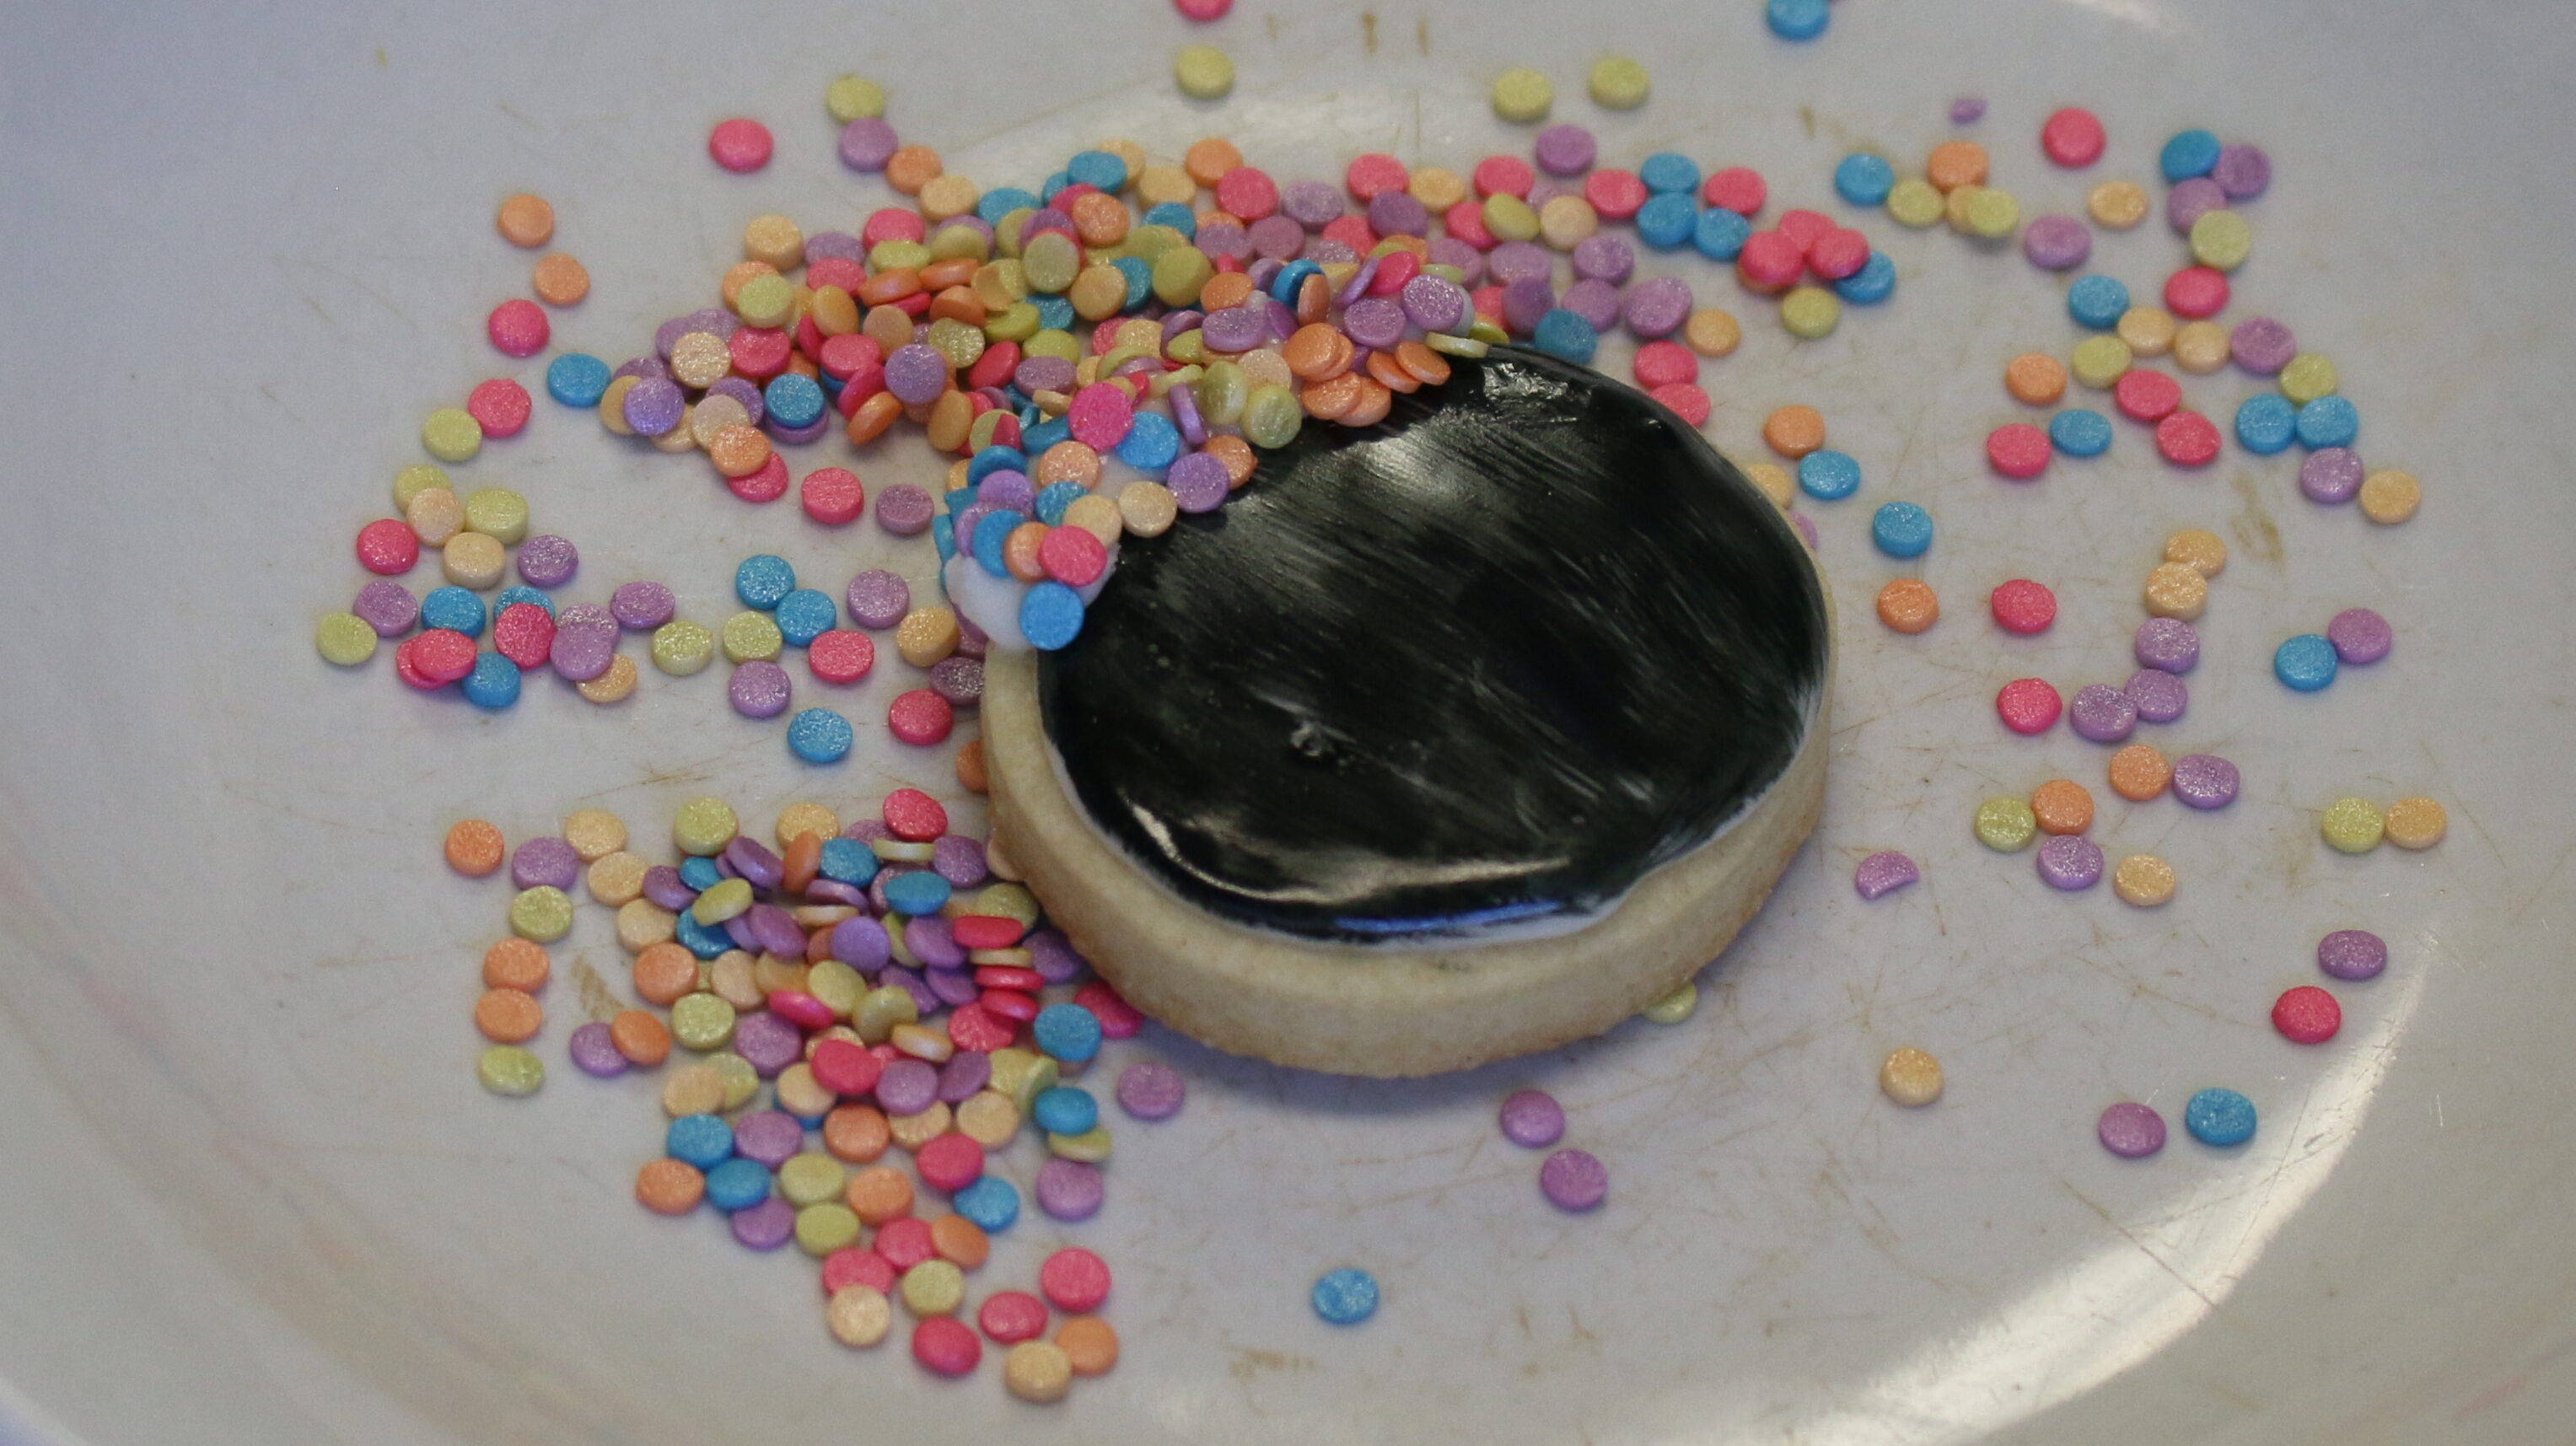
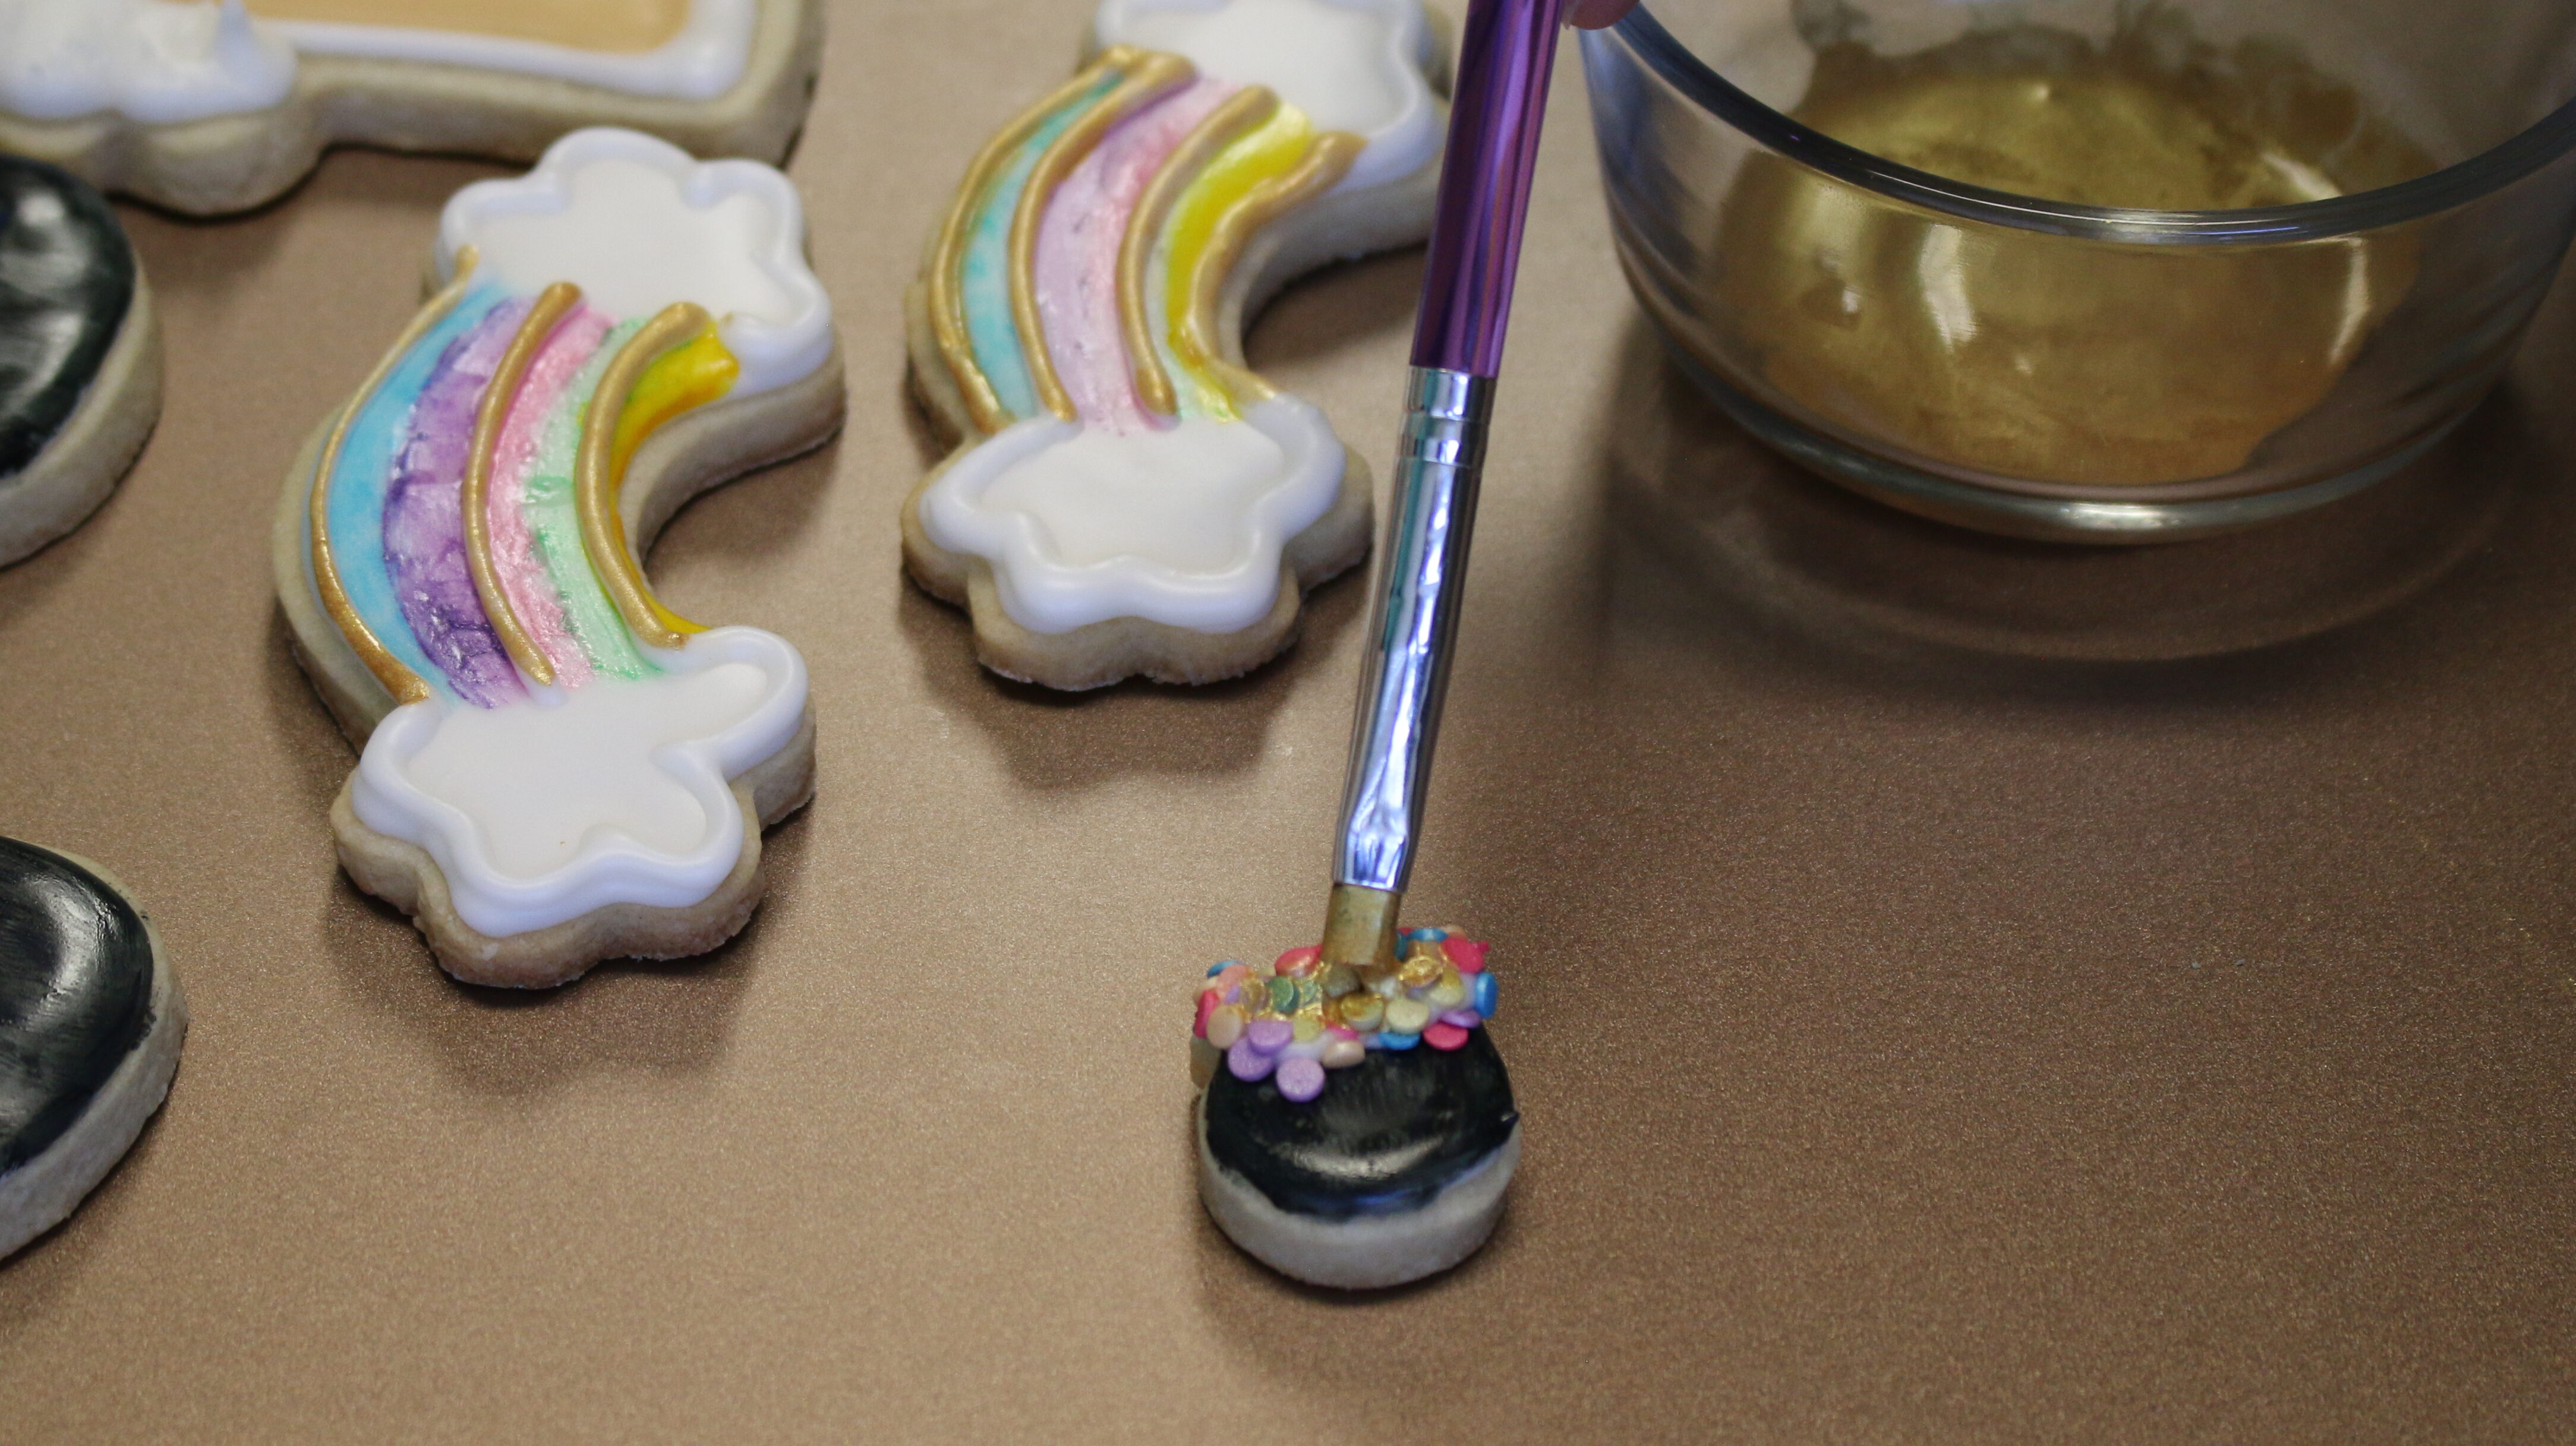
Pipe the stiff white icing pipe across the flat edge of the pot of gold and dip into the confetti sprinkles. Stiff icing dries fast so work fast! Paint on the sprinkles with the gold luster dust paint and let dry.
Rustic Rainbow
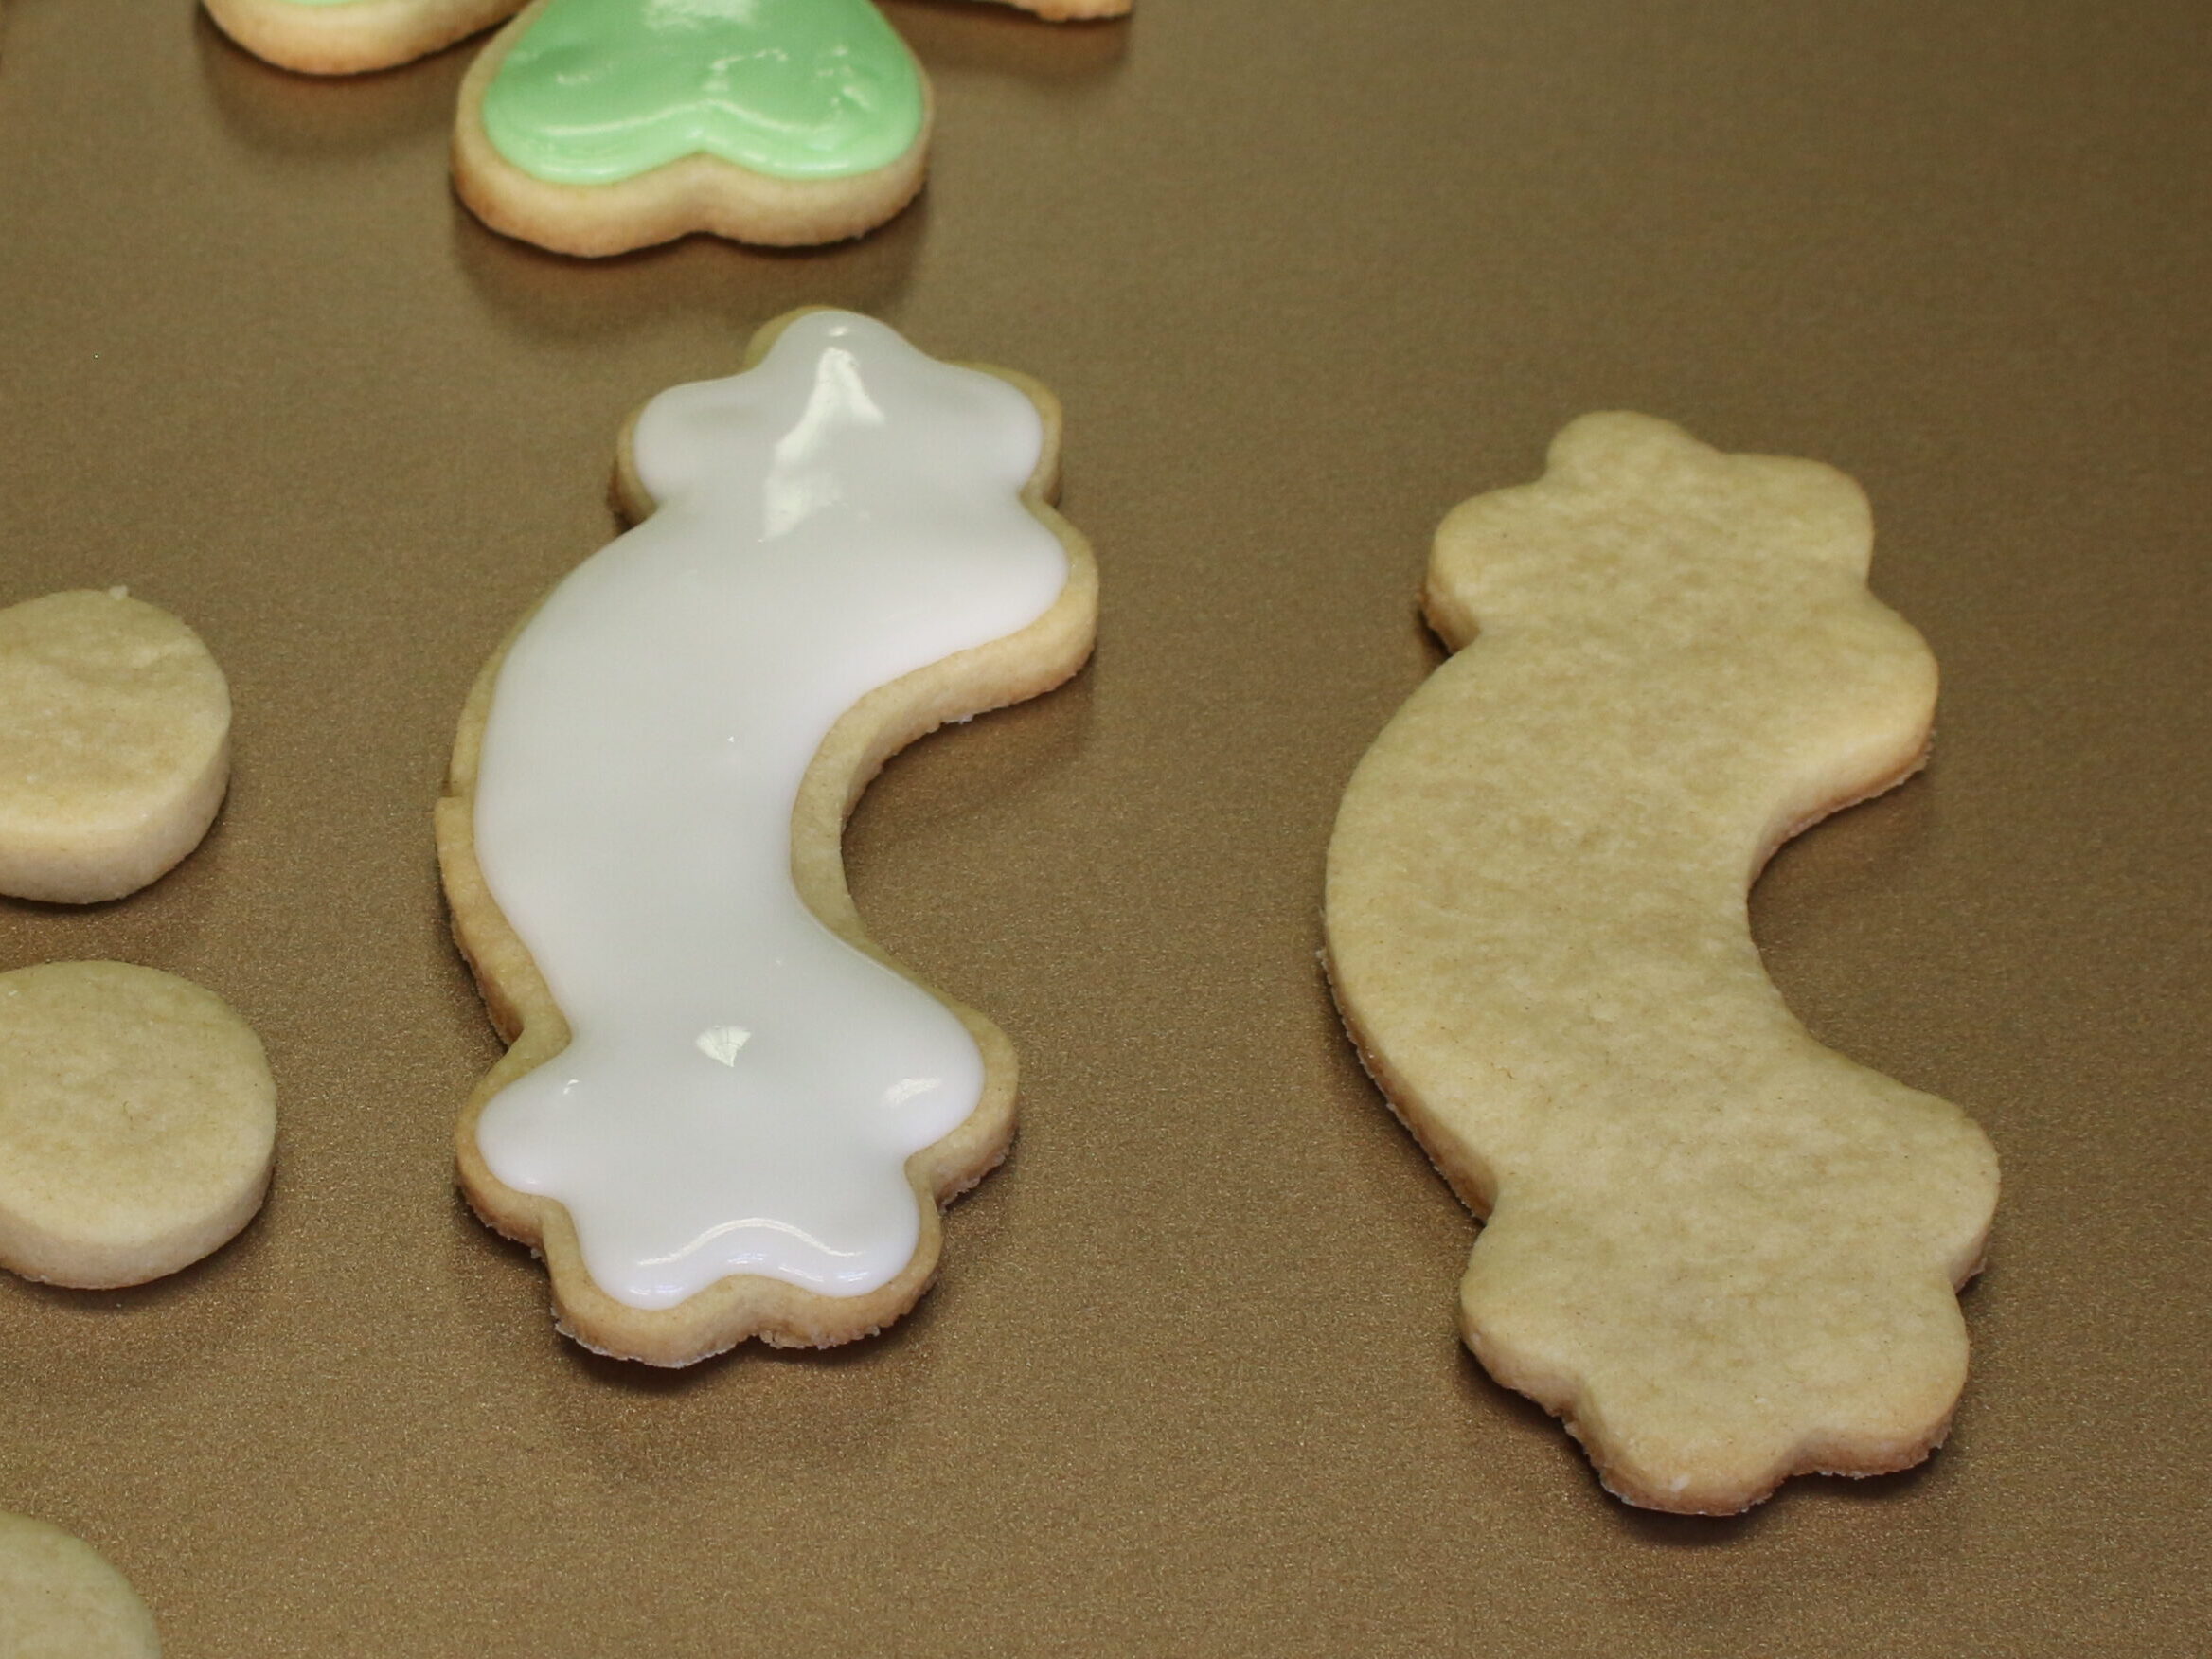
Use white medium consistency icing to outline and fill. Ideally the cookie should be fully dry before step 2. It’s so easy to crack the surface when painting.
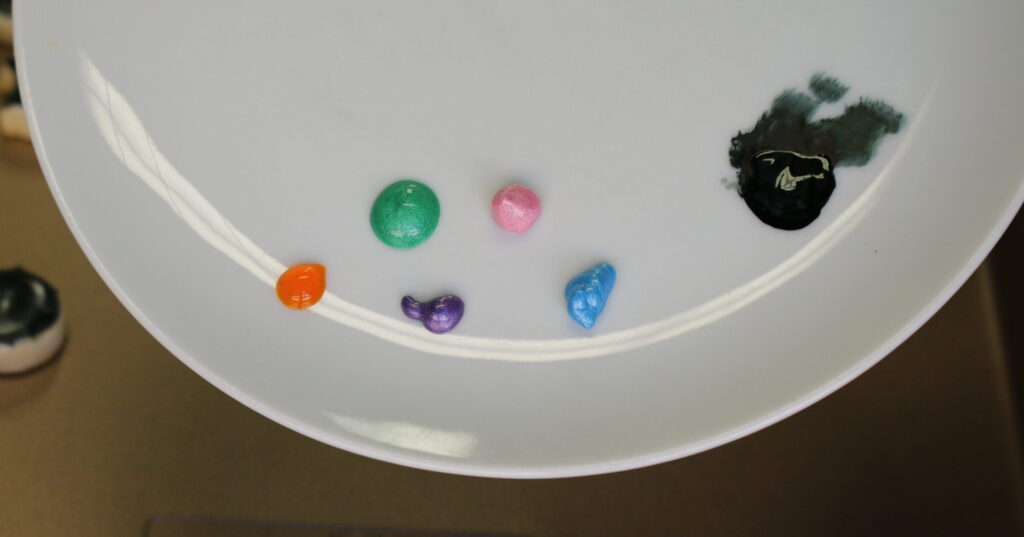
Add a few drops of the colors listed above (in the section “painting sugar cookies with food dye”) onto a plate. Use a light hand to brush on the colors.
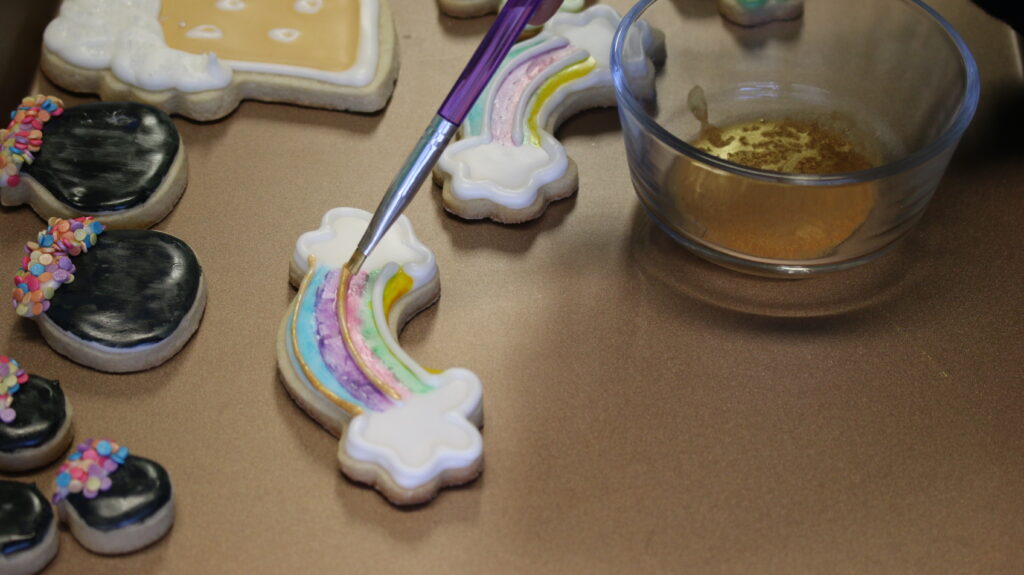
Using the white medium icing, outline the clouds and add lines in-between each painted color. Let the rainbow dry fully. Paint on the dried lines with the gold luster dust paint. See the image below for reference.
“Glue” a mini pot of gold onto one of the clouds using white icing.
How To Gift Cookies
There are 3 cute ways to gift these cookies but before wrapping, make sure the cookies are fully dry!
- To keep in freshness, add one fully dried cookie into a cellophane bag and tie with ribbon. These cellophane bags come in multiple sizes. For cookies that are 4 inches or smaller, I purchase the 5×7 inch bags.
- Use self sealing cellophane bags that also come in handy for shipping cookies. These look professional like the single sold cookies at a bakery. These are my favorite self sealing bags.
- To really take the cookie gifting to the next level, place the cookies in a box with crinkle paper. After trying a few different boxes, I think these boxes are the best and they hold four medium sized cookies! Wrap with ribbon or add a bow.
How To Store Cookies
Decorated and undecorated sugar cookies can be stored in an airtight container at room temperature for up to a week. You can freeze undecorated cookies in an airtight container for up to 2 months.


One Comment