Back to School/Teacher Appreciation Sugar Cookies
Buttery sugar cookies with crisp edges, decorated for back to school! Show your teachers some appreciation by making these cute cookies decorated with sweet royal icing.
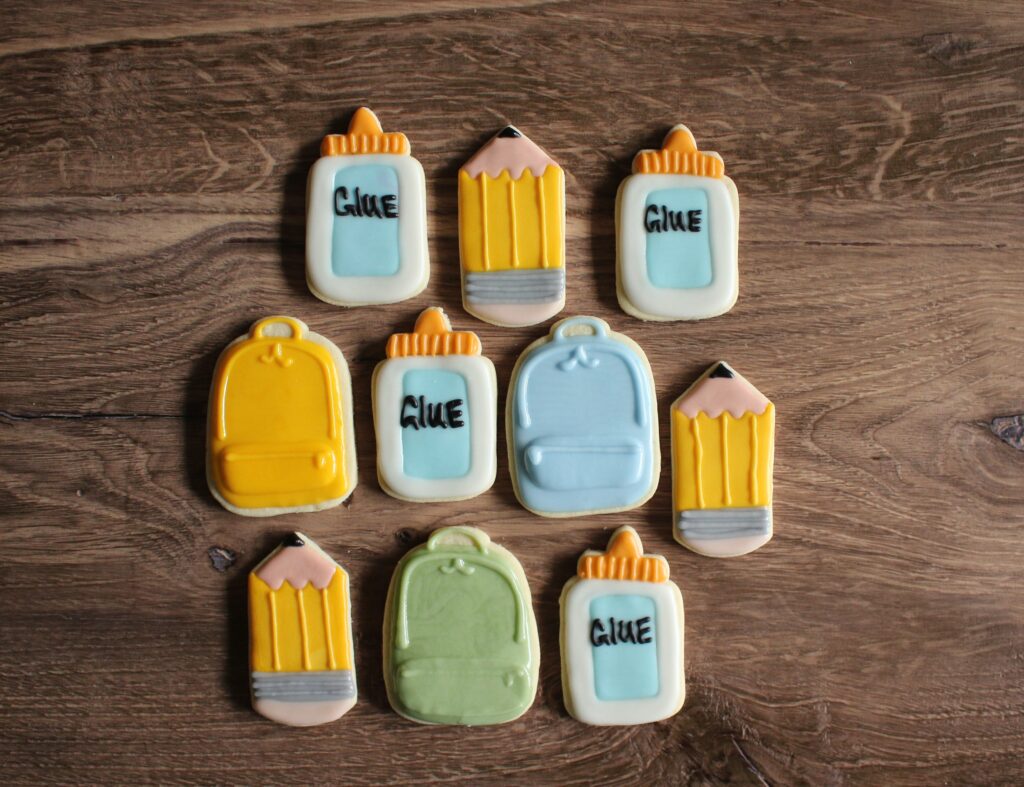
Our teachers do so much! When you want to show them your appreciation, why not make them an edible gift!
How To Get Started
There’s lots of cute school related cookie cutters out there so to keep it simple, we’ll focuses on decorating three shapes. You’ll need a pencil cookie cutter or the amazon version which is slightly longer in length, a backpack, and a glue bottle.
To pipe on the royal icing, you’ll need some piping bags and a pair of scissors to cut a small whole across the tip on the bag.

How to Gift These Cookies
Gifting sugar cookies is such a sweet gesture (pun intended). It’s a gift that’s made with love and that’s why it’s so nice to present the cookies in a pretty (and practical way).
Placing fully dried sugar cookies in cellophane bags tied with ribbon which will look nice and will help to protect the cookies from cracking. (For cookies that are 4 inches or smaller, I purchase the 5×7 inch bags.)
If you want to present cookies in a cute gift box, these boxes hold 4 cookies. Add crinkle paper, sugar cookies, and then tie the box with twine or ribbon!
Step 1: Bake Sugar Cookies
I baked one batch of my easy soft cut-out sugar cookie recipe.
Start by creaming the butter and sugar together. Mixing in an egg, vanilla, salt, and flour. Lightly knead the dough together, wrap in plastic wrap and chill for 30 minutes in the refrigerator.
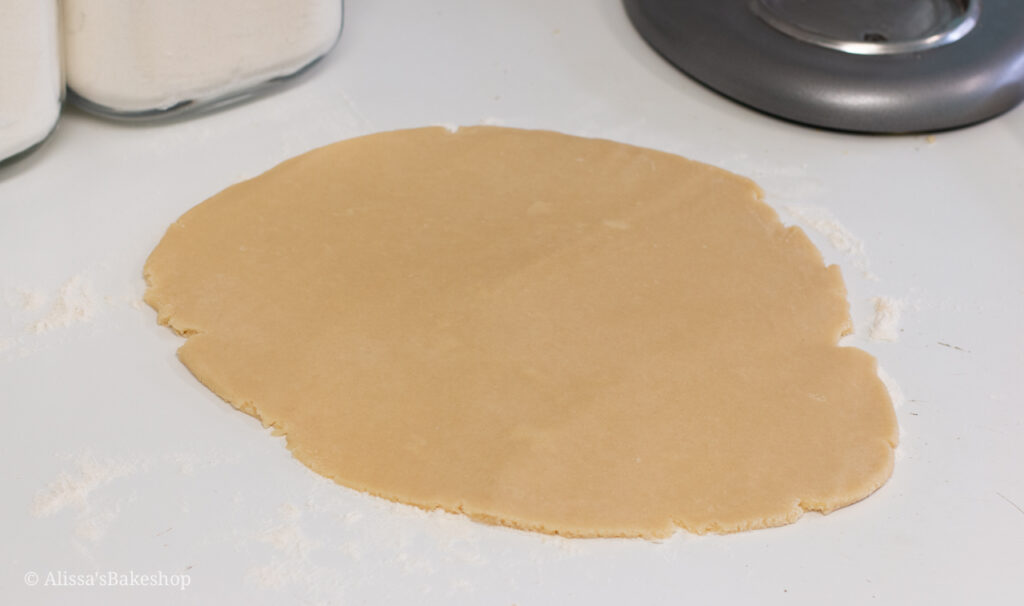
Once chilled, roll the dough to 1/4-inch thick. Cookies that are slightly thicker will be soft in the inside and slightly crisp on the outside.
Use cookie cutters to cut out shapes, place on a baking tray with parchment, and bake!
Step 2: Royal Icing Prep
While the cookies cool, prepare royal icing. For all your questions about royal icing, check out my easy royal icing recipe blog post.
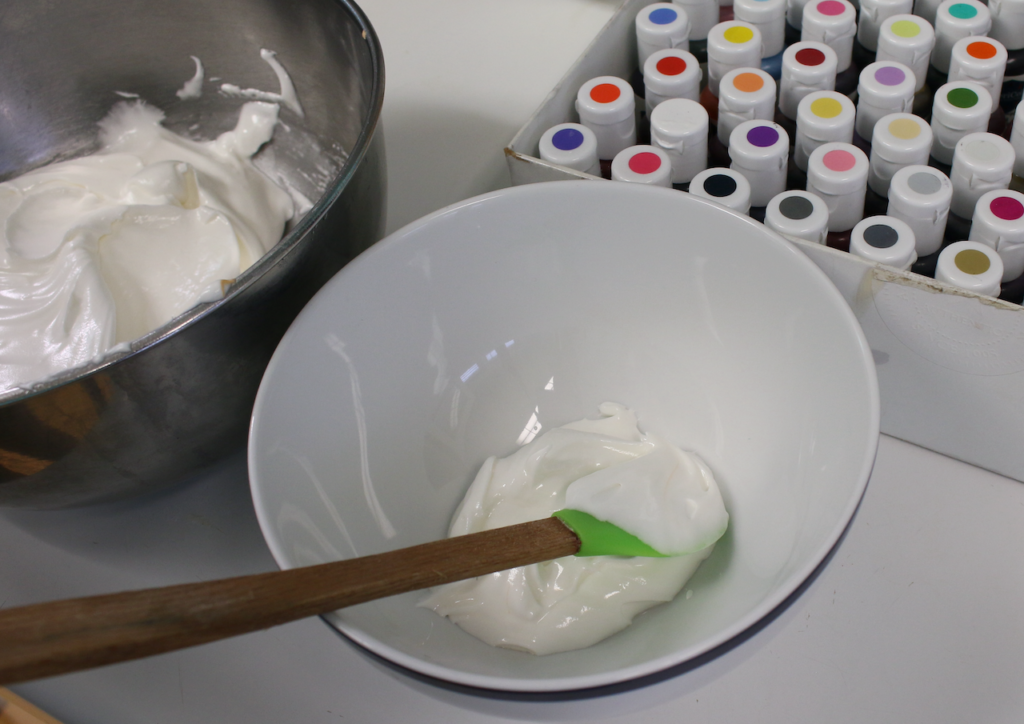
My favorite food dye is Americolor food gel because it’s very vibrant and a little goes a long way! The colors used are: AmeriColor Super Black, Lemon Yellow, Ivory, Sky Blue, Orange, Wedgewood, and Avocado.
To dye, separate the frosting into bowls, mix in the dye with a rubber spatula, and then pour into piping bags. For white icing, you scoop it straight into a piping bag. Follow the chart below for measurements.
| COLOR | GEL COLOR |
| White | |
| Light Pink (1/4 cup) | 1 tiny drop ivory |
| Orange (1/4 cup) | 1 drop orange |
| Yellow (1/3 cup) | 1 drop lemon yellow |
| Green (Backpack) (1/4 cup) | 1 drop avocado |
| Blue (Backpack) (1/4 cup) | 1 drop wedgewood |
| Black (1/4 cup) | 2-3 drops super black |
| Blue (1/4 cup) | 1 drop sky blue |
| Grey (1/4 cup) | 1 tiny drop black |
Watch the Video on YouTube!
How to Decorate School Themed Cookies
Glue Bottle
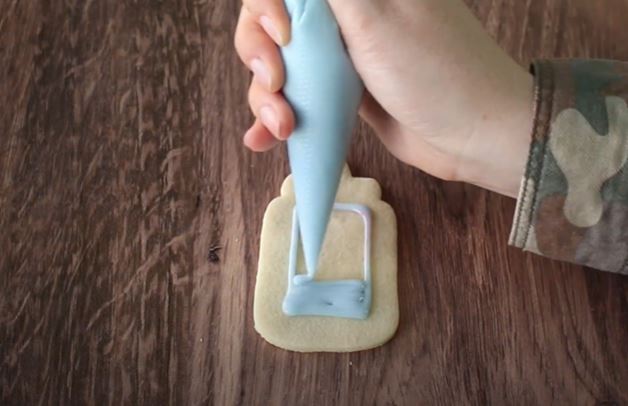
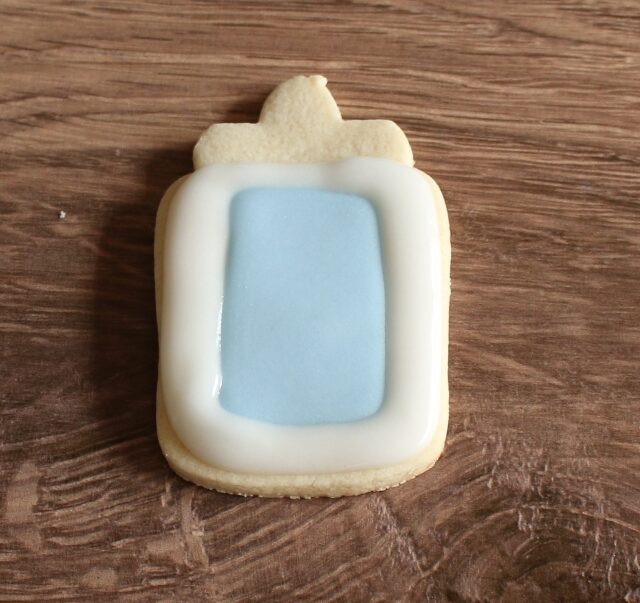
Pipe a blue rectangle in the center and fill in. Dry for 5 minutes. Use white icing to pipe around the border of the cookies, then fill in. Dry for 5 more minutes.
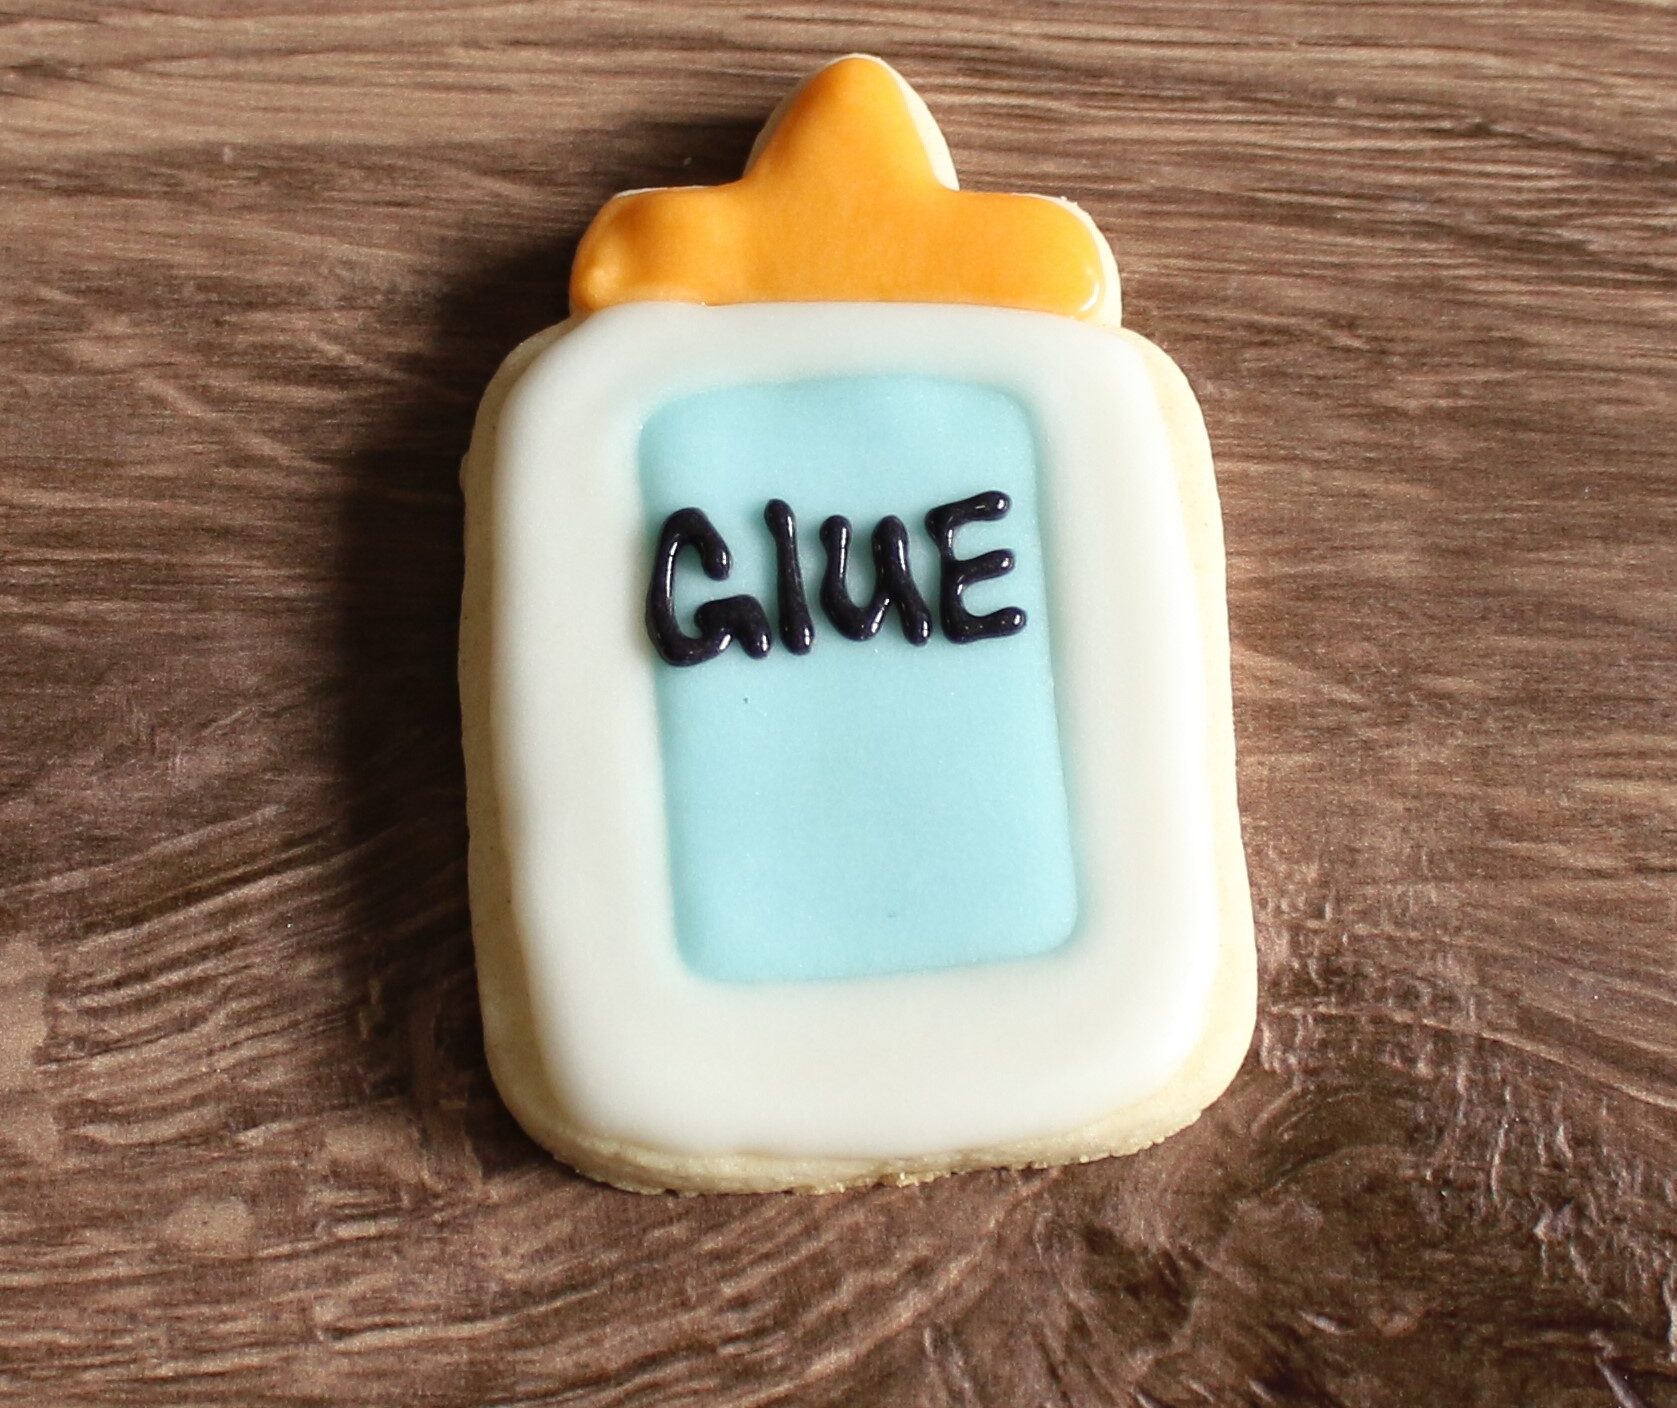
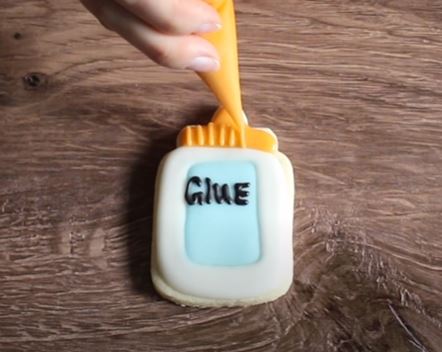
Outline the top of the glue bottle with orange icing and fill in. Then, once that has dried, add little lines to the cap. Finally, write the word glue in black icing in the center!
Pencil
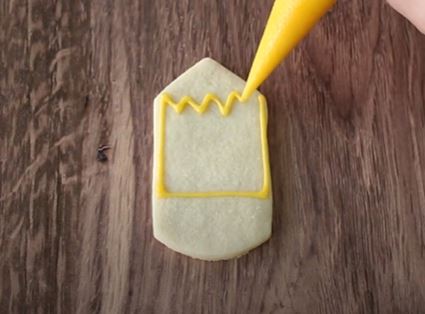
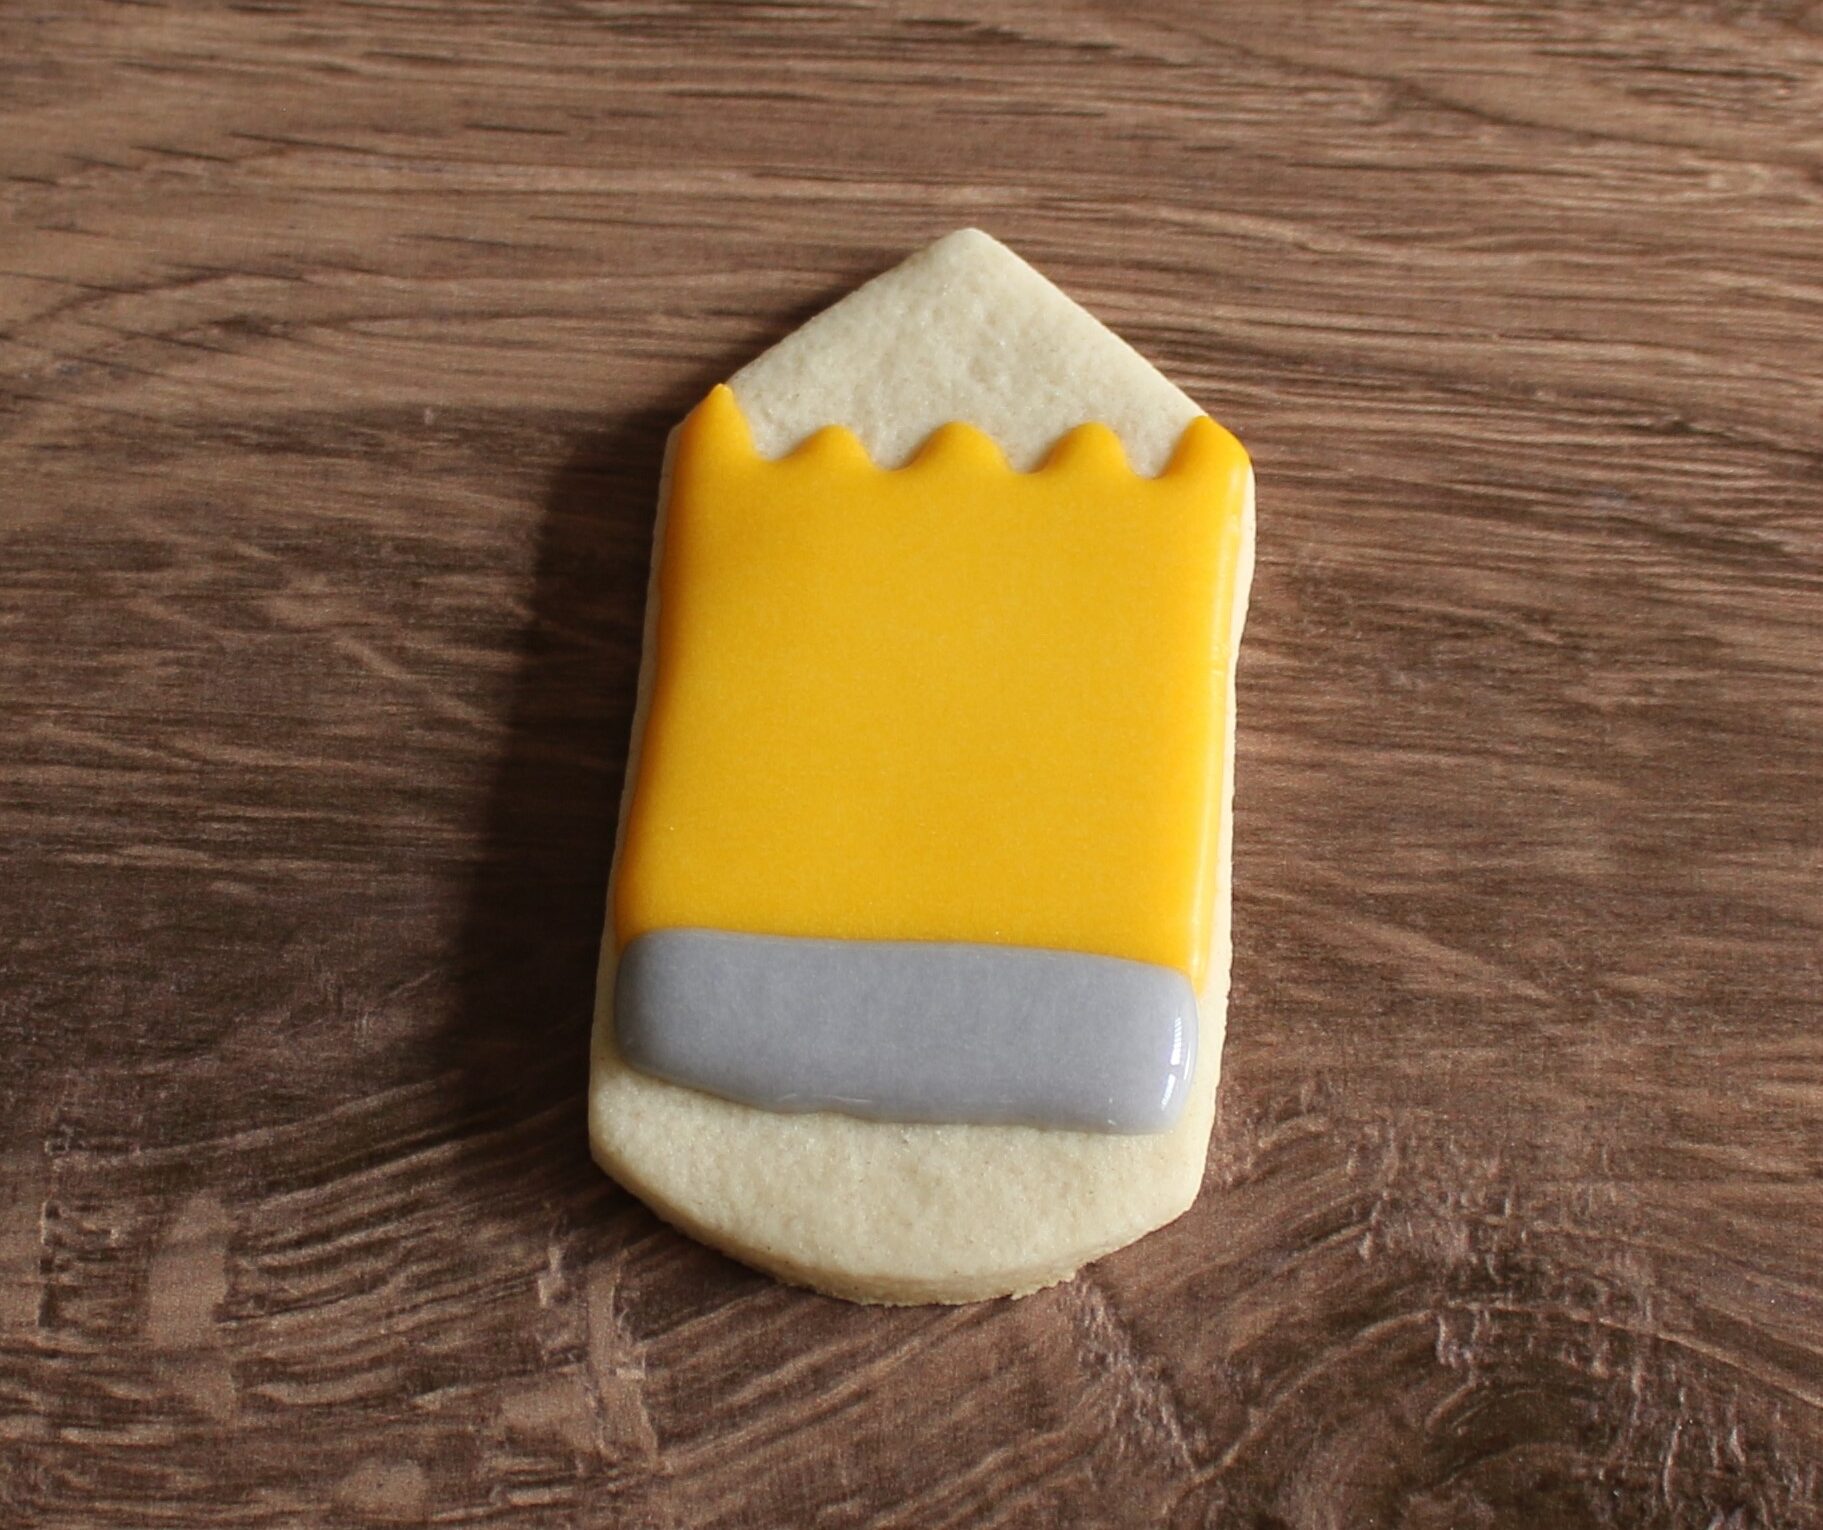
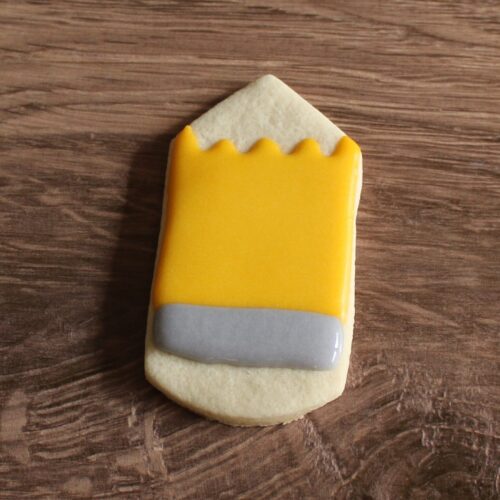
Start by outlining the cookie about one inch up from the round end with yellow icing. When you reach the top, make an up and down motion, then fill it in with icing.
Use the grey icing to pipe a small grey rectangle and fill in. This is the metal band that holds the eraser which is also called the ferrule (which I just learned writing this post!)
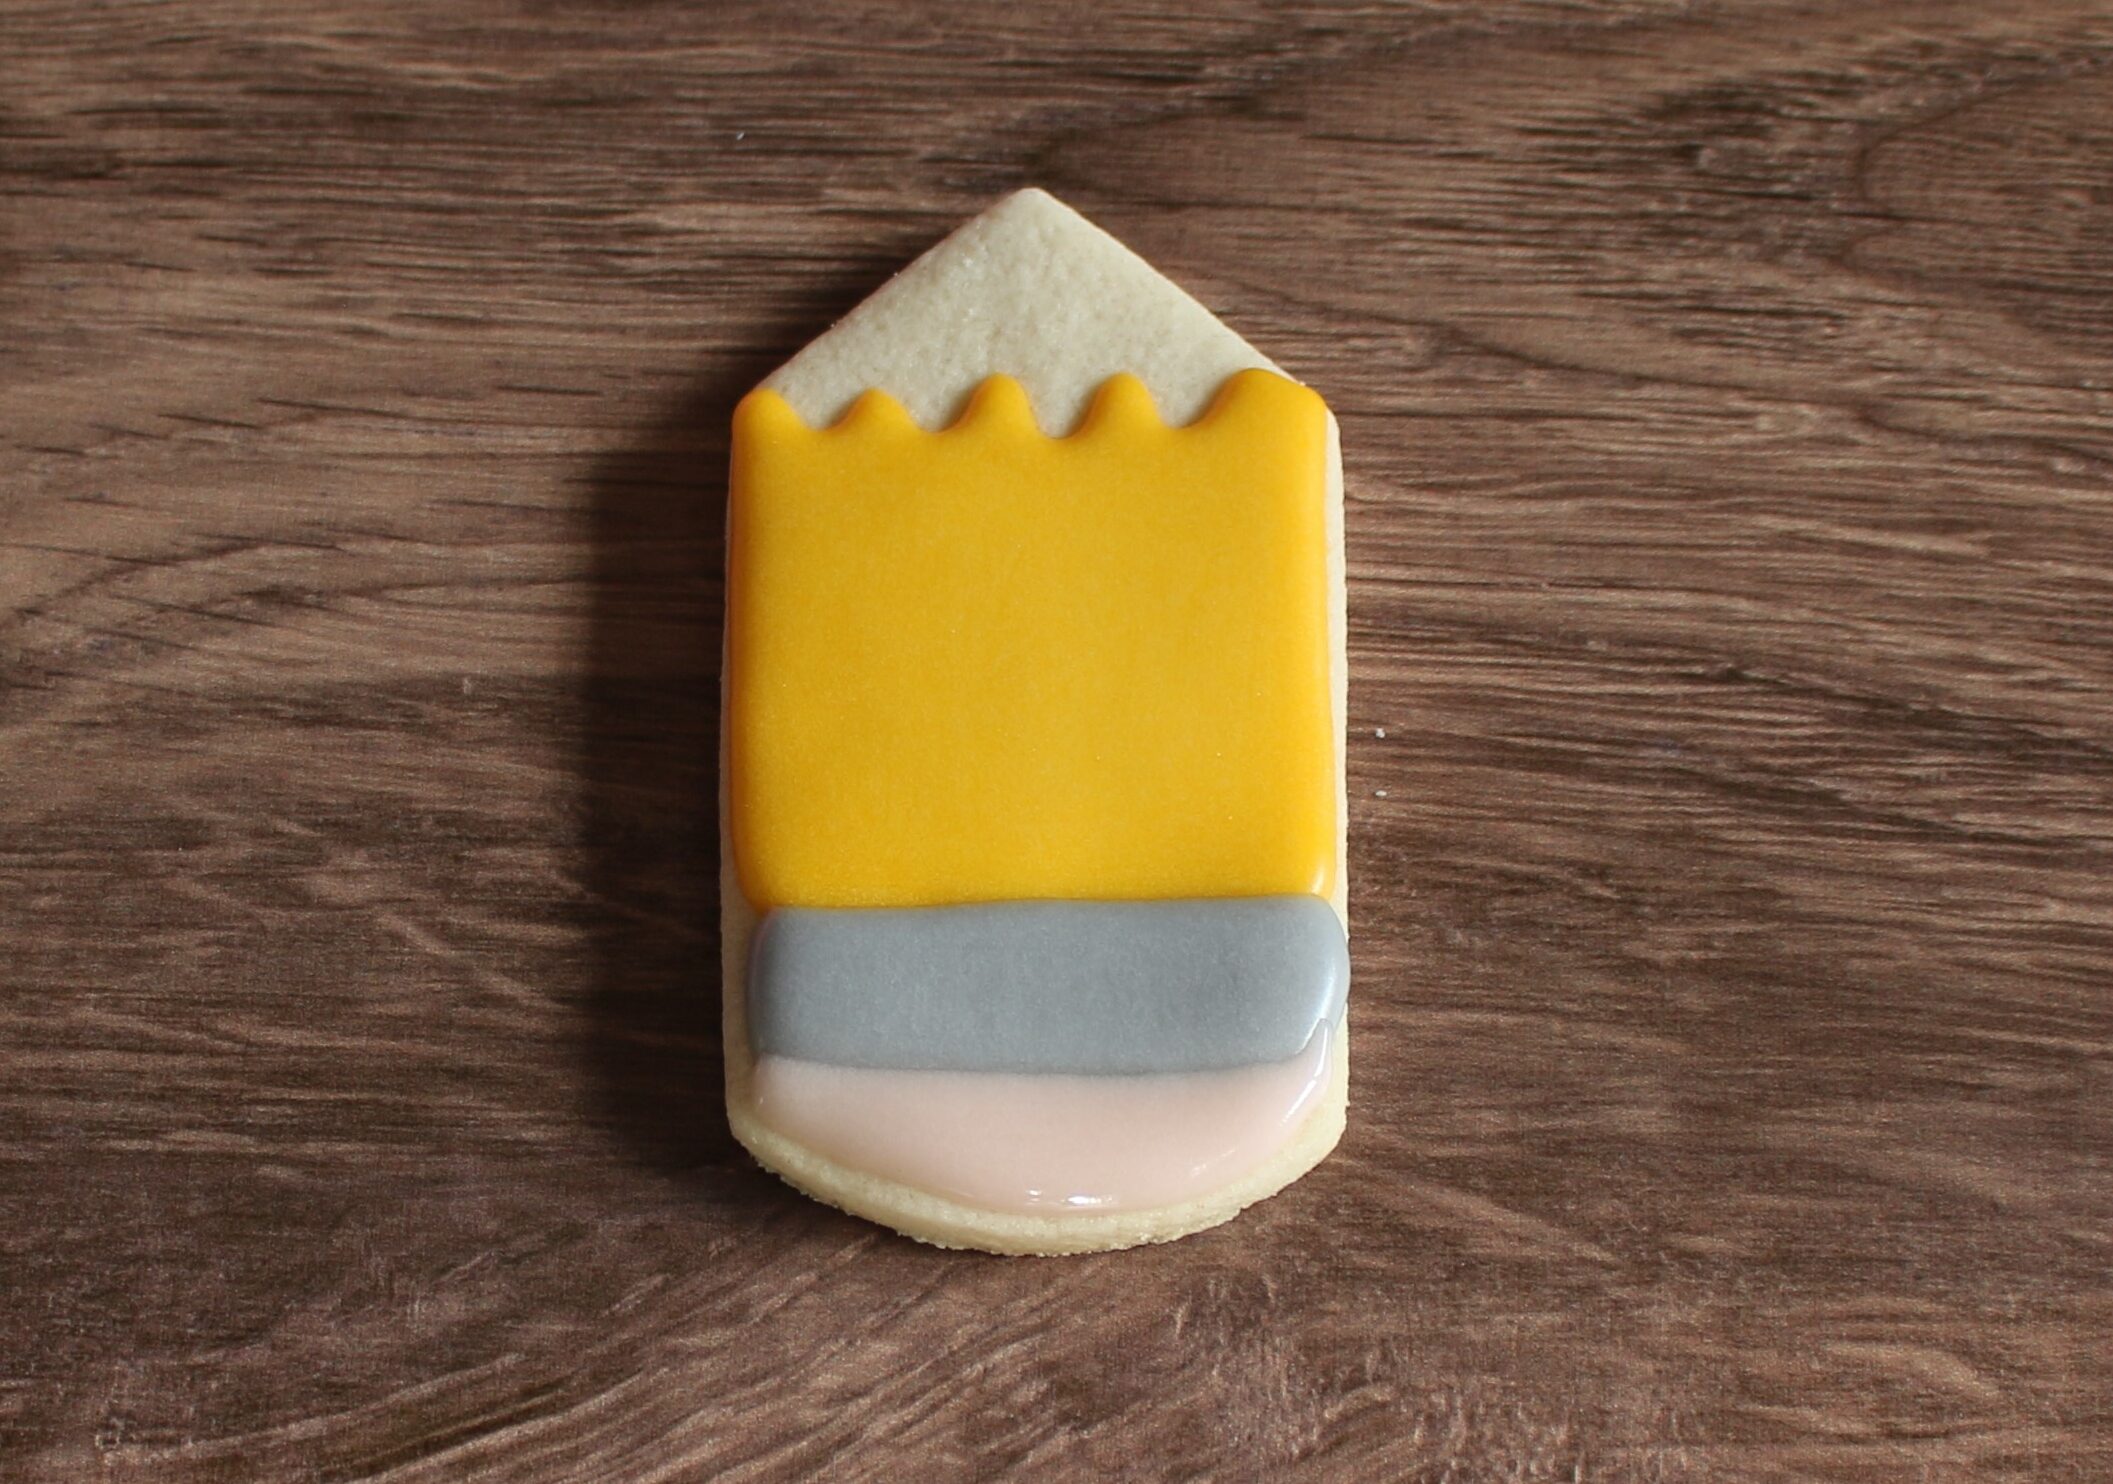
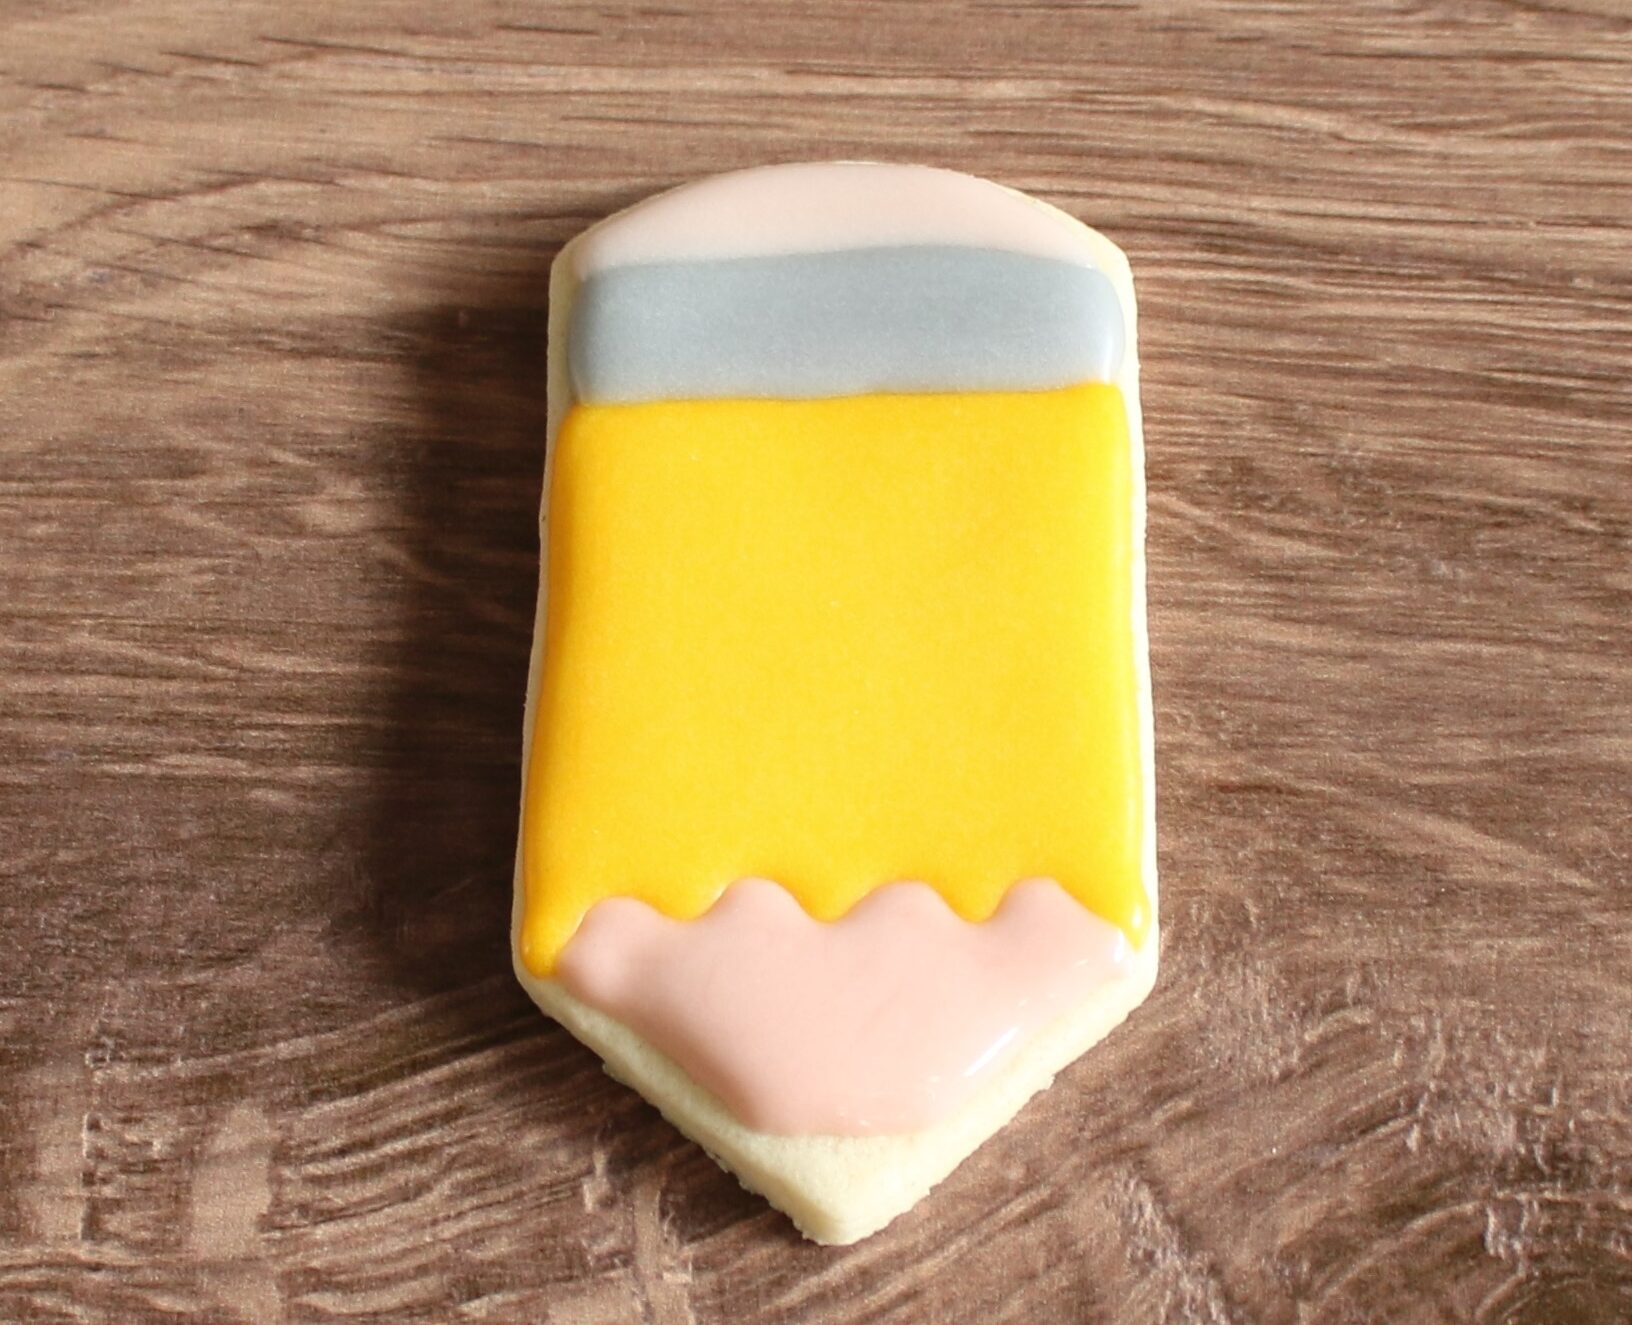
Use light pink icing to pipe on the eraser and the top of the pencil. Make sure to leave a little space for the graphite tip.
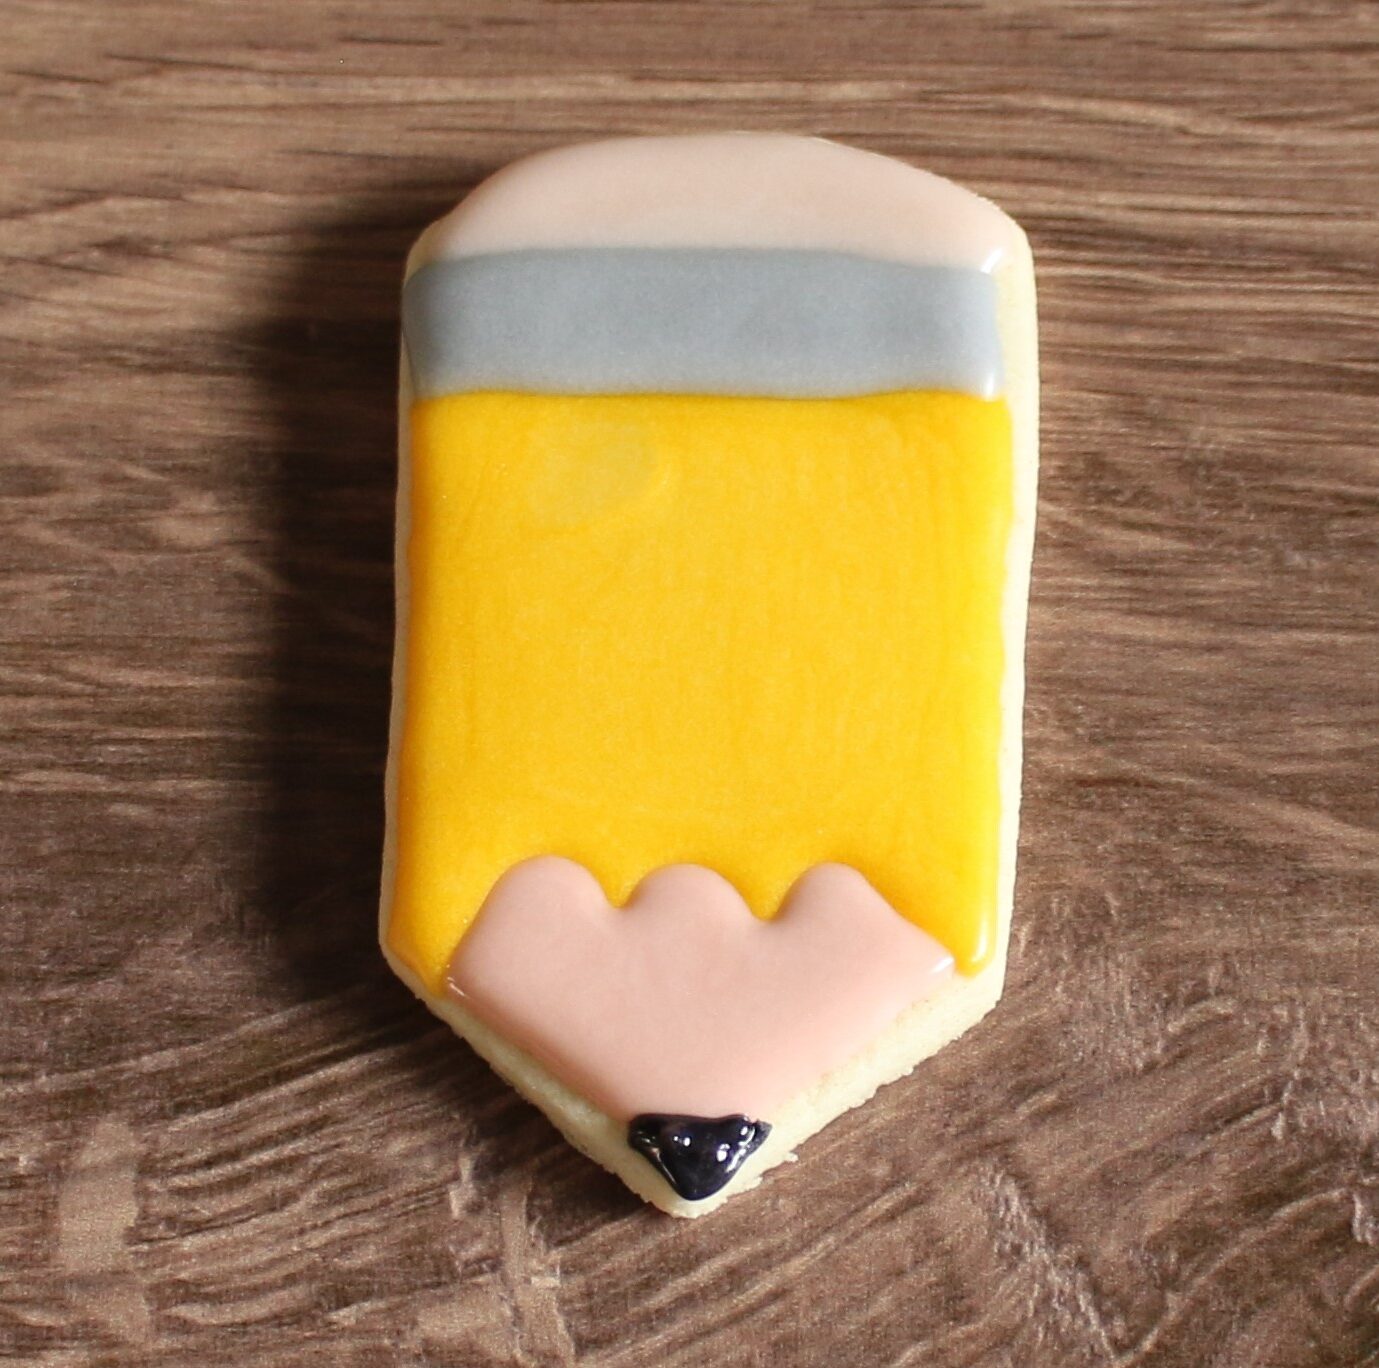
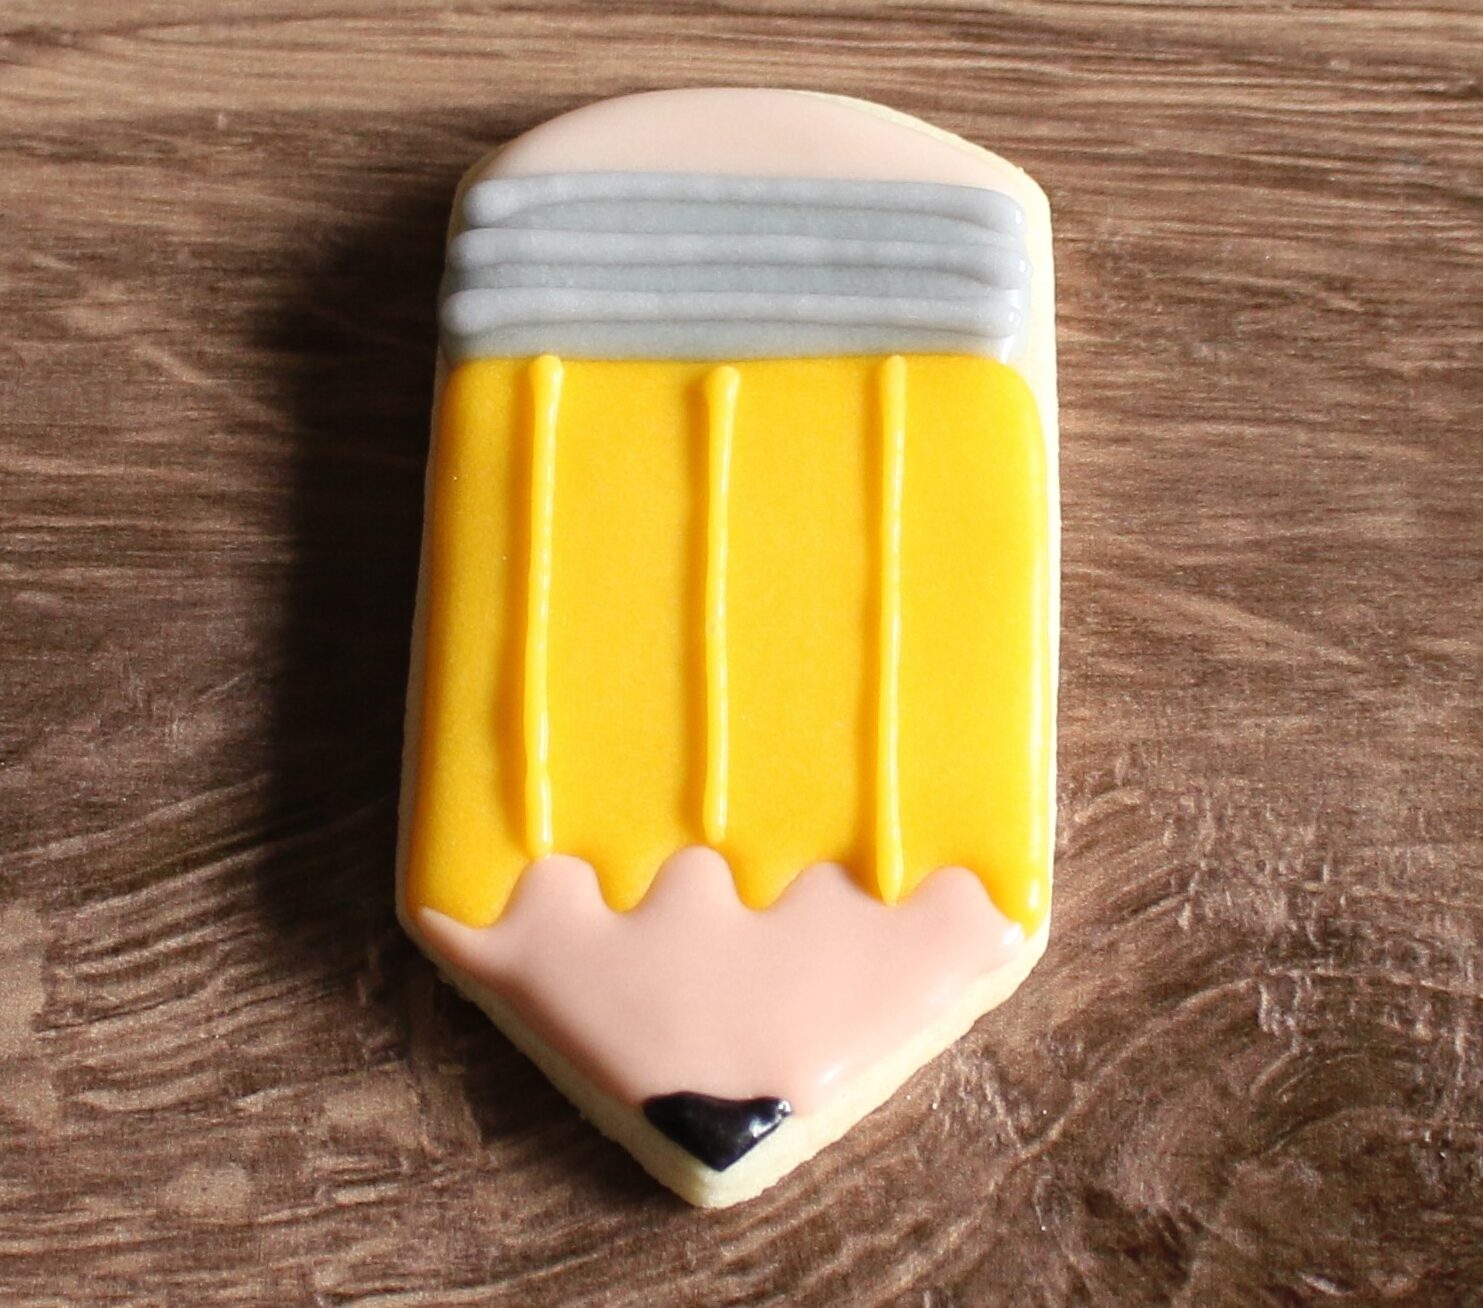
Use black icing to pipe a little triangle for the pencil tip.
Use grey icing to pipe three horizontal lines over the dried grey icing. Avoid letting the lines touch or they will blend together. Then use yellow icing to pipe three vertical lines.
Backpack
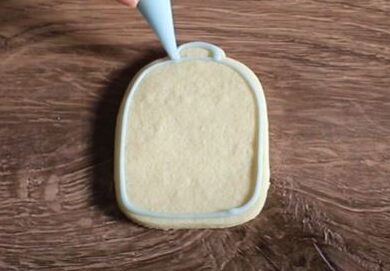
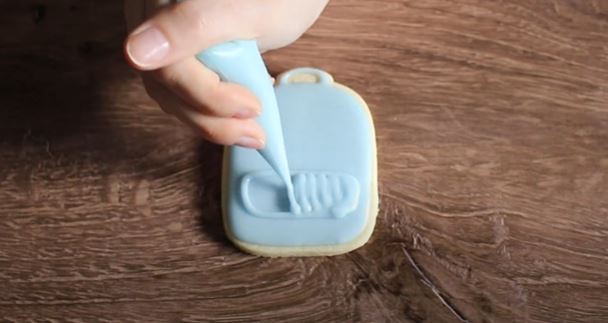
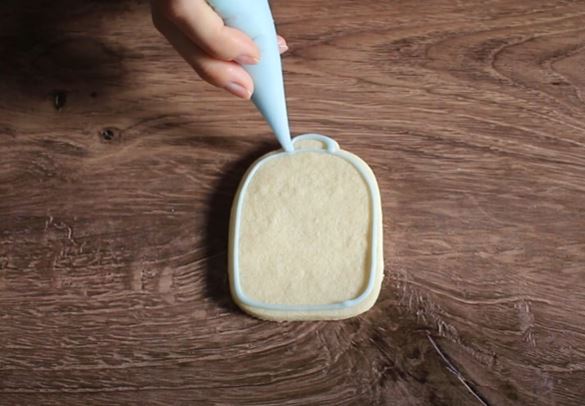
To make a simplistic backpack, use blue icing to outline the cookie, but when you reach the top, pipe a small curved line to make the strap. Fill in the cookie with blue icing and then let this dry for 5 minutes.
Then add a slightly rectangle shape to make a pocket and fill in.
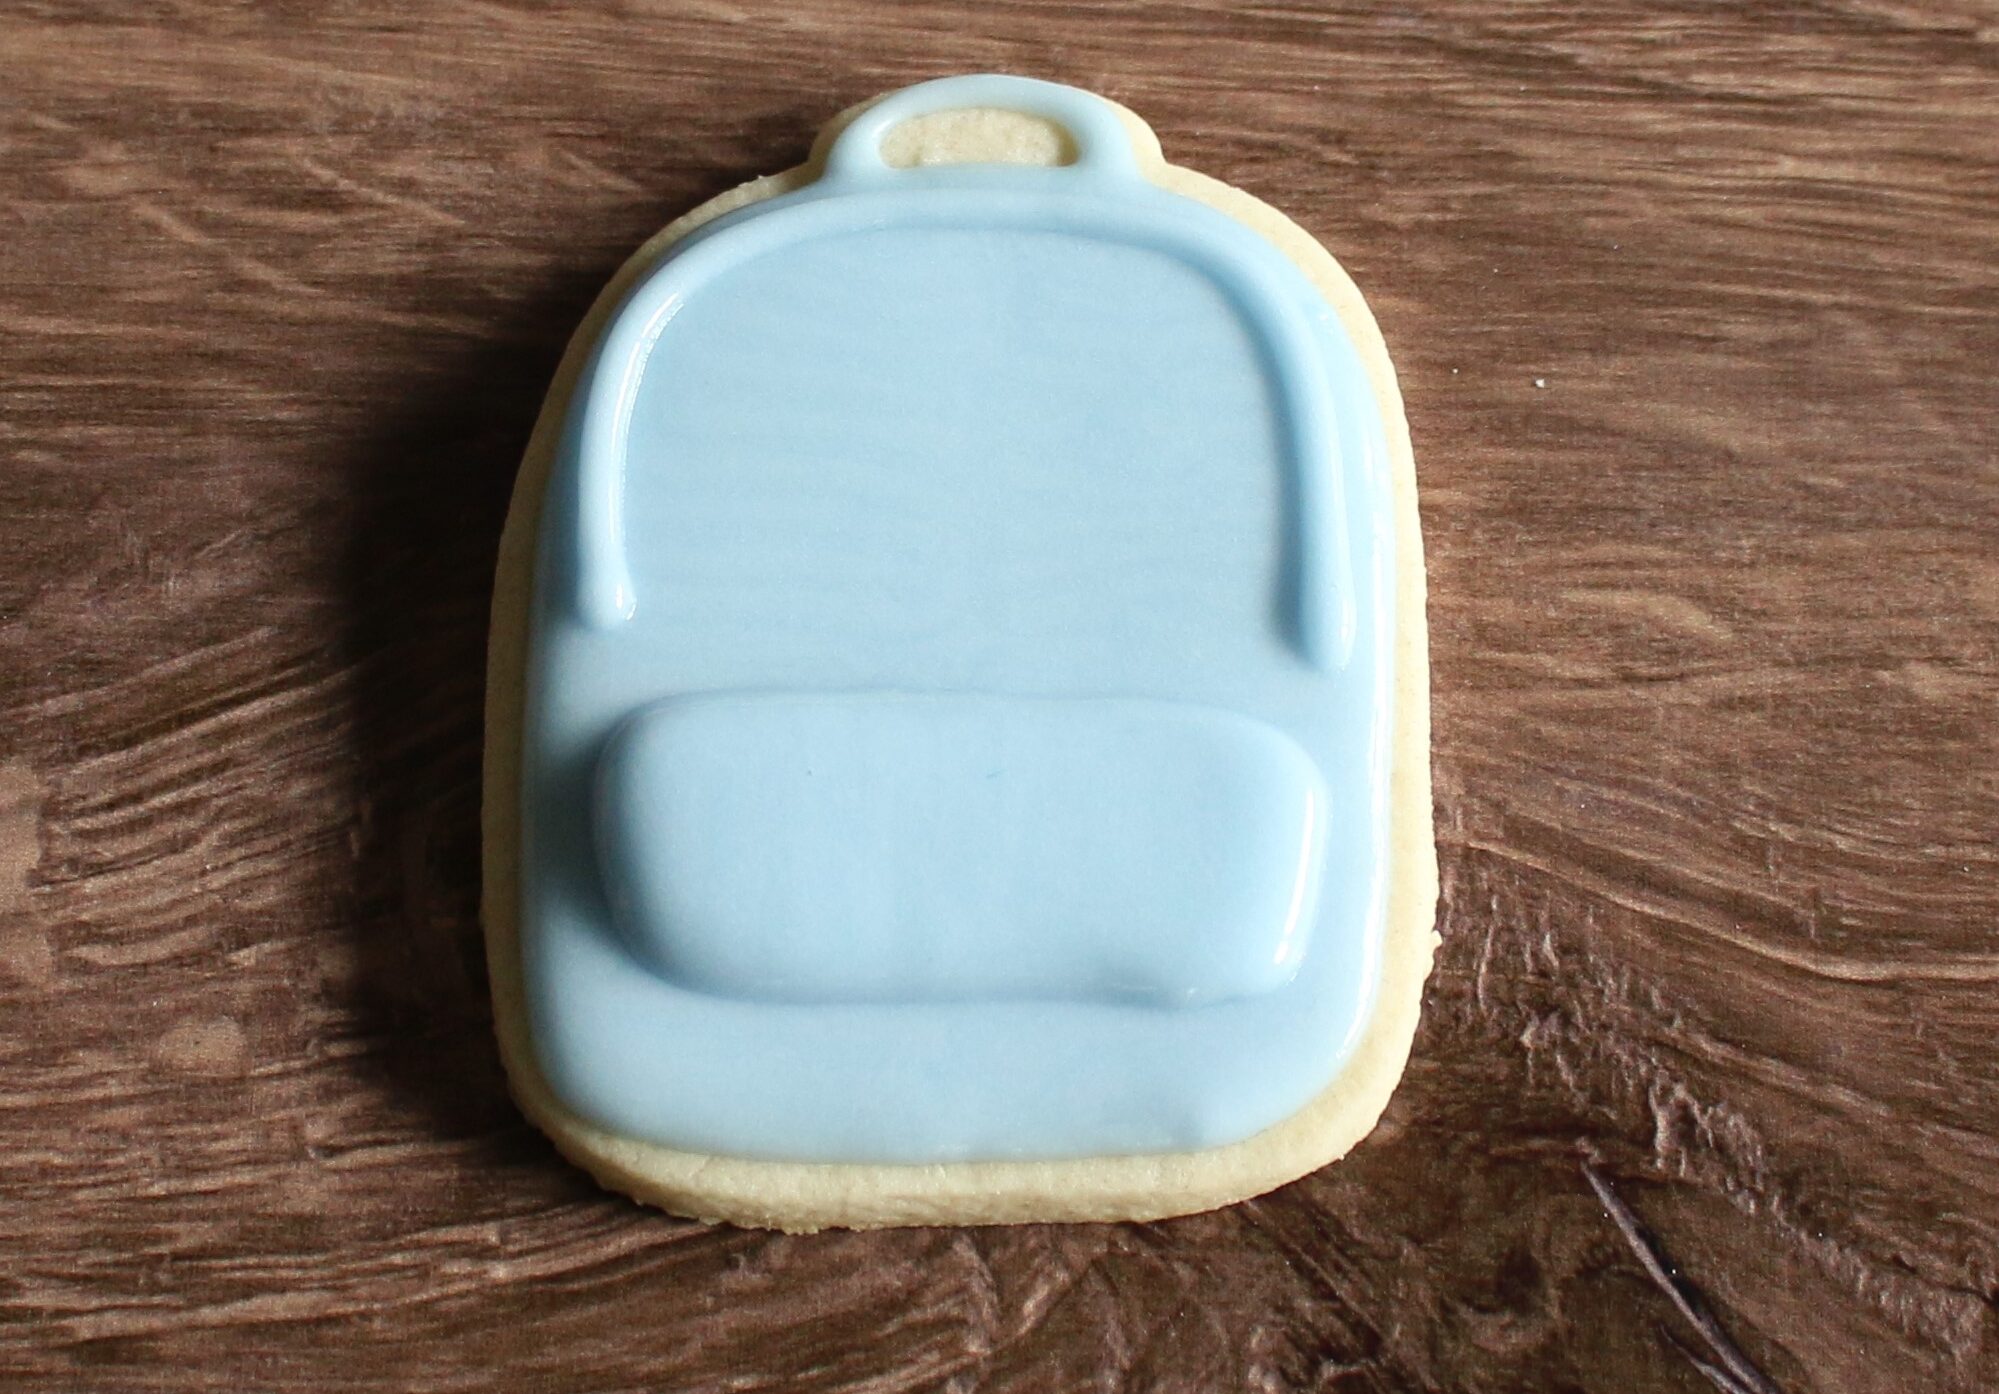
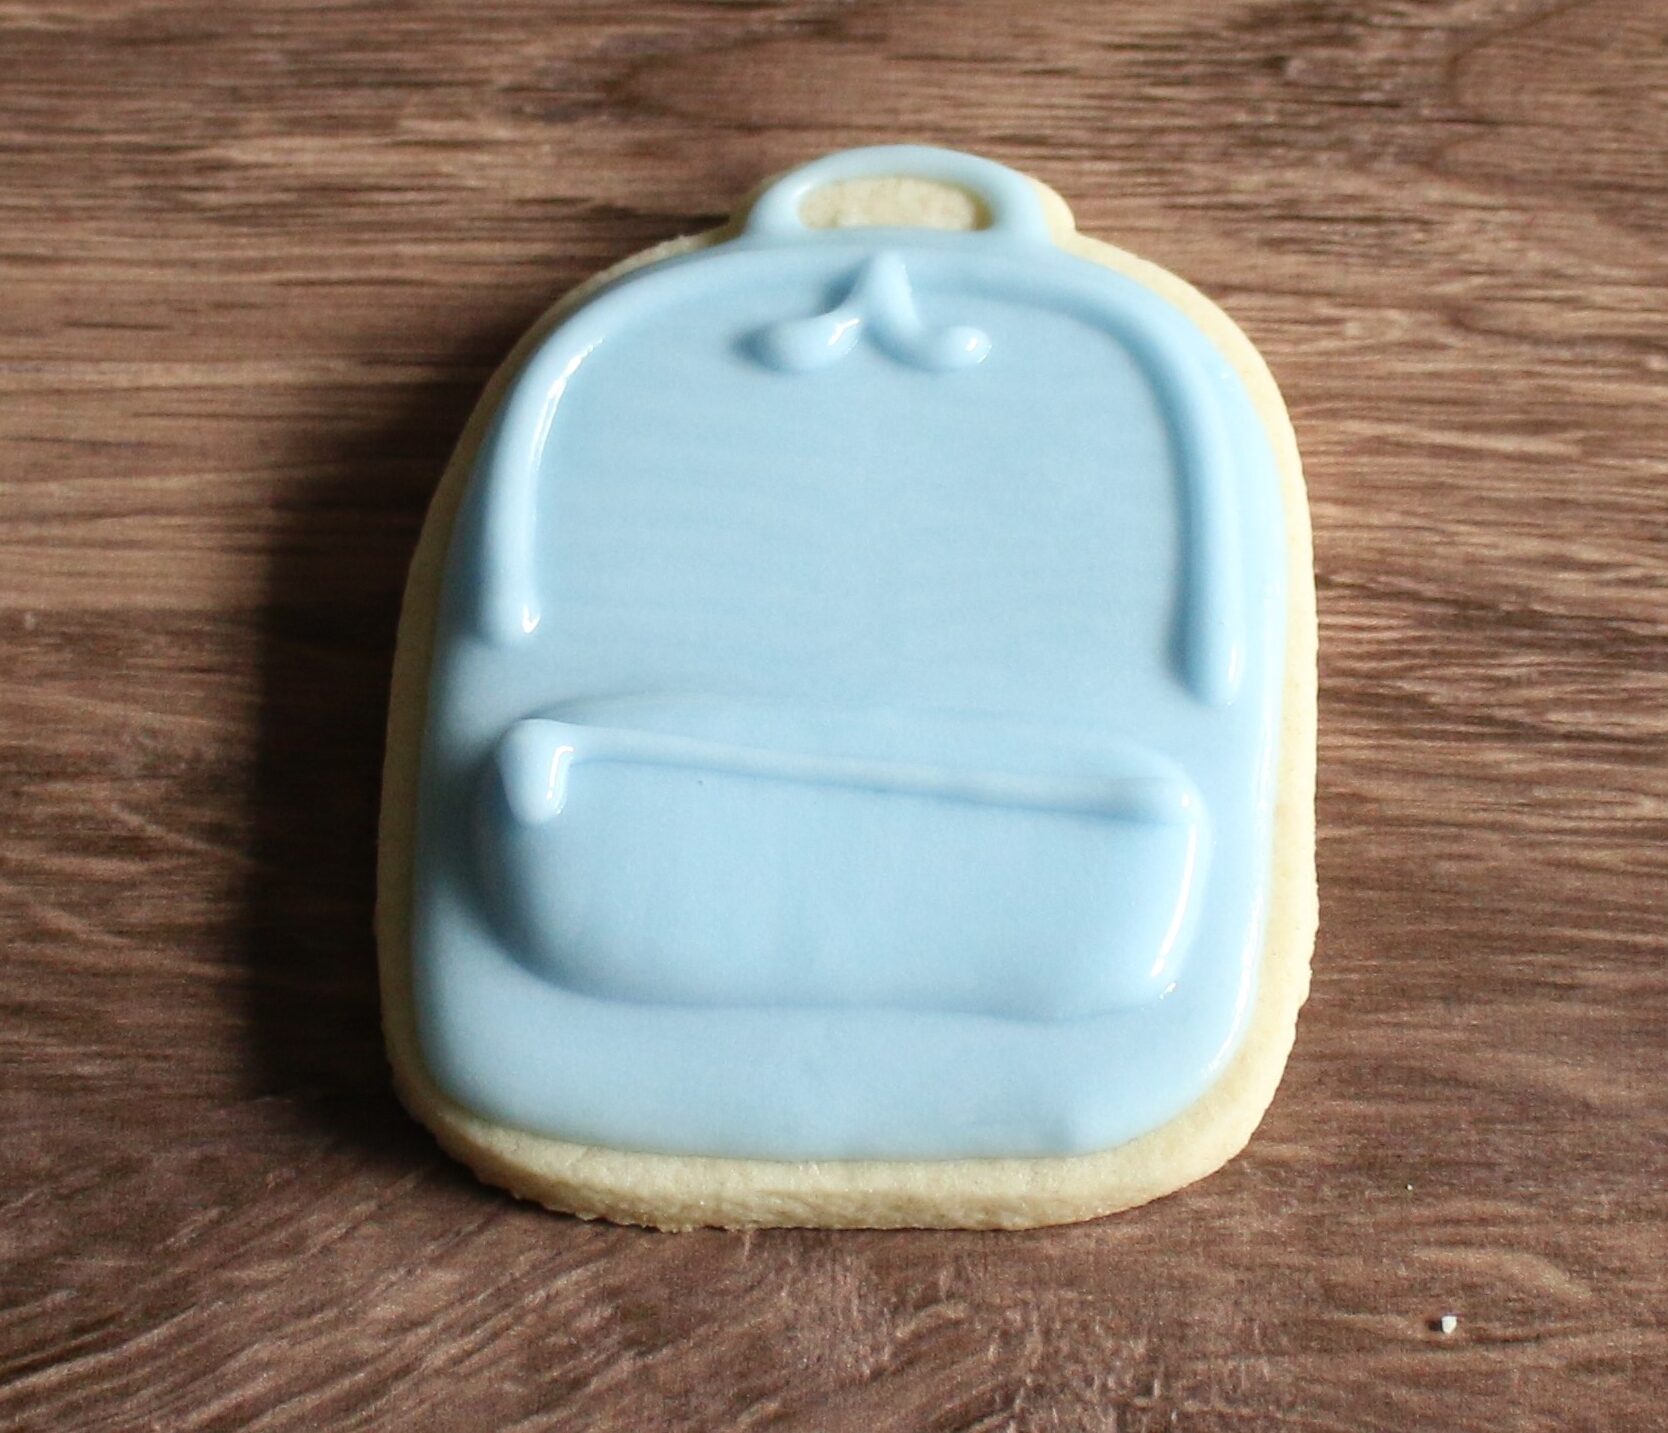
Pipe a curved line on top, add a bow and a zipper! Repeat this design using green or yellow icing.
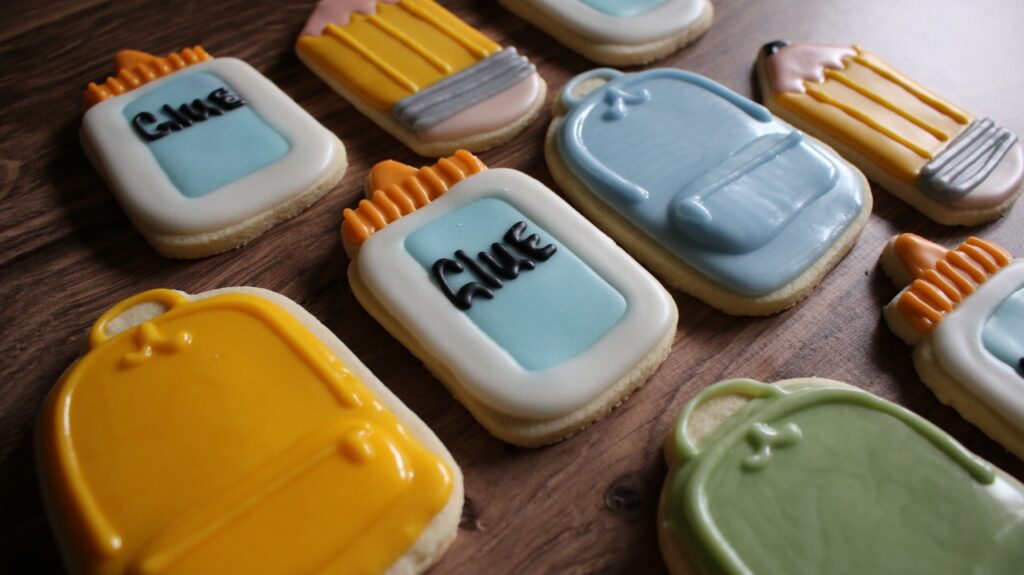
The school themed sugar cookies are ready to gift/eat/share!
How Long do Iced Cookies Need to Dry?
It can take between 12-24 hours depending on the weather but it also depends on how humid your kitchen is. It can also depend on how runny your icing was when piping. To be sure the cookies are fully dry when packaging or serving, I recommend letting the cookies dry overnight.
Storing Iced Sugar Cookies
- Sugar cookies can be stored in an air tight container at room temperature for up to 1 week
- Don’t stack cookies on top of each other as they are still delicate even when dried. But if you have to, lay parchment paper in-between each layer.
If you recreate this, tag me on Instagram #alissasbakeshop – I’d love to see!
RECIPE CARD
Back To School Sugar Cookies
Equipment
- Spatula
Ingredients
Sugar Cookies
- 1 batch soft cut-out sugar cookies
Royal Icing
- 1 batch easy royal icing recipe
Instructions
- Make 1 batch of the sugar cookie recipe. While the cookies cool, make the royal icing. Allow the cookies to cool completely before decorating.
- Dye food coloring according to the chart in the blog post.
Glue Bottle
- Pipe a blue rectangle in the center and fill in. Let dry for 5 minutes.

- Use white icing to pipe around the border of the cookies, then fill in. Let dry for 5 minutes.
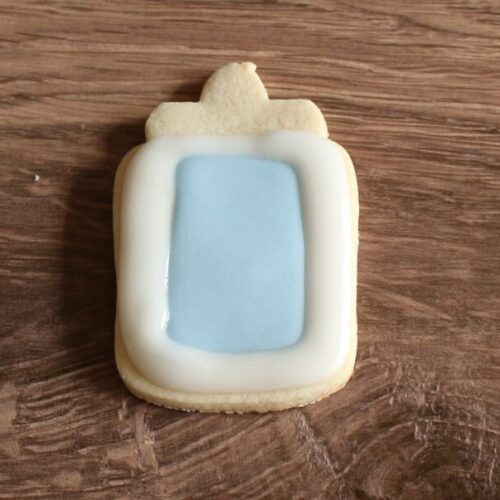
- Outline the top of the glue bottle with orange icing and fill in. Then, once that has dried, add little lines to the cap. Finally, write the word glue in black icing in the center!

Pencil
- Start by outlining the cookie about one inch up from the round end with yellow icing. When you reach the top, make an up and down motion, then fill it in with icing.

- Once the yellow has dried for a few minutes, pipe a small grey rectangle and fill in.
- Once the grey icing is set, use light pink icing to pipe on the eraser and the top of the pencil.

- Use black icing to pipe a little triangle for the pencil tip. Use grey icing to pipe three horizontal lines over the dried grey icing. Avoid letting the lines touch or they will blend together. Then use yellow icing to pipe three vertical lines.

Backpack
- Use blue icing to outline the cookie, but when you reach the top, pipe a small curved line to make the strap. Fill in the cookie with blue icing and then let this dry for 5 minutes.
- Then add a slightly rectangle shape to make a pocket and fill in.

- Pipe a curved line on top, add a bow and a zipper! Repeat this design using green or yellow icing.
- Let cookies dry for 12-24 hours or overnight before putting into a cellophane bag or box.
Notes
- Freezing: You can freeze plain or decorated cookies for 2 months. Let the cookies thaw before serving. Cookie dough can be frozen up to 2 months. Let the dough thaw before rolling but not all the way until room temperature.
- Decorate: Ice cookies with royal icing. See my easy royal icing recipe with egg whites to answer all your royal icing questions. This royal icing recipe was made to pair with these sugar cookies. The cookies are buttery and not overly sweet, so the icing gives it a nice sweetness.
- Tools: The things that help me bake the perfect cookies: 2 Nordic Baking Pans 13 x 18 inches(Two pans speeds up the baking process) | Stand mixer or Hand held mixer | AmeriColor soft gel paste food coloring | Piping bags |Rubber spatula | Digital scale | Rolling pin
