North Star Gingerbread Cookies
During the winter, the nighttime can be freezing but oftentimes the skies are clear for stargazing. These gingerbread cookies are inspired by the bright north star. This post will show you how to make simple designs with royal icing and how to add edible glitter on north star gingerbread cookies.
This site uses affiliate links which may result in a small commission at no cost to you. Thanks for supporting Midwest & Wonder!

A warm spice filled gingerbread cookie is perfect on a cold winter day. These gingerbread cookies are nostalgic and nice to eat on their own or with a hot cup of tea. These cookies present well and make great gifts!
What Ingredients Do I Need?
To make these north star gingerbread cookies, I made a batch of my gingerbread cookies. The ingredients that make up gingerbread cookies are so important to get that nice warm flavor.
- Molasses + spices to create a warm and cozy flavor
- All-purpose flour as a stabilizer and thickener
- Butter for flavor and chew
- Salt + vanilla extract for flavor
- Baking soda as a rising agent
- Egg for structure and adding a slight chew
- Brown sugar to add sweetness and compliment the molasses
Optional tools: Edible glitter and an edible food brush to make the stars shine!
Baking the Cookies
The trick to getting great gingerbread cookies is chilling the dough for enough time. This recipe calls for at least 2 hours of chilling time or preferably overnight. I know how tempting it is to roll out the dough and bake cookies asap, but when the dough relaxes in the fridge and firms, the end result will be much tastier. Gingerbread cookie dough is also too sticky to work with right out of the mixing bowl.
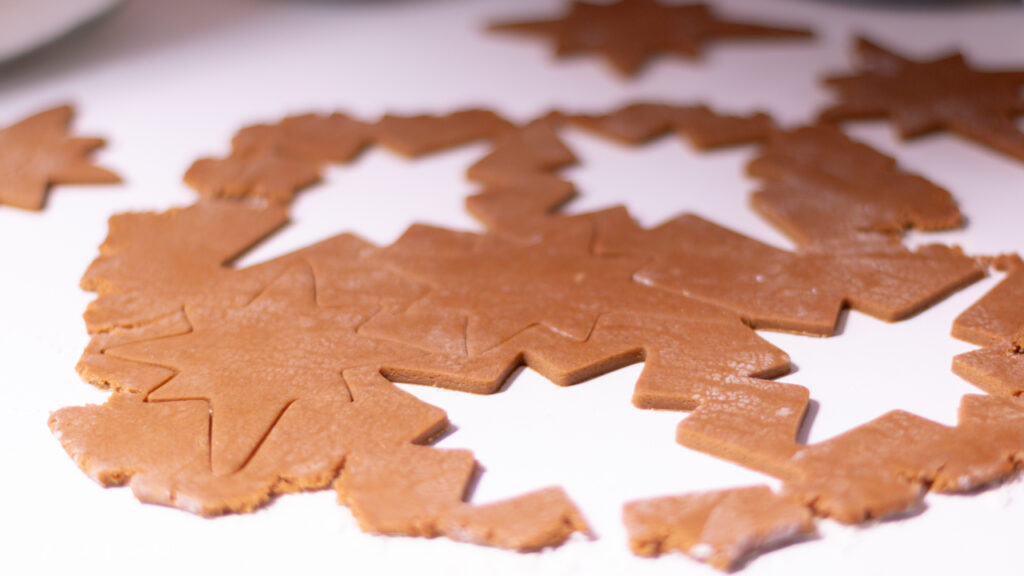
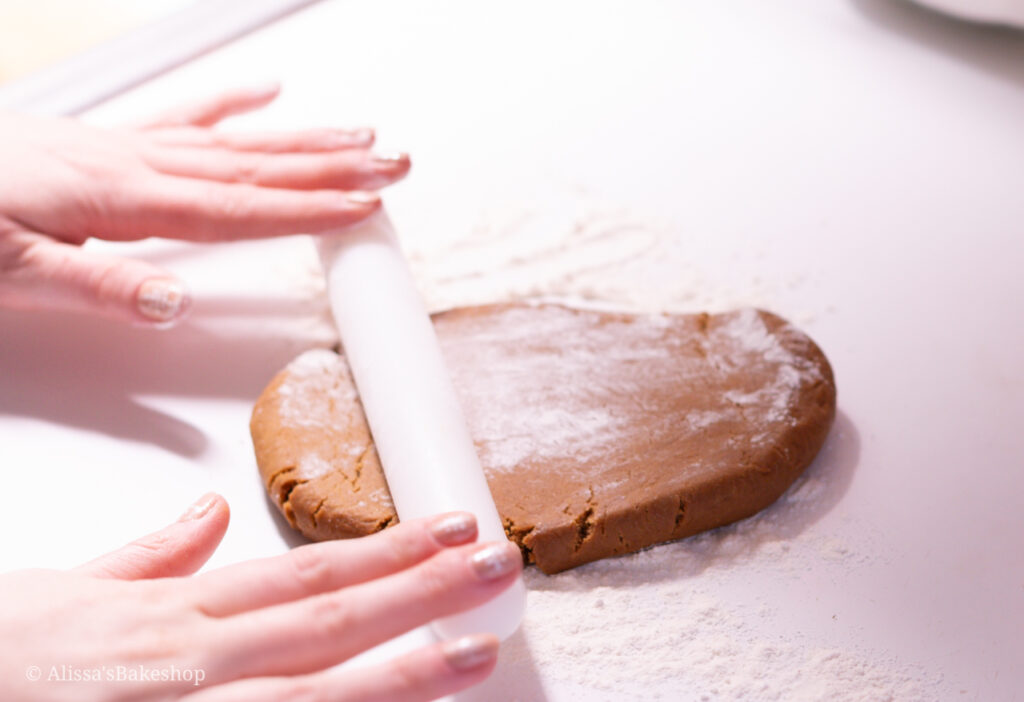
After taking the dough out of the refrigerator, you don’t have to wait for it to reach room temperature. Flour your counter and hands! It will be a little hard to roll at first and may crack at the edges, but that’s okay. As the dough warms, it will get sticky so keep that flour nearby.
Roll the dough to 1/4-inch thick and use a north star cookie cutter to cut out shapes.
Follow the recipe exactly and only bake these cookies for 7-8 minutes. These cookies bake up soft and pillowy, and will firm up as they cool. These cookies are softer than what you use to build gingerbread houses so I don’t recommend this recipe for building.
Making Royal Icing
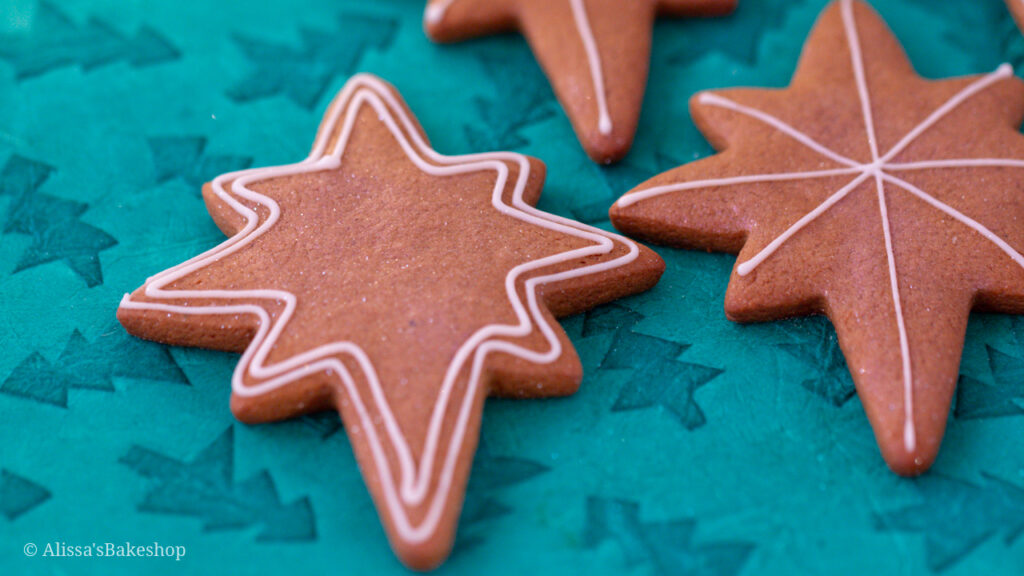
Sometimes cookies can look pretty when decorated with simple designs. Royal icing makes a statement on a gingerbread cookie because of the contrast in colors. To decorate these north star gingerbread cookies, I use my easy 2 ingredient royal icing.
Because the design is so simple, you may have leftover icing. You can keep royal icing in the refrigerator for a week or in the freezer for up to 2 months. Make sure to thaw frozen icing in the refrigerator first.
Decorating North Star Gingerbread Cookies
Add 1/3 cup royal icing to a piping bag and then use scissors to cut a small hole across the tip of the bag. Tie the bag or use a clip or rubber band to keep icing from spilling out of the top.
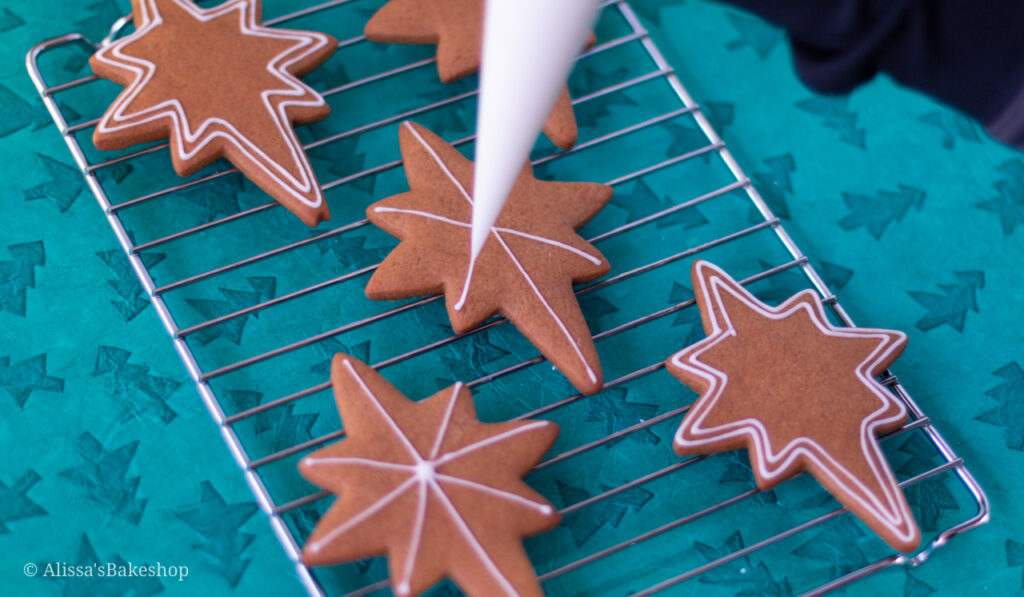
For the first design, gently squeeze the piping bag with firm pressure starting at the top of the star and bring the icing down to the opposite point. Then, pipe 2 more lines across as shown above.
For the second design, we are going to outline the cookie with royal icing. You don’t have to outline in one continuous piping motion. For cookies that have lots of corners, just ice one edge of the cookie at a time.
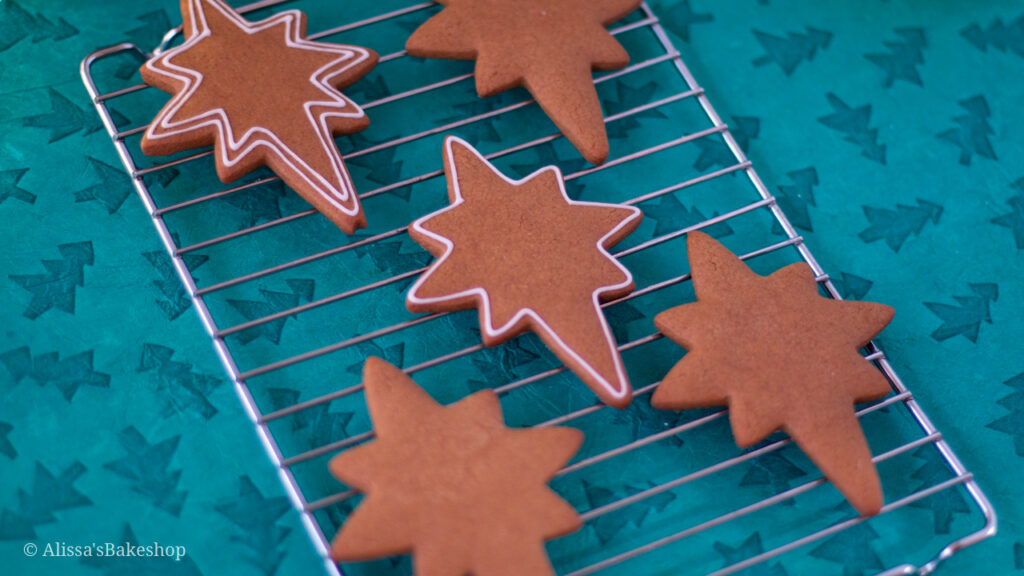
Add a second outline following the first one, but leave space in-between. Refer to the picture below.

To make these north star gingerbread cookies sparkle like stars, add some edible glitter but make sure the royal icing is fully dried. Use a fluffy food safe brush to gently add on glitter.
Storing Cookies
Cookies will stay fresh in an airtight container for five days! These cookies can be frozen for up to 2 months.
Recipe Card
Soft Gingerbread Cookies
Equipment
Ingredients
Soft Gingerbread Cookies
- 3 cups all-purpose flour (360g)
- 1 tsp baking soda
- 2 tbsp ground ginger
- 2 tsp ground cinnamon
- ½ tsp kosher salt
- ½ cup unsalted butter, room temperature (57g)
- ½ cup granulated sugar, or light brown sugar (100g)
- ½ cup molasses (use unsulphured, do not use blackstrap! I use Grandma’s brand) (170g)
- 1 egg, room temperature
- 1 ½ tsp vanilla extract
Royal Icing
- 3 egg whites or 3.4 fl oz pasteurized liquid egg whites
- 4 cups powdered sugar (460g)
- 1 tsp vanilla extract optional
Instructions
Soft Gingerbread Cookies
- In a large bowl, whisk together the flour, baking soda, ginger, cinnamon, and salt. Set aside.3 cups all-purpose flour, 1 tsp baking soda, 2 tbsp ground ginger, 2 tsp ground cinnamon, ½ tsp kosher salt
- With a stand mixer with the paddle attachment or a handheld mixture, beat the butter for 30 seconds on medium-high speed. Add the sugar and beat for 2 minutes on medium speed. Add in the molasses and mix until combined.½ cup unsalted butter, room temperature, ½ cup granulated sugar, or light brown sugar, ½ cup molasses (use unsulphured, do not use blackstrap! I use Grandma’s brand)
- Add the egg and vanilla extract and beat on medium speed until incorporated.1 egg, room temperature, 1 ½ tsp vanilla extract
- Scrap down the sides of your bowl with a spatula. If it looks curdled, that's okay. Add the dry ingredients in two parts, mixing on low speed until combined.
- The dough will be sticky and soft. Gently knead it to bring together into a ball. Wrap in plastic wrap and gently flatten into a disc with your palm. Chill the dough for at least 2 hours, preferably overnight or up to three days in the refrigerator. This is important because the dough is too soft and sticky to roll out and cut shapes. Do not skip chilling.
- After the dough has chilled, preheat the oven to 350°F (177°C). Line baking sheets with parchment paper or silicone mats.
- Take out the chilled dough and flour your work surface. Don't wait for this dough to reach room temperature. Roll the chilled dough discs to be about 1/4-inch thick, making half turns after each roll so the dough is even thickness. It's okay if it cracks on the sides, just keep working the dough.
- Cut out your dough with cookie cutters and place them about 1-inch apart on the baking sheet. Bake for 7-8 minutes for cookies. Don't over-bake these or they will be too hard. When you take them out of the oven, they may look puffy and extra soft, but as they cool they will firm up. Tranfer to a wire cooling rack.
Royal Icing
- Attach the whisk attachment to your stand mixer. If using liquid egg whites, measure out 3.4 fl oz. If using fresh eggs, separate your egg whites from the yolks. In the bowl of a stand mixer, add your egg whites. Beat the egg whites at low speed until frothy, about 30 seconds.3 egg whites or 3.4 fl oz pasteurized liquid egg whites, 4 cups powdered sugar
- Add powdered sugar one cup at a time and mix on low speed in-between additions. (Add optional vanilla extract)After all the sugar is added, set the speed to medium-high and beat until stiff peaks form (5-8 minutes). When removing the whisk attachment, the peaks should stand up without running back into the bowl.
- Scoop the royal icing into piping bags and decorate your gingerbread men. Royal icing dries hard.
- Store undecorated or decorated cookies at room temperature for up to 5 days in an airtight container.
