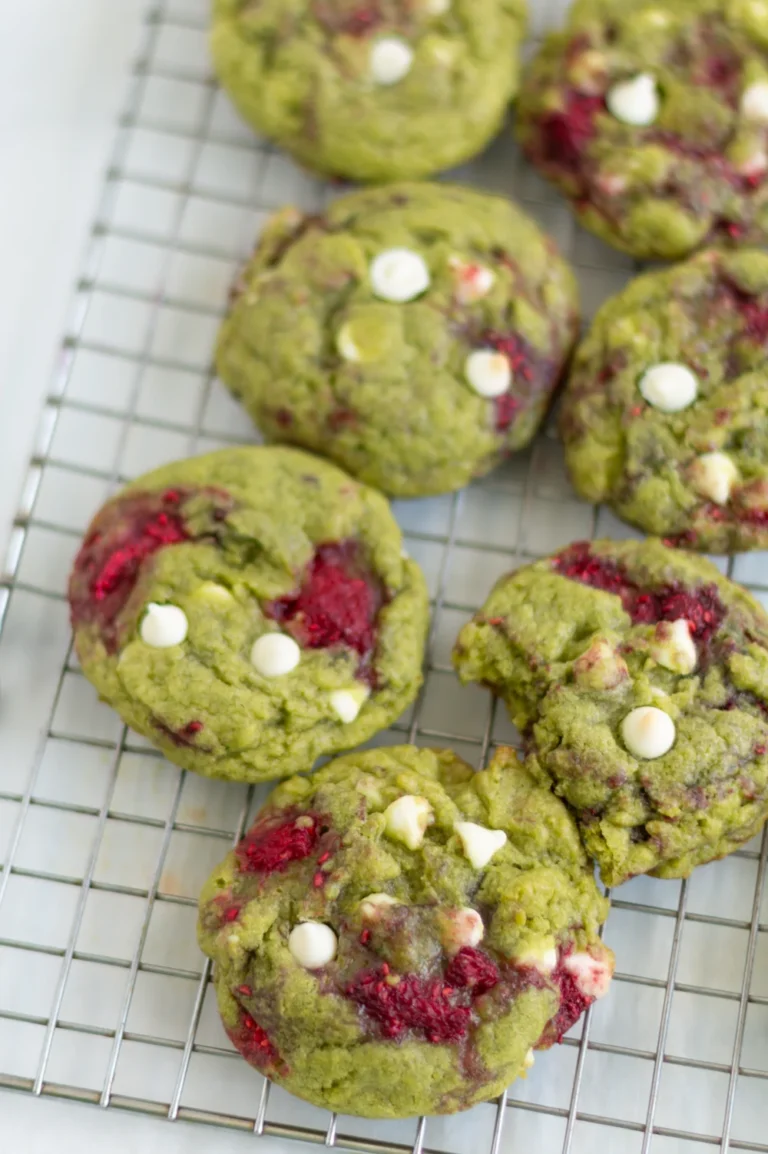
Marbled Heart Cookies
Let’s make marbled heart cookies using royal icing and food gel dye! It’s easy to make, no piping bags required, and each cookie looks unique. These are fun to give as gifts or for a party!
This site uses affiliate links which may result in a small commission at no cost to you. Thanks for supporting Midwest & Wonder!

Why You’ll Love Marbling Sugar Cookies
Just a fair warning, marbling sugar cookies can be a little messy. It can get on your fingers and drip onto the table but dipping cookies in royal icing is fun. At least to me it is. It’s a nice break from using piping bags and it’s a fast way to flood cookies (minus the hand cramps).
Another cool thing about dipping cookies is that no two marbled sugar cookies will look alike! Each time you dip the cookies, the gel food dye pattern changes, especially if you add more than one gel color. You can do this cookie project with kids, but be careful when using the food dye! It will come off hands after a few washes.


Overview: Baking Sugar Cookies
The sugar cookies in this recipe are my soft cut-out sugar cookie recipe.
- Make sugar cookie dough. Cream the butter and sugar together. Add the egg, vanilla extract and mix. Add the all-purpose flour and salt and mix until combined. Don’t over mix! The dough can be slightly kneaded on a flour surface but don’t over do it or that results in tough cookies.
- Chill the dough. Wrapping the dough in plastic wrap in two pieces is easier to work with. Chill the dough for at least 30 minutes but it can be chilled overnight! If chilling overnight, take out the dough 10 minutes before rolling or it’ll be too hard to work with. (TIP: Making the royal icing during the chilling saves time! Just cover the bowl with a damp paper towel to prevent crusting)
- Roll out the dough. The dough will be cold and a little difficult to roll. It might have cracks around the edges- that’s okay! Roll the dough out to 1/4 inch thickness.
- Cut into heart shapes. You can use any heart shape cookie cutter for these cookies. My favorite brand of cutters is the Ann Clark brand. The cutters are metal which gives that cleanest cut and easy to clean. The heart cutter I used is this 3 3/8-inch which is a great size for medium cookies.
- Bake! These medium size cookies take about 8-10 minutes. Look for slightly golden bottoms. For cookies less than 3 inches, bake for 7-8 minutes. Cookies larger than 4 inch can bake for 10-11 minutes. Make sure to keep an eye out!
- Marble! More royal icing info below ?

How to Make Royal Icing For Dipping
Finding the perfect royal icing consistency can take some practice but I’m going to share my best tips.
The royal icing consistency I use is called pipe-able consistency. This type is used to outline/flood/lettering details. For all the information you need on royal icing, check out my easy royal icing recipe with egg whites.
- While the cookies cool, make the royal icing. Attach a whisk attachment to your stand mixer. Add the liquid egg whites into the bowl and beat on low. Add the powdered sugar one cup at a time to avoid a mess! Whisk on low in-between additions. My recipe doesn’t use vanilla extract. Trust me, it doesn’t need it when paired with my sugar cookie recipe.
- Whip the frosting. Set the stand mixer to medium-high speed and let it whip for 5-8 minutes.
- Tips to know when it’s ready. Remove the whisk attachment and turn it so the peaks are facing up. They should stand pretty straight with a slight curve. Or, take a knife and run a line through the center of the icing in the stand mixer bowl. Count how many seconds it takes for the surface to smooth over. Pipe-able consistency is between 15-18 seconds.

Tools You Need For Marbled Heart Cookies
These tools will help you out when marbling sugar cookies.
- A shallow bowl will make it much easier to dip in the cookie.
- AmeriColor food gel dye is my favorite type of dye. A gel dye won’t add any extra liquid to the icing. Because these dyes are vibrant, you don’t need many drops. For these heart cookies I used soft pink, electric purple, and burgundy.
- Scribe tool or a toothpick to gently mix the food gel with the royal icing.
- A wire cooling rack is really helpful for marbling cookies in case of drips. If there’s excess icing, it will eventually drip down the sides. I put parchment under my wire cooling rack for easy cleaning.
- Edible luster powder is optional. The luster powder is FDA approved according to their website has great shine. With the gold luster paste I then make easy swipes over the cookie to elevate them with the largest, square shaped food safe brush in this set.


How to Marble Heart Sugar Cookies
Now were ready for decorating!
- First, make sure that the cookies are completely cooled and your royal icing is ready. Add parchment paper underneath a wire cooling rack.
- Scoop royal icing into the shallow bowl.
- Add a small drop of each food gel dye color you’re using. With a scribe tool or toothpick, gently create swirl motions to spread out the dye.


- Hold your cookie and dip into the royal icing but don’t push it down. We just want to cover the front of the cookie.
- Lift up the cookie and let the excess royal icing drip off. You can gently shake the cookie.
- Set onto the wire cooling rack. If you have too much icing, it will drip onto the parchment paper.
- Let the top layer of the royal icing (also called the crust) dry, about 10-15 minutes. Add 1/4 tsp vodka (or clear vanilla extract) and luster powder into a tiny bowl and mix to make a paste. If too thick and a drop more liquid. The alcohol evaporates as it dries and leaves the glitter.
- With the square shaped brushed, dip into the luster paint and gently swipe the cookie. I like to swipe one side and keep it simple. Pressing too hard can crack the thin dried surface.
- For the best taste, let the cookies dry overnight before packaging or serving.

How to Store/Gift Marbled Heart Sugar Cookies
Decorated cookies can be stored in an airtight container at room temperature for up to a week. You can freeze decorated cookies in an airtight container for up to 2 months.
Or give these as gifts – 3 different ways.
- These cellophane bags come in multiple sizes. For cookies that are 4 inches or smaller, I purchase the 5×7 inch bags. Add one fully dried cookie into a cellophane bag and tie with ribbon.
- Self sealing bags are another great option that look professional like the single sold cookies at a bakery. ?
- Cookie boxes are so cute and sturdy. They really take the cookie gifting to the next level. Add crinkle paper or parchment paper to the box and add cookies. Wrap with ribbon or add a bow for a final touch.
Watch The Video
RECIPE CARD

Marbled Heart Sugar Cookies
Equipment
Ingredients
- 2 Sticks Unsalted butter (room temperature) 226 g
- 1 Cup + 2 Tbsp Granulated sugar 228 g
- 1 Egg (room temperature)
- 1 1/2 tsp Vanilla extract
- 1 Pinch Salt
- 3 Cups All-purpose flour 360 g
Easy Royal Icing Recipe with Egg Whites
- 3 egg whites or about 3.4 fl oz pasteurized liquid egg whites
- 4 cups powdered sugar 450 grams (1 lb)
Instructions
- In the bowl of a stand mixer, equip the paddle attachment. If using a hand held mixer, equip beaters. Mix the butter on high speed for 30 seconds until creamy.
- Add the sugar and beat for 2 minutes on high speed. Scrape down the sides of the bowl with a spatula.
- Add the egg, vanilla extract, and pinch of salt and mix on medium until just combined.
- Add in half of the flour and mix until incorporated, then add the other half. Stop mixing when the flour has incorporated and the dough comes together.
- Spread out a piece of plastic wrap onto the counter. Turn out the dough onto the plastic wrap. If the dough is slightly crumbly, gently knead it together. Place in the refrigerator for 30 minutes.
- Once chilled, preheat the oven to 350℉ (177℃). Prepare your baking trays with parchment paper.
- Divide the dough into two parts. Lightly flour a clean flat surface and place the dough on top. Gently knead the dough and press flat with your palm. Roll out the dough, turning it as you roll for even thickness. If it's sticky, sprinkle flour on top of the dough. Roll the dough out to 1/4 inch thick.
- Cut out your shapes and place on a baking tray, 2 inches apart. 3-4 inch shapes should be baked for 9-10 minutes. Shapes smaller than 3 inches should bake for 7-8 minutes. Shapes larger than 4 inches should bake for 10-11 minutes.
- Once the oven goes off, take out the cookies and move to a cooling rack. Don't let them sit on the hot pan or they will keep baking.
- Allow the cookies to cool completely before decorating.
- Decorate cookies with royal icing. Let the royal icing air dry before covering. For gifting or mailing, let the icing dry for 12 hours or more.
- Plain cookies or decorated cookies can last in an airtight container for 1 week.
Easy Royal Icing Recipe with Egg Whites
- Attach the whisk attachment to your stand mixer. If using liquid egg whites, measure out 3.4 fl oz
- If using fresh eggs, separate your egg whites from the yolks. In the bowl of a stand mixer, add your egg whites.
- Beat the egg whites at low speed until frothy, about 30 seconds.
- Add powdered sugar one cup at a time and mix on low speed in-between additions.
- After all the sugar is added, set the speed to medium-high and beat until stiff peaks form (5-8 minutes). When removing the whisk attachment, the peaks should stand up without running back into the bowl.
- Your icing is ready! Add to the shallow bowl. If making this icing ahead of time or during the dough chilling process, cover with a damp paper towel to avoid crusting over.
Marbling
- Make sure cookies are completely cooled and your royal icing is ready. Add parchment paper underneath a wire cooling rack.
- Scoop royal icing into the shallow bowl.
- Add a small drop of each food gel dye color you're using. With a scribe tool or toothpick, gently create swirl motions to spread out the dye.
- Hold your cookie and dip into the royal icing but don't push it down. Lift up the cookie and let the excess royal icing drip off. You can gently shake the cookie.
- Set cookie onto the wire cooling rack. If you have too much icing, it will drip onto the parchment paper.
- Let the top layer of the royal icing (also called crusting) dry about 10-15 minutes. Add 1/4 tsp vodka (or clear vanilla extract) and luster powder into a tiny bowl and mix to make a paste. If too thick and a drop more liquid. The alcohol evaporates as it dries and leaves the glitter.
- With the square shaped brushed, dip into the luster paint and gently swipe the cookie. Pressing too hard can crack the thin dried surface. For the best taste, let the cookies dry overnight before packaging or serving.
Notes
- Making the royal icing during the chilling saves time! Just cover the bowl with a damp paper towel to prevent crusting.
- Freezing: You can freeze plain or decorated cookies for 2 months. Let the cookies thaw before serving. Cookie dough can be frozen up to 2 months. Let the dough thaw before rolling but not all the way until room temperature. We can being from step 7 above with slightly chilled dough.
- Decorate: Ice cookies with royal icing. See my easy royal icing recipe with egg whites to answer all your royal icing questions.This royal icing recipe was made to pair with these sugar cookies. The cookies are buttery and not overly sweet, so the icing gives it a nice sweetness.
- Tools: The things that help me bake the perfect cookies: 2 Nordic Baking Pans 13 x 18 inches (Two pans speeds up the baking process) | Stand mixer or Hand held mixer | AmeriColor soft gel paste food coloring | Piping bags | Rubber spatula | Digital scale | Rolling pin


One Comment