Fall Sugar Cookies: Squirrels, Leaves, Acorns
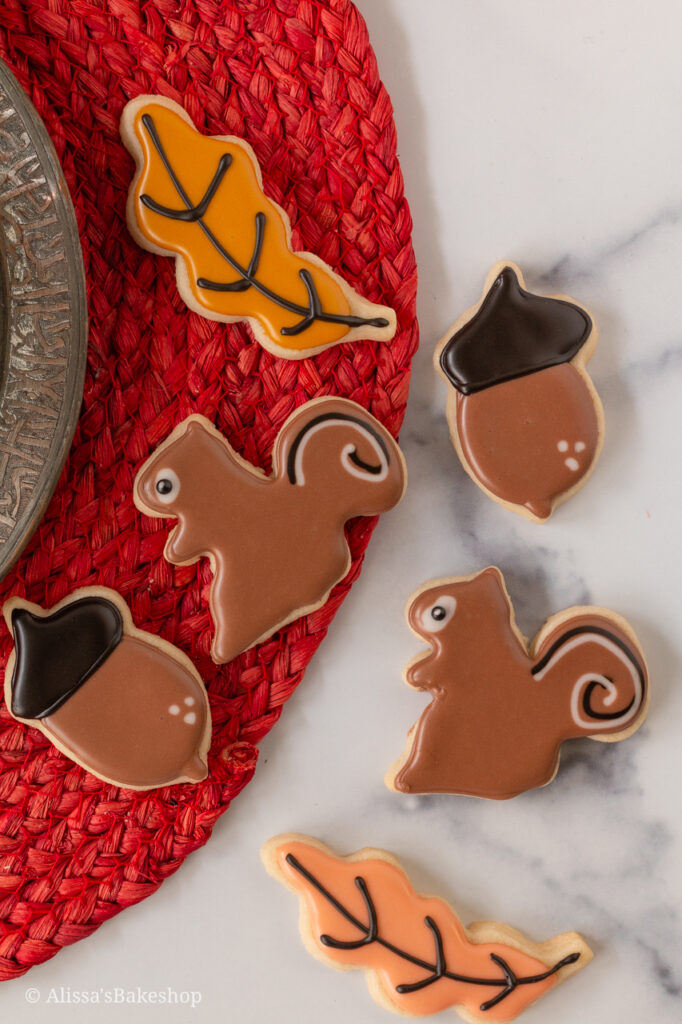
Cute squirrels, little acorns, warm colored leaves – all the things you see on a nice autumn day. This post will show you how to decorate fall sugar cookies, step by step.
How to Get Started
In order to make these cookies, we need a few tools.
- Squirrel cookie cutter (I got mine awhile ago, but heres a similar one!)
- Acorn cookie cutter
- Leaf cookie cutter
- Piping bags
- AmeriColor gel food dye (specific colors below)
Step 1: Bake the Sugar Cookies
To make these cookies I used my easy soft cut-out sugar cookie recipe, also listed on the recipe card below!
Make the cookie dough and roll it out to be 1/4 of an inch thick. Cookies that are slightly thicker will be soft in the inside and slightly crisp on the outside! Chilling the dough will help the cookies keep their shape when baked.
After the cookies come out of the oven, transfer them to the cooling rack!
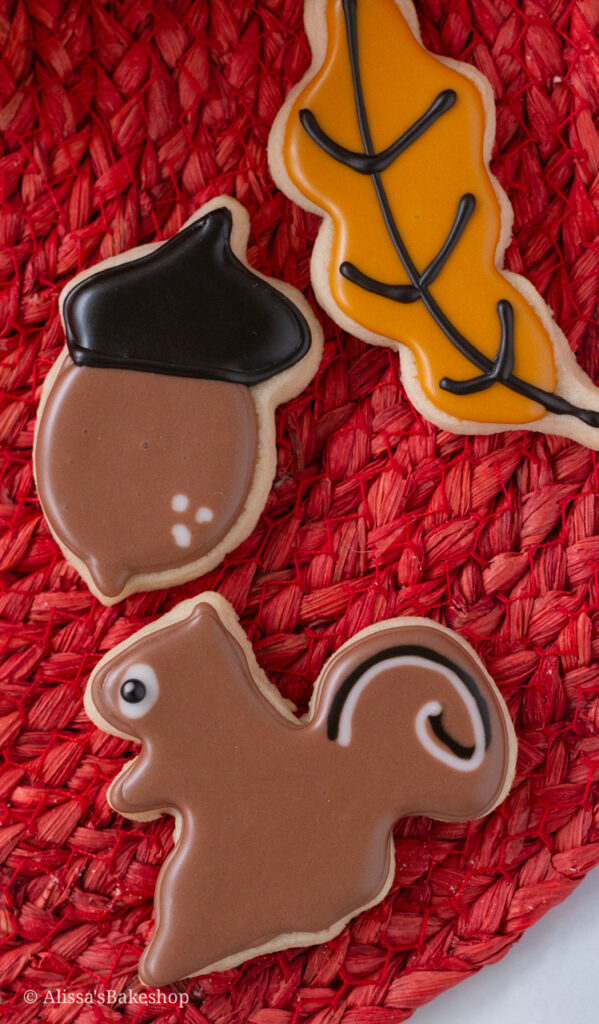
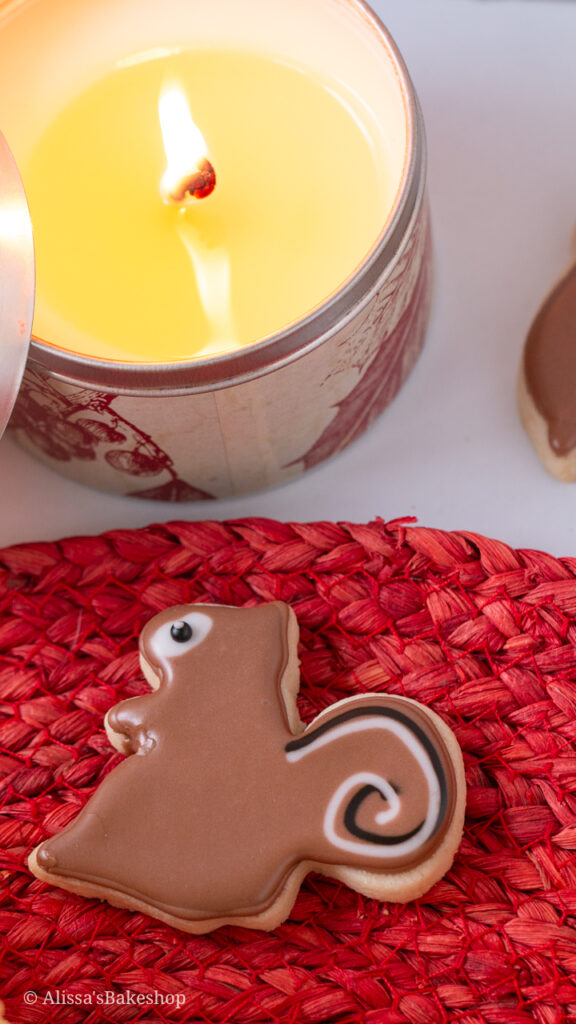
Step 2: Make/Dye Royal Icing
While the cookies cool it’s time to make the icing. I used my easy royal icing with egg whites.
This recipe makes pipe-able icing consistency which is good for outlining and filling in cookies. If you want flood consistency, water the icing down with 1 tsp of water at a time.

Color Your Icing
A muted/warm color palette for these fall sugar cookies are perfect for a cozy autumn vibe.
The Americolor food gels used are: Chocolate brown, espresso, super black, chili pepper, burnt orange, apricot, lemon yellow. Remember, you can always use whatever colors you have.
To dye, separate the frosting into five bowls and mix in the dye with a rubber spatula. For white icing, you can scoop it straight into a piping bag. Follow the chart below for measurements.
| COLOR | GEL COLOR |
| White (1/4 cup) | No gel dye needed |
| Warm Brown (1 cup) | 1 drop espresso; 1 drop chocolate brown |
| Red (1/3 cup) | 1 drop chili pepper; 1 very small drop chocolate brown (use a toothpick) |
| Orange (1/3 cup) | 1 drop burnt orange; 1 very small drop apricot & chocolate brown |
| Yellow (1/3 cup) | 1 drop lemon yellow; 1 very small drop apricot & chocolate brown |
| Dark Brown (1/3 cup icing) | 1 drop super black; 1/2 drop chocolate brown |
Check Out The Video
Step 3: Decorate
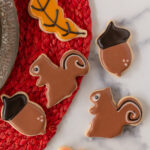
Lil’ Squirrels
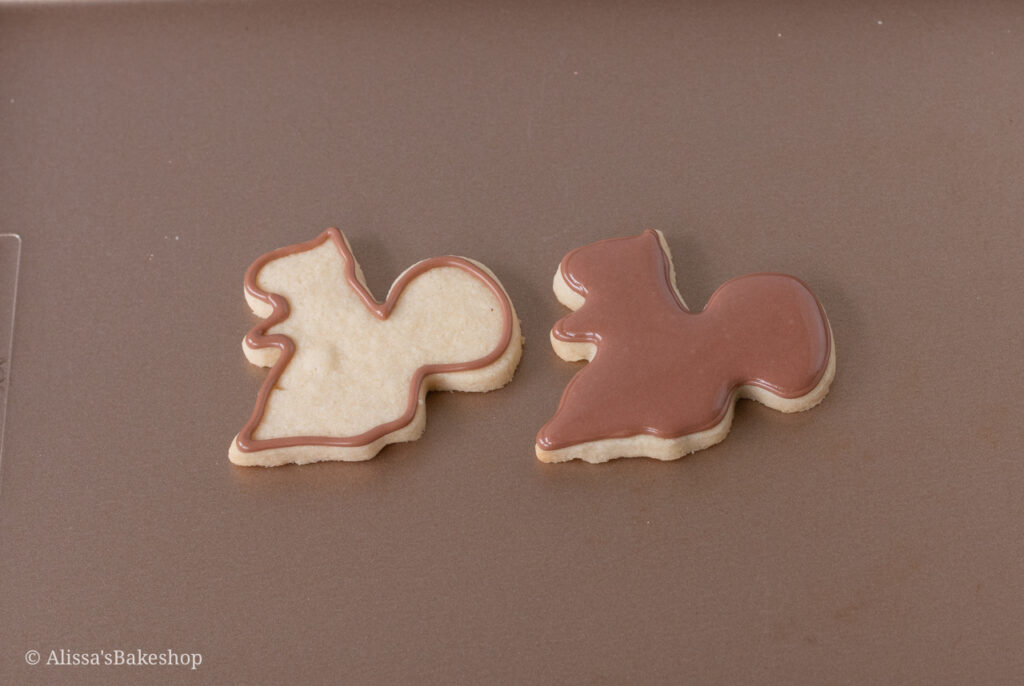
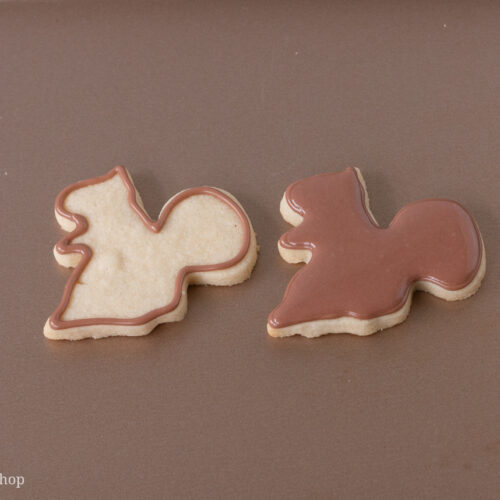
Outline the cookie with warm brown icing, then fill it in!
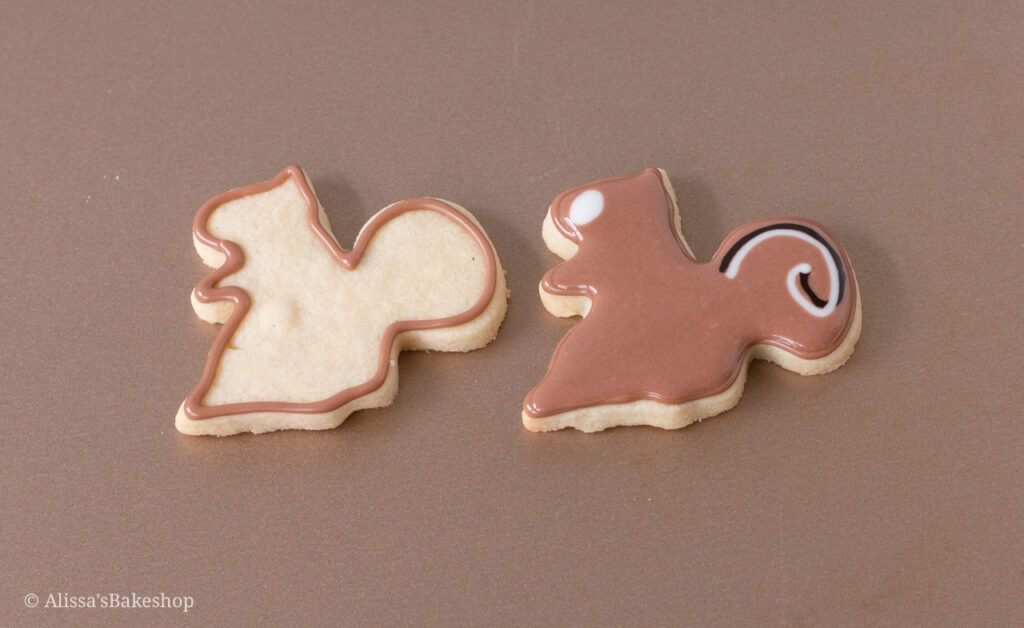
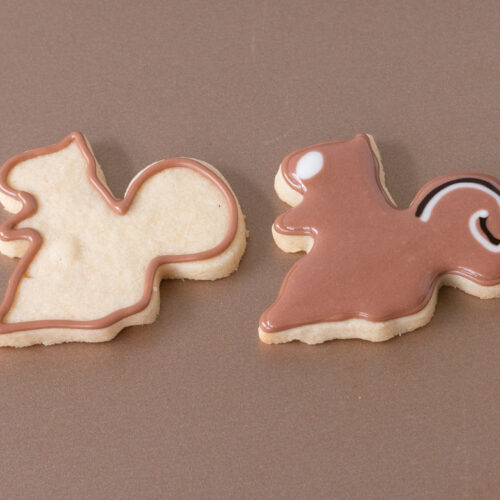
Next, use the wet on wet technique!
Right after flooding the cookies with brown icing, add a swirl of black and white icing for the tail design. Then, add a drop of white for the eye area.
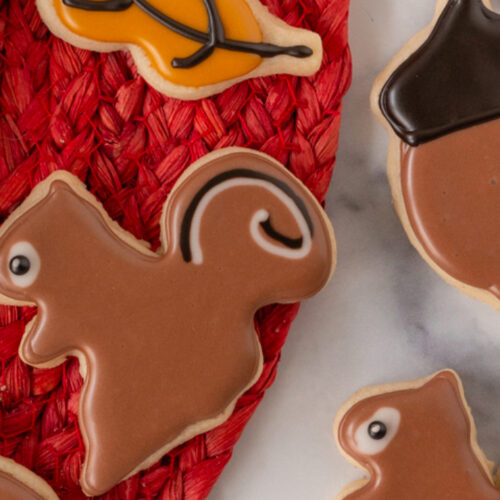
Let the icing dry for about five minutes. Then, add a small drop of dark brown icing for the eye and let it dry. Take a a scribe tool or a toothpick to get a tiny drop of white icing and lightly add this to the black dot. This gives the eye a little something extra!
Cute Acorns
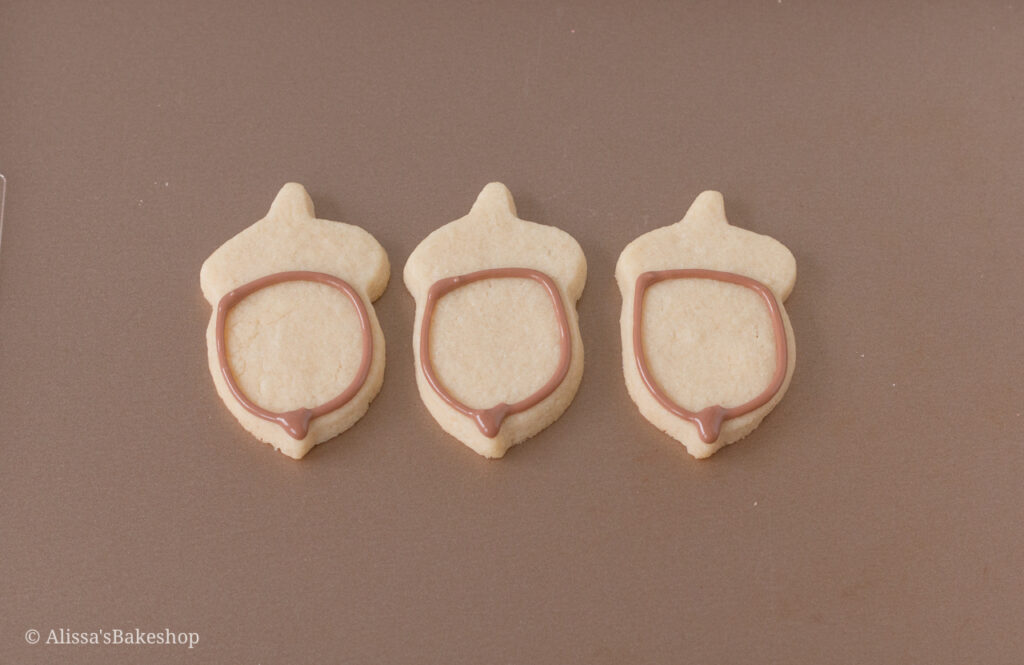
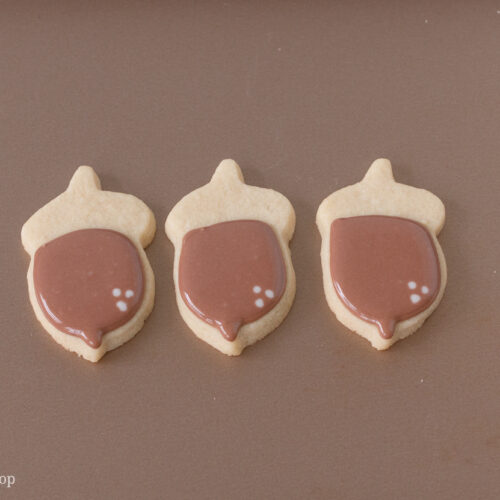
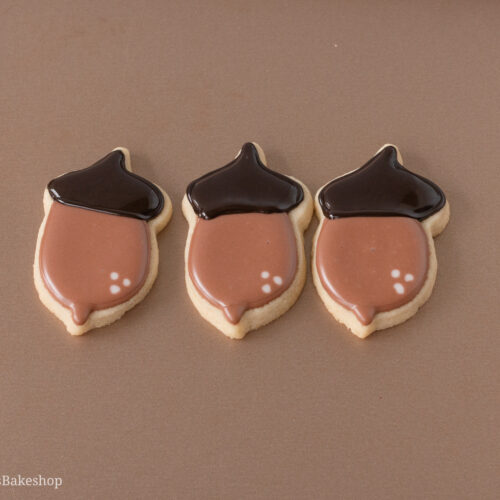
With warm brown icing, outline then fill in the acorn, but not the cap.
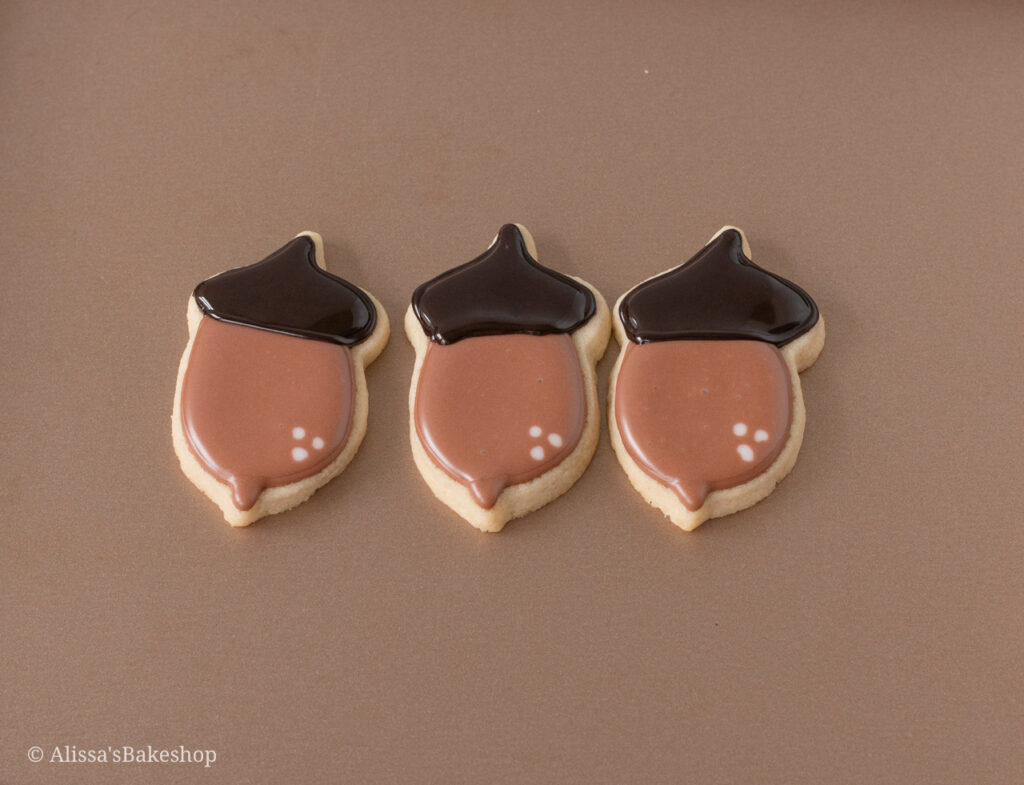
Before the brown icing dries, pipe on three white dots using the wet on wet technique.
Then, with the dark brown icing, outline and fill in the acorn tops.
Colorful Fall Leaves
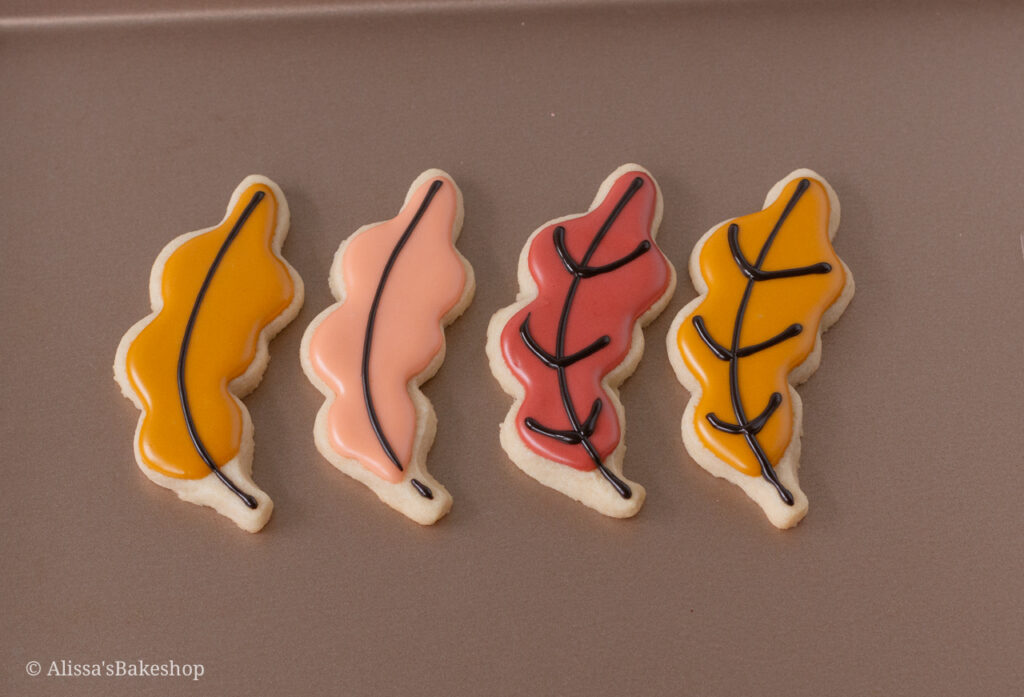
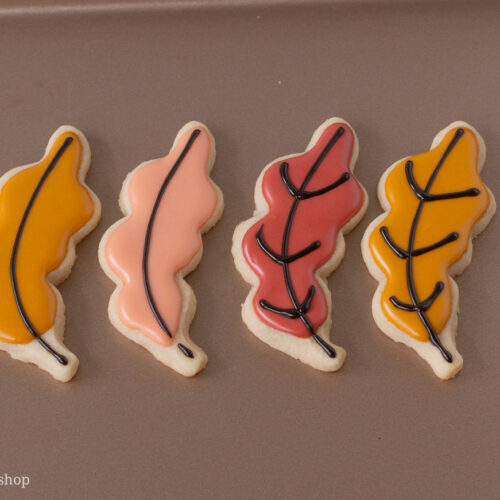
Outline and flood the cookies with various colors of red, orange, and yellow. Let them dry for about five minutes.
Using the dark brown icing to pipe a line starting from the bottom and drag to the top. Add some leaf veins.
How Long do Iced Cookies Need to Dry?
It can take between 12-24 hours depending on how humid your kitchen is and the icing consistency. To be sure the cookies are fully dry when packaging or serving, I recommend letting the cookies dry overnight!
How to Store Sugar Cookies
Decorated cookies can be stored in an airtight container at room temperature for up to a week. You can freeze undecorated cookies in an airtight container for up to 2 months.
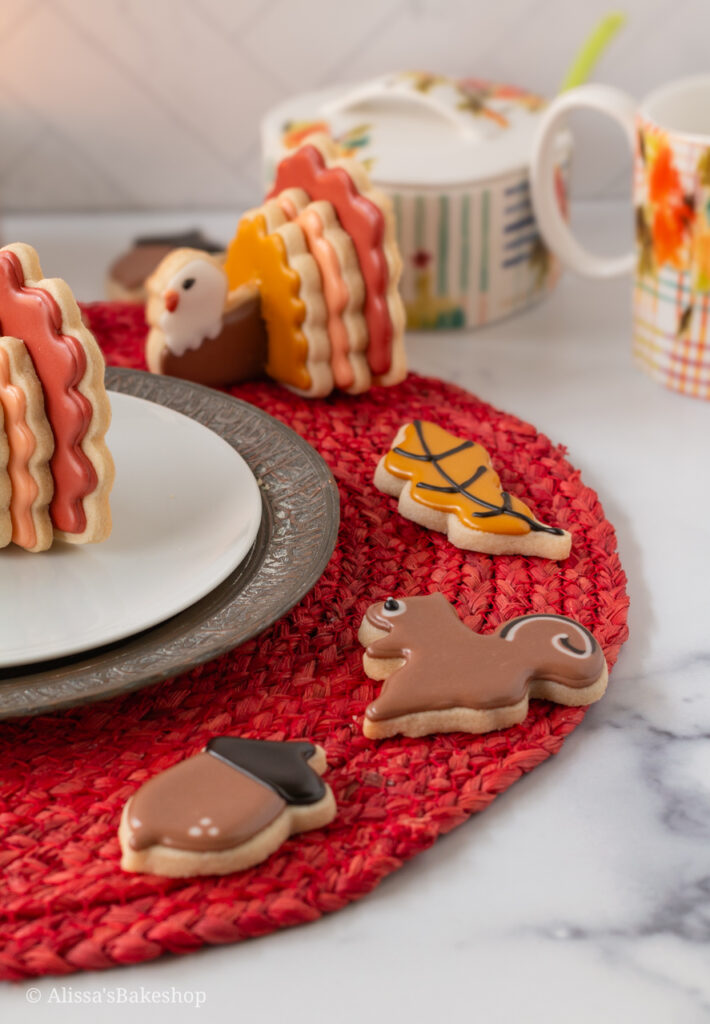
How to Gift These Autumn Sugar Cookies
There are three cute ways to gift these cookies!
- To keep in freshness, add one fully dried cookie into a cellophane bag and tie with ribbon. These cellophane bags come in multiple sizes. For cookies that are 4 inches or smaller, I purchase the 5×7 inch bags.
- Use self sealing cellophane bags that also come in handy for shipping cookies. These look professional like the single sold cookies at a bakery. These are my favorite self sealing bags.
- To really take the cookie gifting to the next level, place the cookies in a box with crinkle paper. After trying a few different boxes, I think these boxes are the best and they hold four cookies! Wrap with ribbon or add a bow.
RECIPE CARD
Fall Sugar Cookies
Equipment
- Spatula
Ingredients
Sugar Cookies
- 1 cup unsalted butter (room temperature) (2 sticks or 226g)
- 1 cup + 2 tbsp granulated sugar (228g)
- 1 large egg (room temperature)
- 1 ½ tsp vanilla extract
- 1 pinch kosher salt
- 3 cups all-purpose flour (360g)
Royal Icing
- 1 batch easy royal icing recipe
Instructions
- In the bowl of a stand mixer, equip the paddle attachment. If using a hand held mixer, equip beaters. Mix the butter on high speed for 30 seconds until creamy.
- Add the sugar and beat for 2 minutes on high speed. Scrape down the sides of the bowl with a spatula.
- Add the egg, vanilla extract, and pinch of salt and mix on medium until just combined.
- Add in half of the flour and mix until incorporated, then add the other half. Stop mixing when the flour has incorporated and the dough comes together.
- Spread out a piece of plastic wrap onto the counter. Turn out the dough onto the plastic wrap. If the dough is slightly crumbly, gently knead it together. Place in the refrigerator for 30 minutes.
- Once chilled, preheat the oven to 350℉ (177℃). Prepare your baking trays with parchment paper.
- Divide the dough into two parts. Lightly flour a clean flat surface and place the dough on top. Gently knead the dough and press flat with your palm. Roll out the dough, turning it as you roll for even thickness. If it's sticky, sprinkle flour on top of the dough. Roll the dough out to 1/4 inch thick.
- Cut out your shapes and place on a baking tray, 2 inches apart. 3-4 inch shapes should be baked for 9-10 minutes. Shapes smaller than 3 inches should bake for 7-8 minutes. Shapes larger than 4 inches should bake for 10-11 minutes.
- Once the oven goes off, take out the cookies and move to a cooling rack. Don't let them sit on the hot pan or they will keep baking.
- Allow the cookies to cool completely before decorating.
Decorating
- Dye food coloring according to the chart in the blog post.
Squirrels
- Outline the cookie with warm brown icing and fill in.
- Right after filling in the cookies, pipe a swirl of black and white icing for the tail design. Then, add a drop of white for the eye area. This is the wet on wet technique.
- Let the icing dry for about five minutes. Then, add a small drop of dark brown icing for the eye and let it dry. Take a a scribe tool or a toothpick to get a tiny drop of white icing and lightly add this to the black dot.
Acrons
- With warm brown icing, outline then fill in the acorn, but not the cap. Before the brown icing dries, pipe on three white dots using the wet on wet technique.
- Then, with the dark brown icing, outline and fill in the acorn tops.
Leaves
- Outline and flood the cookies with various colors of red, orange, and yellow. Let them dry for about five minutes. Using the dark brown icing to pipe a line starting from the bottom and drag to the top. Add some leaf veins.
- Let the icing dry for 12 hours or more. Decorated cookies can last in an airtight container for 1 week.
Notes
- Freezing: You can freeze plain or decorated cookies for 2 months. Let the cookies thaw before serving. Cookie dough can be frozen up to 2 months. Let the dough thaw before rolling but not all the way until room temperature. We can being from step 7 above with slightly chilled dough.
- Decorate: Ice cookies with royal icing. See my easy royal icing recipe with egg whites to answer all your royal icing questions.This royal icing recipe was made to pair with these sugar cookies. The cookies are buttery and not overly sweet, so the icing gives it a nice sweetness.
- Tools: The things that help me bake the perfect cookies: 2 Nordic Baking Pans 13 x 18 inches (Two pans speeds up the baking process) | Stand mixer or Hand held mixer | AmeriColor soft gel paste food coloring | Piping bags | Rubber spatula | Digital scale | Rolling pin
