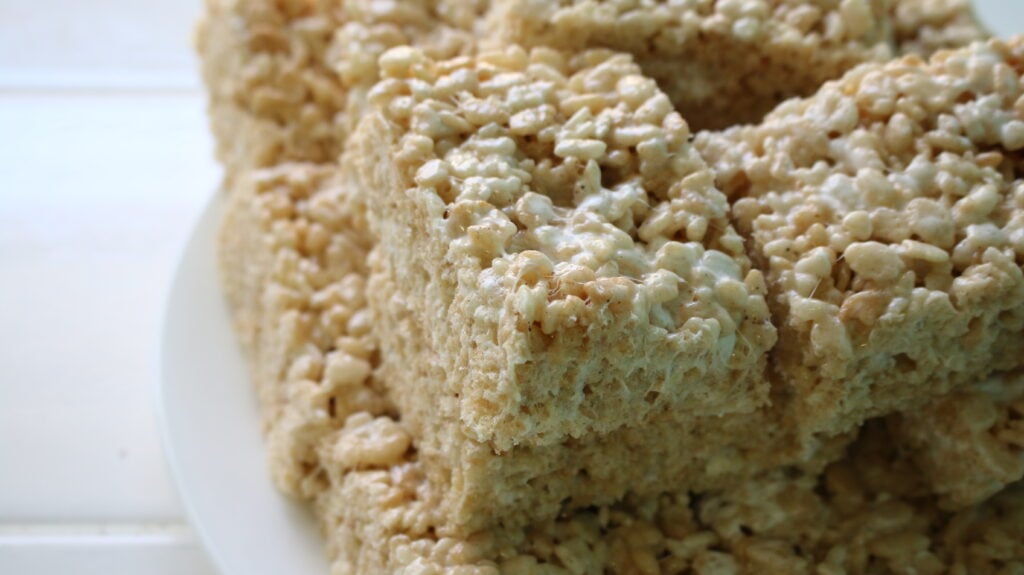
Brown Butter Rice Krispie Treats

Brown Butter Rice Krispie Treats
PREP TIME: 15 MIN
COOK TIME: 15 MIN
TOTAL TIME: 1 HR 30 MIN
Rice Krispie treats are a childhood favorite! Were taking it up a notch to give them a more complex flavor without changing what works. These brown butter rice krispie treats have gooey marshmallows and crunchy cereal. *arm workout required*
This site uses affiliate links which may result in a small commission at no cost to you. Thanks for supporting Midwest & Wonder!
There’s just something about rice krispie treats that’s so GOOD – I’m obsessed. I think it’s the satisfying crunch combined with it’s marshmallow gooeyness and a sweet and rich buttery flavor.
I wanted to come up with a recipe that would have people asking you to make rice krispies for every event. For that, there had to be a secret ingredient. That’s were browned butter comes in. Plus this recipe is quick to make (some arm workout is required 🙂).
What Is Brown Butter?
Brown butter originated in France (buerre noisette) and is used to add flavor to both sweet and savory dishes. To brown butter, it’s melted slowly over heat until it starts to bubble, sizzle, and foam. The heat brings out a rich nutty and caramelized flavor which happens to compliment rice krispies perfectly.
How To Make Brown Butter
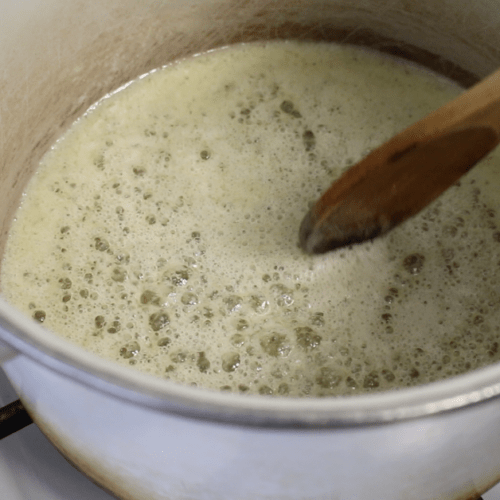
All you need is a pot, wooden spoon, and low heat. Brown butter takes about 6-8 minutes to cook and once it starts browning it will go quickly. Then, gently stir and keep an eye on it when it starts foaming. One sign that the butter is close to browning is bubbling and foam forming on the surface.
Browning Butter Tips To Avoid Burning
- Keep an eye on it! It goes from its golden hue to brown very fast and can easily burn and will turn black.
- As soon as you see the brown specks on the bottom of the pot, remove the pot from the heat and add your marshmallows.
- Don’t let your brown butter sit in the warm pot by itself for long because it will continue cooking.
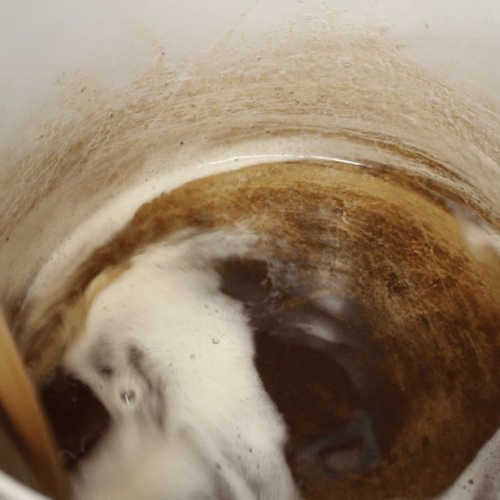
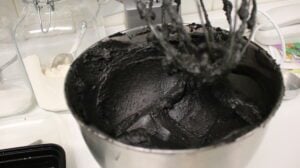
What Are The Brown Specks?
Those brown specks that you see in the bottom of the pot are toasted milk solids. You don’t want to strain these out because this is where the best flavor comes from!

Ingredients
- Unsalted butter
- Marshmallows
- Vanilla extract
- Salt
- Rice cereal
Watch the video
I enjoy ASMR videos and I’ve always wanted to try it myself. But I bake, I don’t cut soap or squish slime lol. So naturally I had to try baking ASMR! The recipe and tips are included as subtitles in the video!
How To Make Brown Butter Rice Krispie Treats


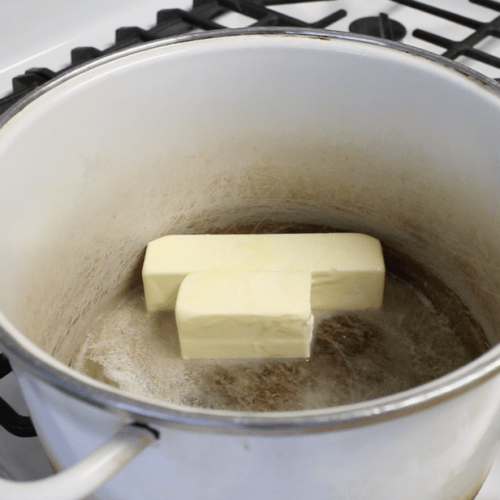
Place unsalted butter in a large deep pot over low heat (a 5.5 quart dutch oven or larger works!). You can cut up the butter into cubes for faster melting. Occasionally stir the butter and after about 5 minutes it will foam – this is a sign its getting closer to browning.
After the butter has started to foam, gently stir the butter and look out for the golden hue to turn brown with brown specks. As soon as you see the brown specks on the bottom of the pot, remove the pot from the heat.


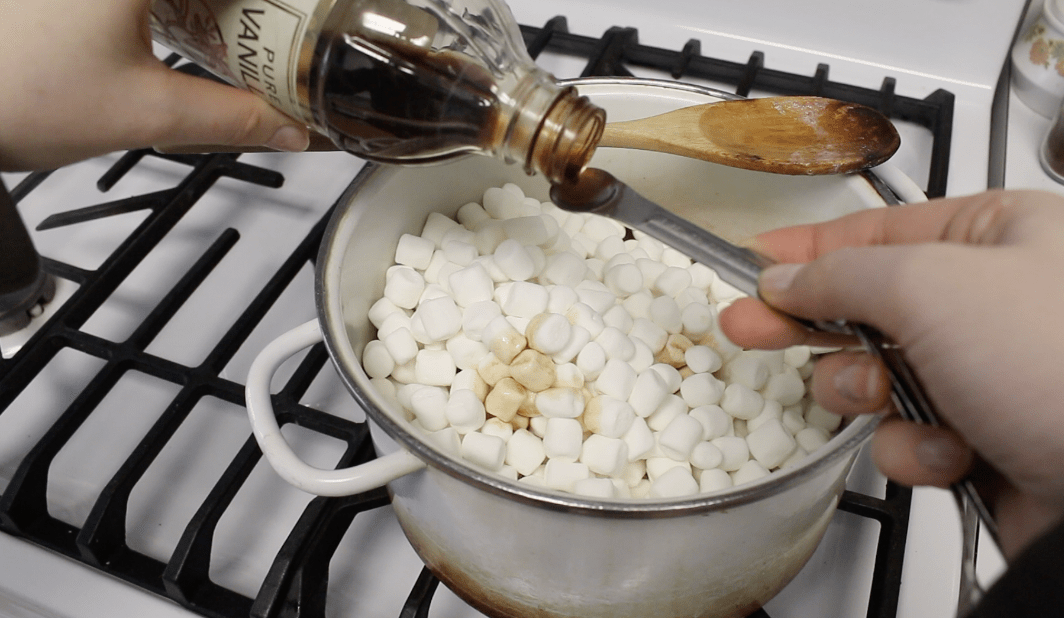
Measure 2 cups of marshmallows and set them aside (you’ll stir them in later). Then, add the rest of the marshmallows into the pot. Add vanilla extract and salt and mix everything with a wooden spoon or silicone spatula.


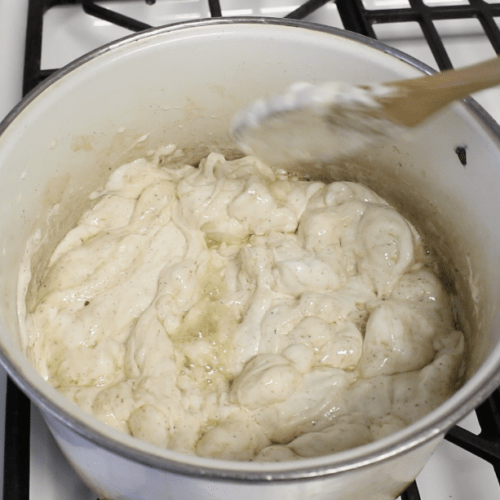
Stir until the marshmallows have started to melt and look a bit lumpy. Place the pot back on low heat and continue to stir until the marshmallows are melted and smooth. Remove from the heat.
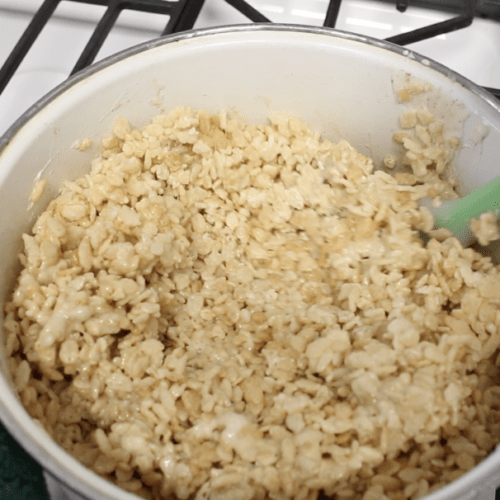
This recipe calls for 10 cups of rice cereal in total. Add half of the cereal into the pot and stir. Then add the remaining cereal. Adding the cereal in two parts helps to incorporate the cereal in smaller amounts and not spill over the pot.
Stir until the cereal is fully coated and your arm is tired! 😅 (The pot will be warm, so use a potholder or towel to help you hold the pot while stirring)

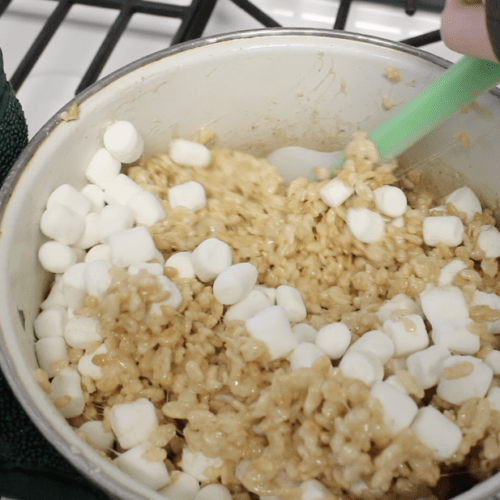
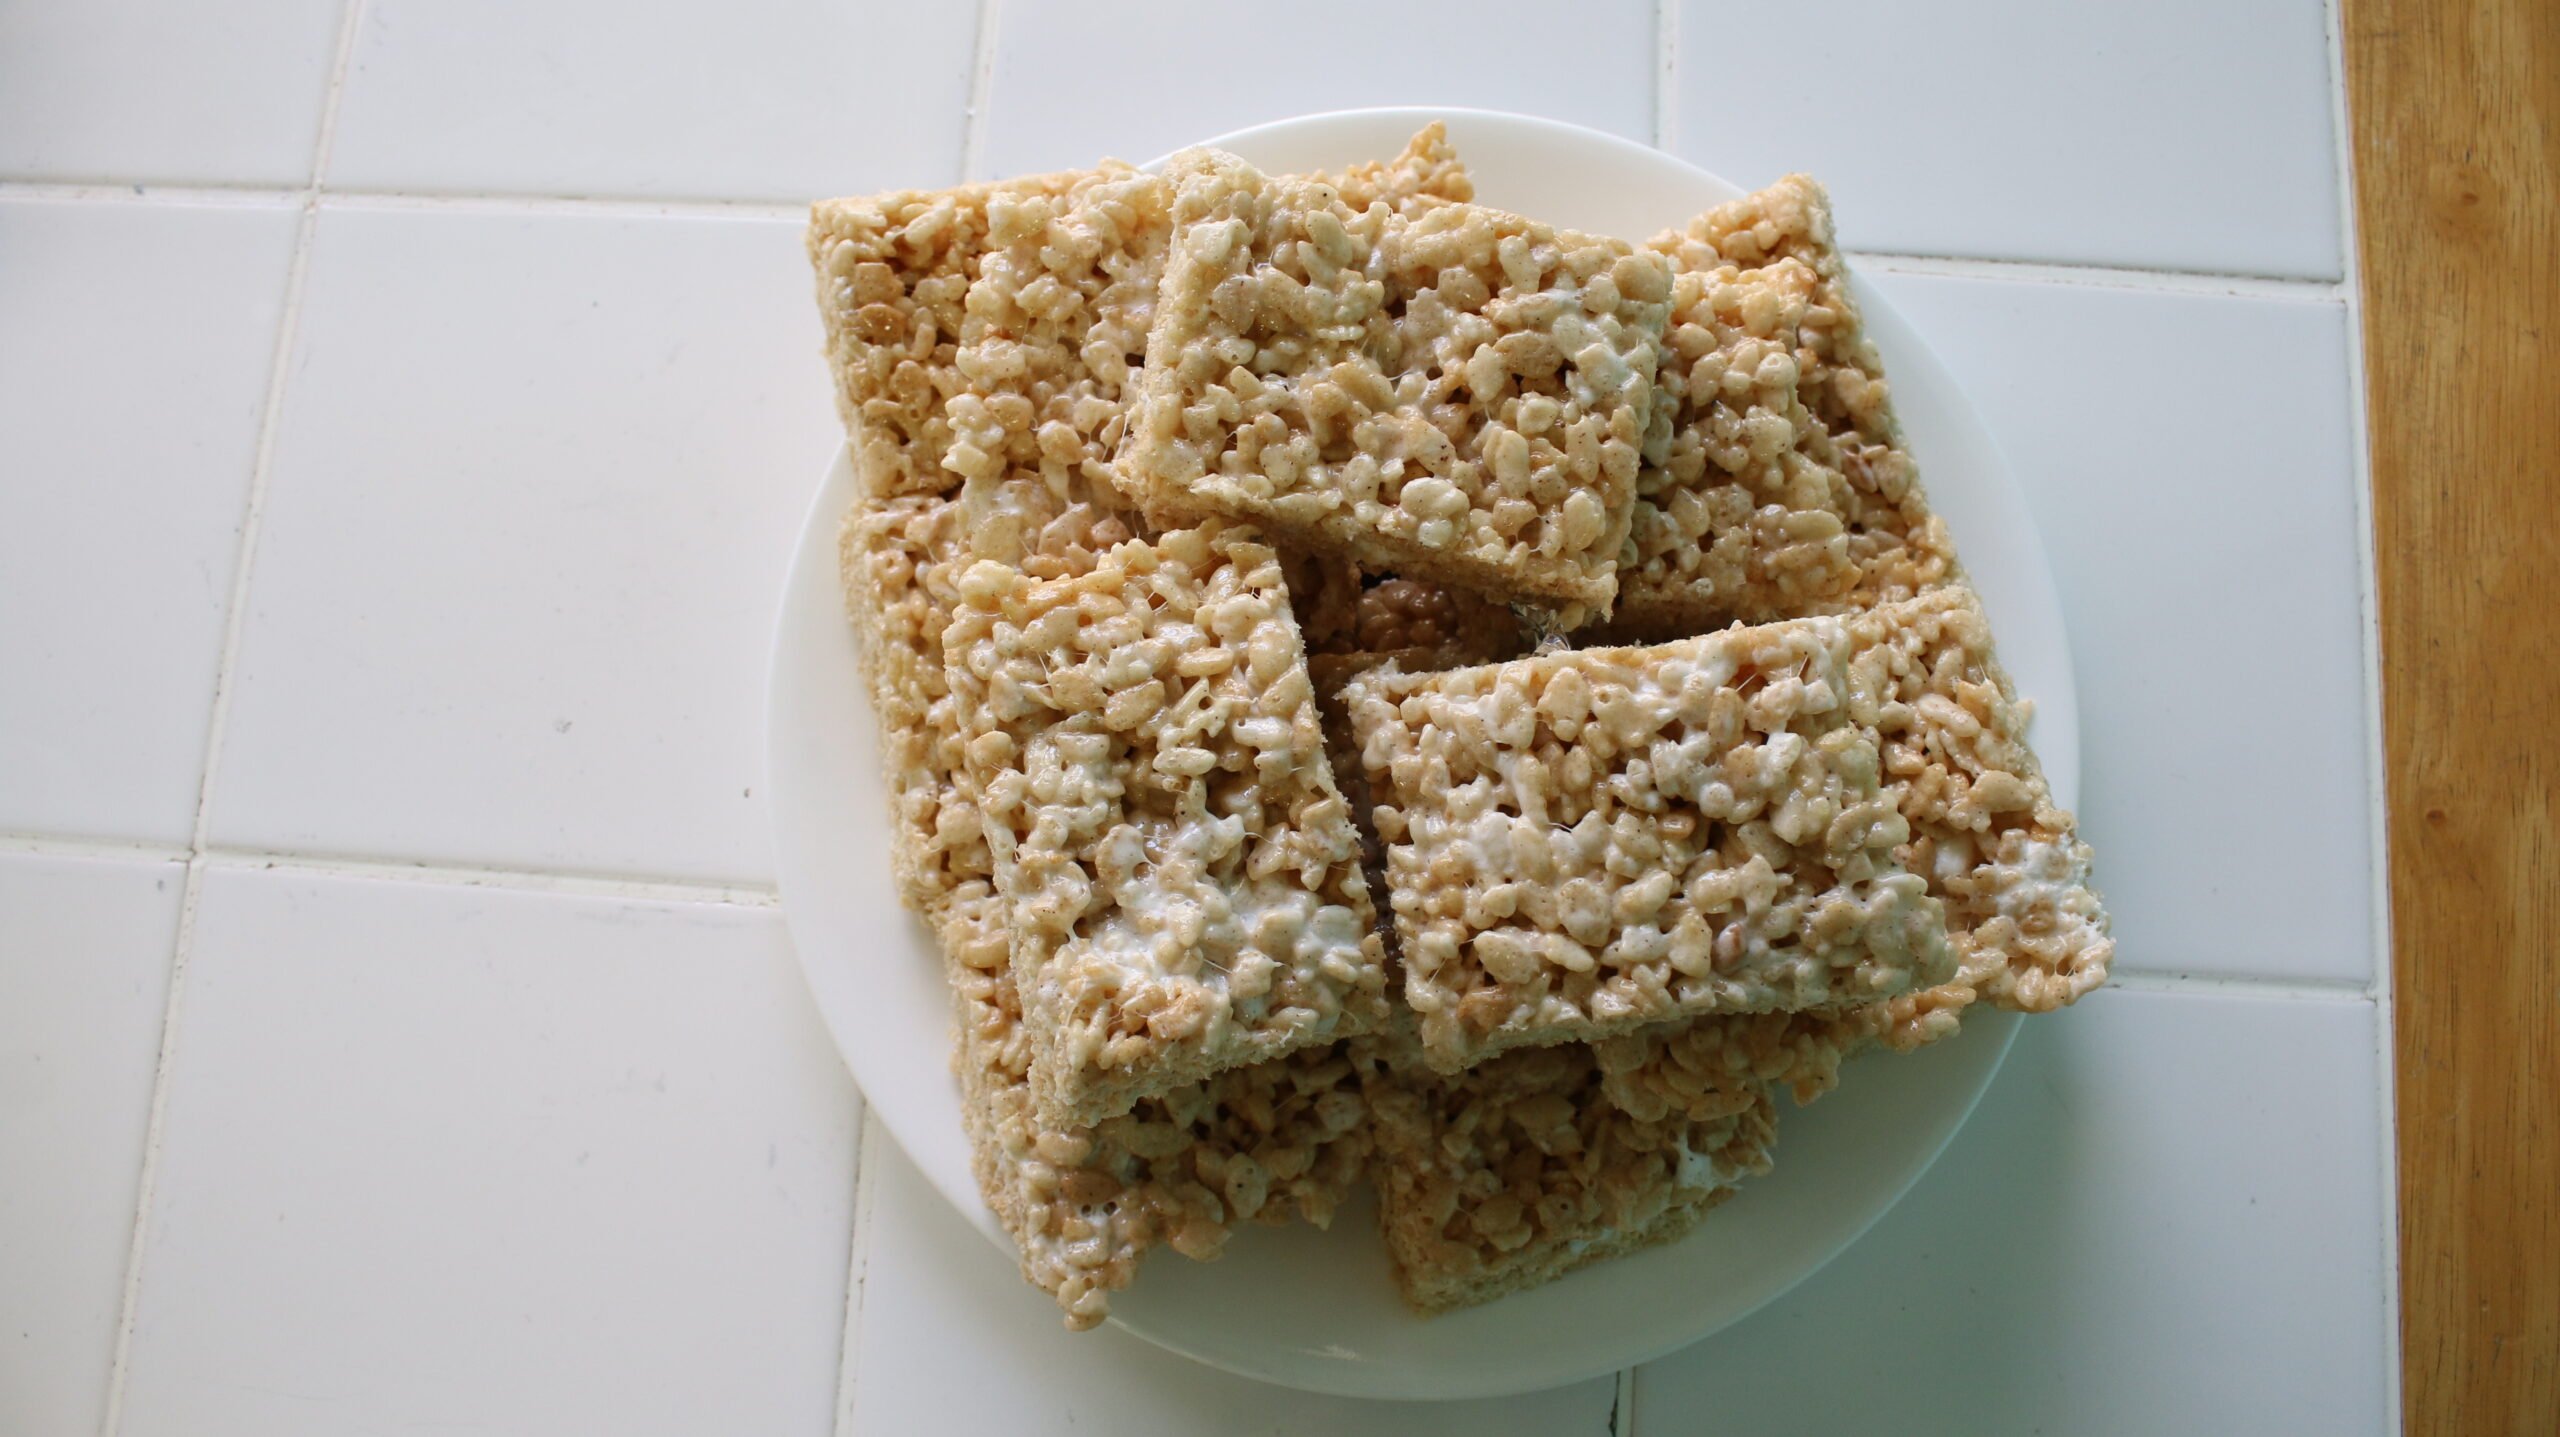
After the marshmallows have been mixed with the cereal, add the remaining 2 cups of marshmallows and gently stir them for a short time so they don’t melt completely. The whole marshmallows makes the treats look extra tasty once we go to cut them and adds some more texture.
Preparing The Treats


Prepare a 9×13-inch pan by covering with tinfoil, then spray it with cooking spray. If you do not use spray, they treats will stick to the tinfoil when you cut them (I learned the hard way).
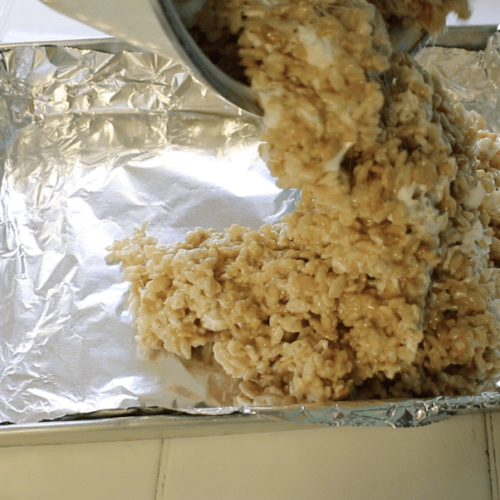
Pour the warm cereal mixture onto the pan.

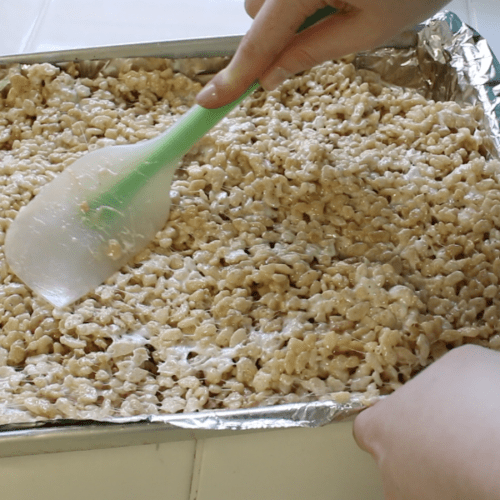
Using a rubber spatula (so they don’t stick) gently spread the cereal mixture into all 4 corners of the pan. You want to spread the treats evenly, but don’t push them down too down too hard or it will create dense treats.
Let the rice krispie treats sit for 1 hours or more at room temperature to firm.

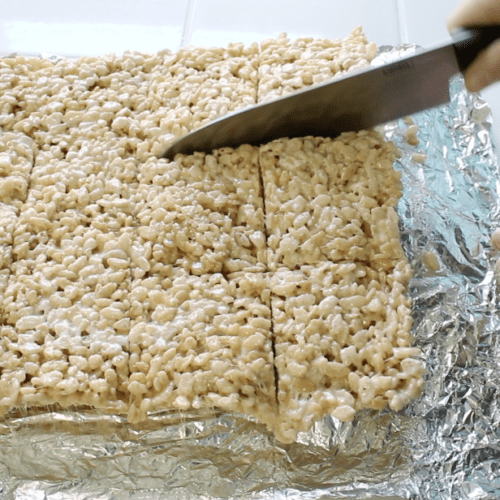
After the treats have sat for 1 hour, lift them from the pan by grabbing onto the tinfoil. Gently undo the foil from the sides. Either eyeball or measure how many squares you’d like.
I cut 15 medium sized squares by cutting 4 sections on the short side, then 2 sections on the long side. For 20 squares, cut 4 sections on the short side, then 3 sections on the long side.
Finally, gently peel the squares from the tinfoil and eat!
How To Store Rice Krispies
Brown butter rice krispie treats can be stored in an airtight container for 5 days. (If they last that long, I’d be amazed!)
They can also be frozen for 1 month in an airtight container with wax paper between the layers. Make sure to bring to room temperature before eating.

RECIPE CARD

Brown Butter Rice Krispie Treats
Equipment
- 5.5-quart dutch oven (or larger) or a large deep pot
- Rubber spatula or wooden spoon
Ingredients
- ¾ cups unsalted butter 1 ½ sticks or 6 oz
- 2 10 oz bags mini marshmallows, 2 cups divided
- 3 tsp vanilla extract
- ½ tsp kosher salt
- 10 cups rice cereal
Instructions
- Place unsalted butter in a large deep pot over low heat. You can cut up the butter for faster melting.¾ cups unsalted butter
- Gently stir the butter. After about 5 minutes it will foam – this is a sign its getting closer to browning.
- As soon as you see the golden hue turn brown with brown specks, remove the pot from the heat or it will burn.
- Measure 2 cups of marshmallows and set aside (you will add them back in later). Add the rest of the marshmallows into the pot and stir with a wooden spoon or silicone spatula. Stir in the vanilla and salt.2 10 oz bags mini marshmallows, 2 cups divided
- After stirring for about a minute (it will look lumpy), place the pot back on low heat and continue to stir until the marshmallows are completely melted (no more lumps).
- Add 5 cups of rice cereal to the pot – stir – then add the remaining 5 cups. Mix until the cereal is fully coated.10 cups rice cereal
- Gently mix in the remaining 2 cups of marshmallows just until incorporated, not melted.
- Cover a 9×13-inch pan and cover with tinfoil and spray with cooking spray. If you do not use spray, they will stick to the tinfoil when you cut them. Pour the warm cereal mixture onto the pan.
- Using a rubber spatula (so they don't stick) gently spread the cereal mixture into all 4 corners of the pan. Don't push down too hard or the treats will be dense and hard. Let the treats sit at room temperature for 1 hour or more.
- After the treats have sat for 1 hour, use the overhanging foil to lift from the pan. Undo the foil from the sides. Eyeball or measure how many squares you'd like. For 15 squares, carefully use a sharp knife to cut 4 sections on the short side, then 2 sections on the long side. For 20 squares, cut 4 sections on the short side, then 3 sections on the long side.
- Gently peel the squares from the tinfoil and eat!
Notes
- Brown butter rice krispie treats can be stored in an airtight container for 5 days.
- Freeze treats for up to 1 month in an airtight container with wax paper between the layers. Bring to room temperature before eating.


This is my Go To Recipe for Rice Crispy Treats. The Brown Butter makes all the Difference in Flavor. Sometimes I add pecans into the Batch. So Good.
Thank you for that feedback! Pecans sound delicious!
I have never made a good Rice Krispie treat in my life, but this recipe changed that. Buttery, gooey… perfect! I’m now a krispie treat master!!! Thanks for a great recipe!
I’m so glad you enjoyed them! Thank you for the feedback 🤗
These are so good!!