All Butter Pie Crust
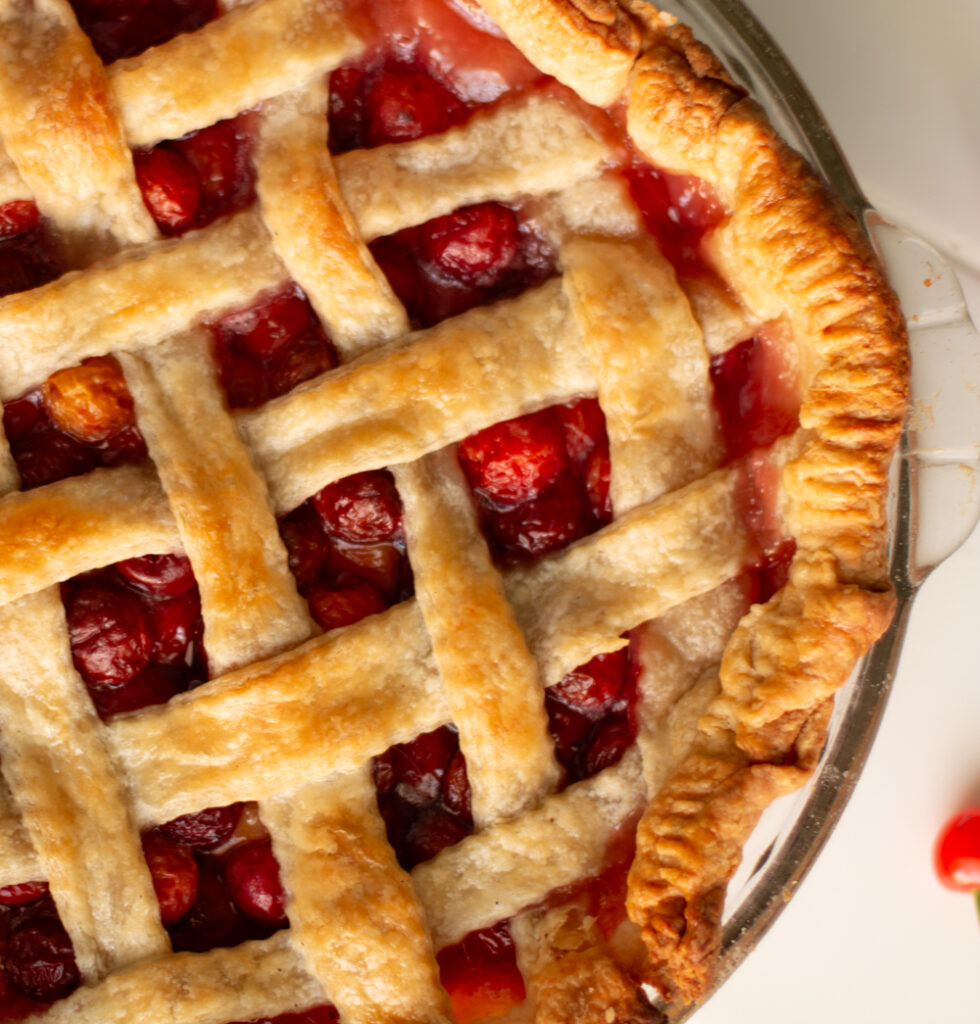
A buttery and flaky all butter pie crust that goes well with both sweet and savory pies. Find tips on how to make the best pie crust and common troubleshooting questions.
This site uses affiliate links which may result in a small commission at no cost to you. Thanks for supporting Midwest & Wonder!
Pie crust can be a tricky thing despite such a simple recipe with few ingredients. I’ve made a lot of pies and learned all of the wrong ways that you can make them wrong, ha! I learned from these mistakes which helped me to understand how to make a great all butter pie crust and I’m sharing all of my tips below.
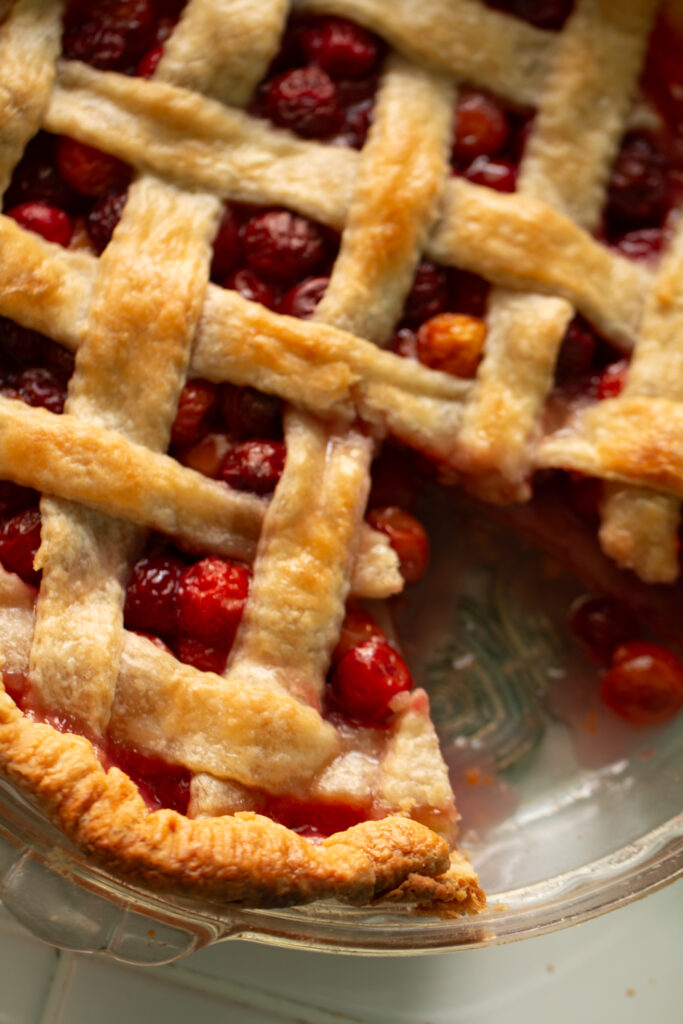
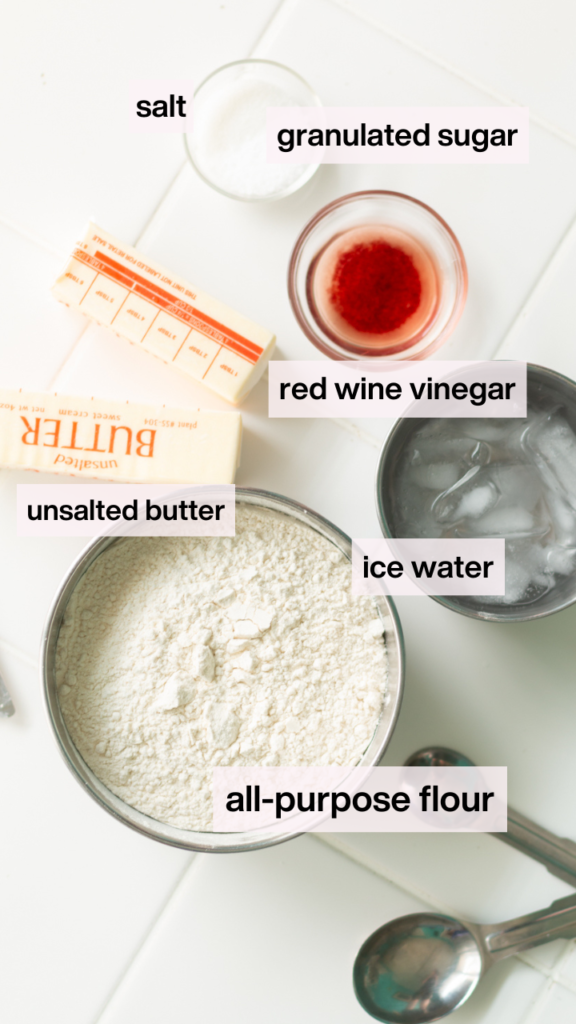
Ingredients
There aren’t too many ingredients in a pie crust recipe but each one is important. To measure them correctly, I recommend using a digital scale. Scales are so helpful to measure ingredients accurately and you’ll get a lot of use out of them.
Lots of pie recipes call for shortening which helps the dough hold its shape and it’s slightly easier to work with. However, I’m not a big fan of shortening because of the lack of flavor. For this reason I make an all butter for that delicious buttery flavor. I don’t recommend substituting shortening for butter in this recipe.
- Cold unsalted butter – Adds that buttery flavor and keeps the crust flaky
- All-purpose flour – Creates structure
- Granulated sugar – Add a touch of sweetness and helps in the browning process
- Kosher salt – Adds flavor
- Ice water – Brings the other ingredients together, and keeps the dough cold
- Red wine vinegar – An acid that helps cut down some of the strands of gluten (can substitute apple cider or distilled white vinegar)
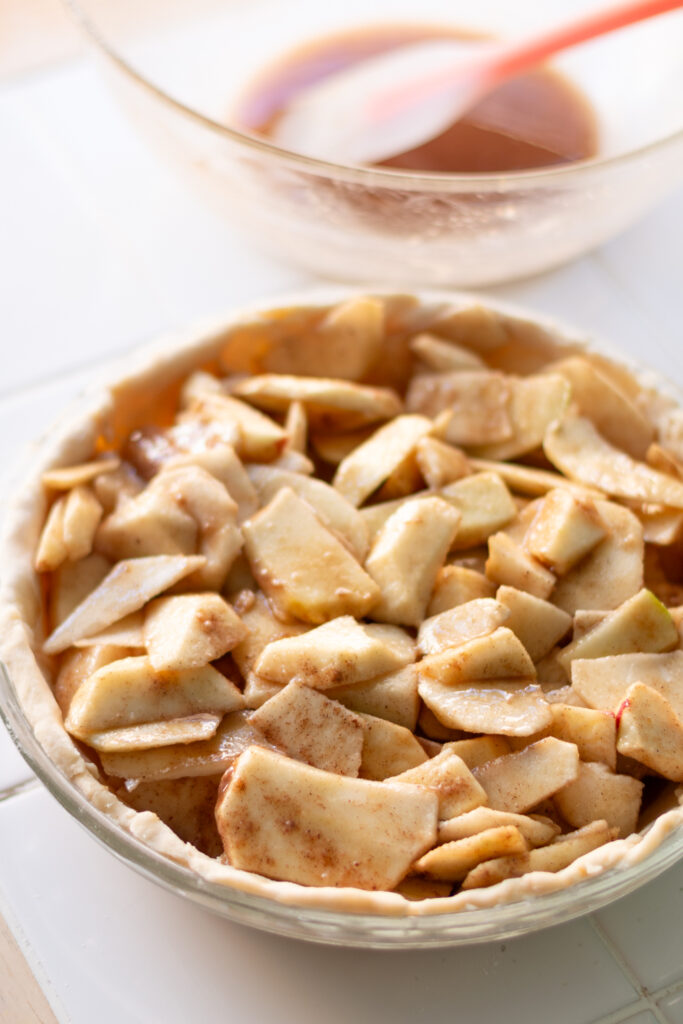
Pie Crust Tips
- Keep the ingredients and dough cold. The crust needs to be cold when going into the oven. To keep it simple, dough needs to be cold because during the baking process the pockets of cold butter melt, create steam, and this results in a flaky crust. Warm butter and dough will melt before baking, which could possibly leave you with melted butter on the bottom of your oven and an oily or tough crust.
- Follow the instructions for the pie carefully. If the recipe you’re using says you have to blind bake, make sure to follow that! Typically, blind baking pie crust prevents the crust from absorbing too much liquid. You’ll see a lot of cream, pumpkin, chocolate pies ask for blind baking. You cut out and place down parchment paper on the crust, and add dry beans or pie weights to keep the crust from puffing up.
- Use a glass pie dish so that you can see how the bottom is browning.
- The edges can burn, especially if you have hot spots in your oven. I suggest baking the pie halfway, checking it, and adding a piece of tinfoil over it. You can also use pie shields that protect the edges.
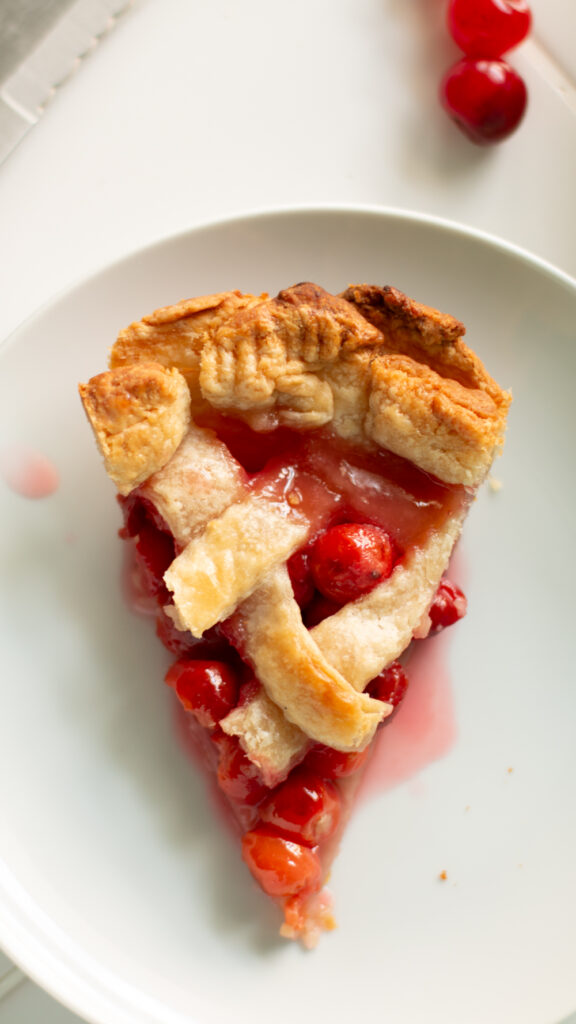
Why You Should Keep Pie Dough Cold
It’s very important to keep pie dough cold. After mixing your ingredients, you must let the dough rest in the refrigerator or freezer which prevents the butter from melting and lets the gluten relax after working the dough.
You want to see pieces of butter in your dough. As the crust bakes in the oven, these fat pockets melt, release steam, and create a flaky texture. If the dough is warm and the butter has started to melt before baking, there won’t be any flakiness and structure. It will give you a greasy mess at the bottom of your oven.
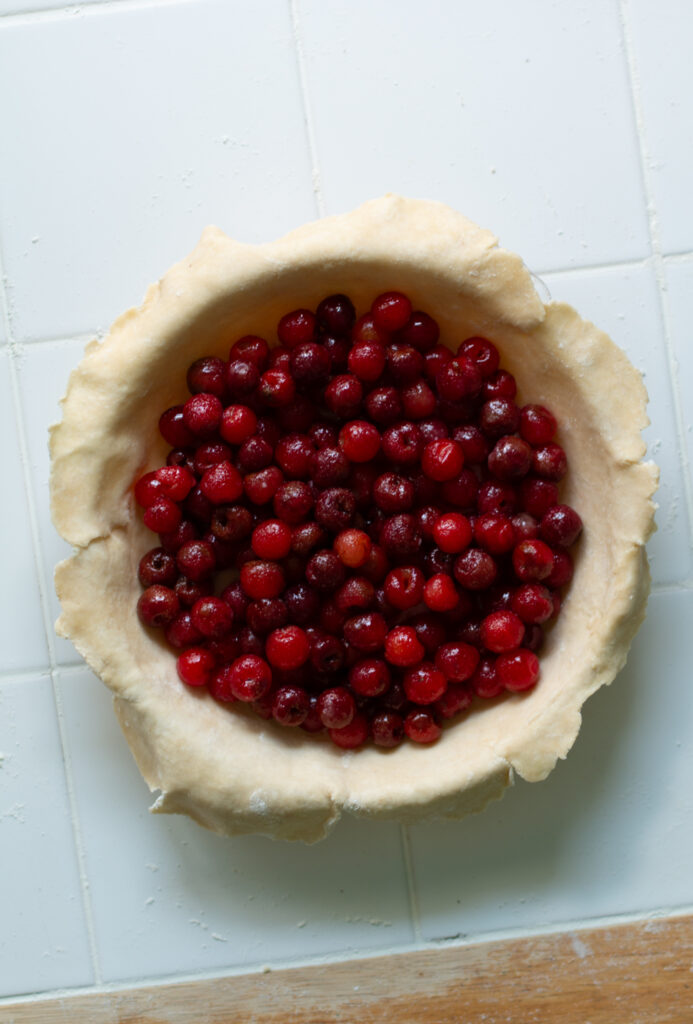
How To Make Pie Dough
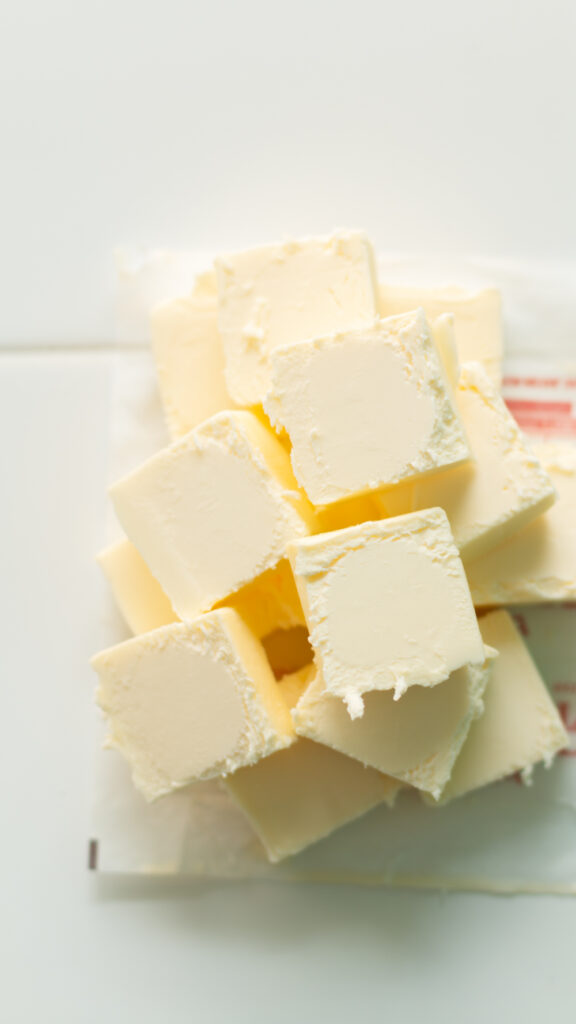
- Take the butter out of the refrigerator, cut into 1/2-inch cubes then put it back into the refrigerator until use.
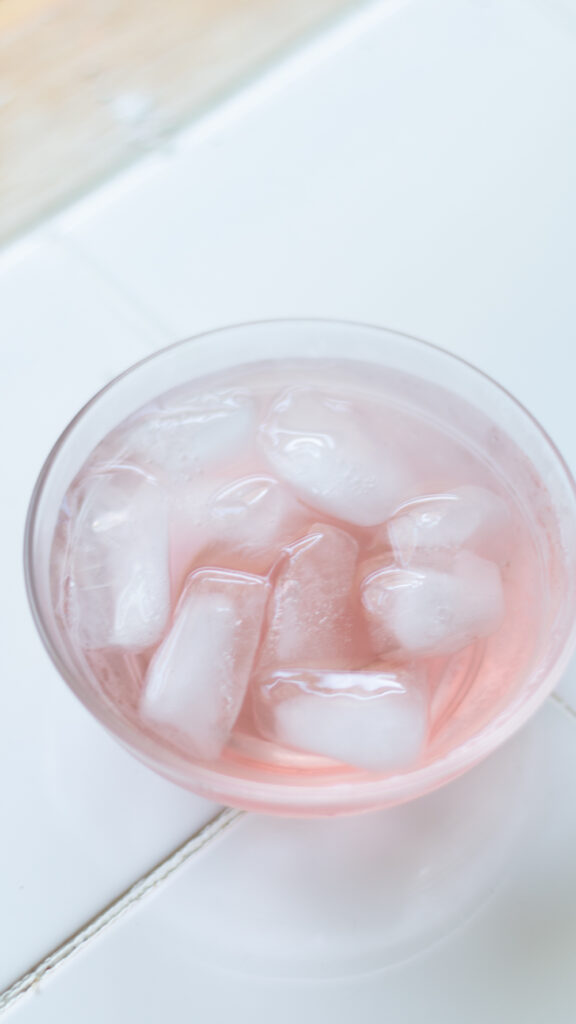
- In a bowl, stir together the ice water and red wine vinegar and set aside.
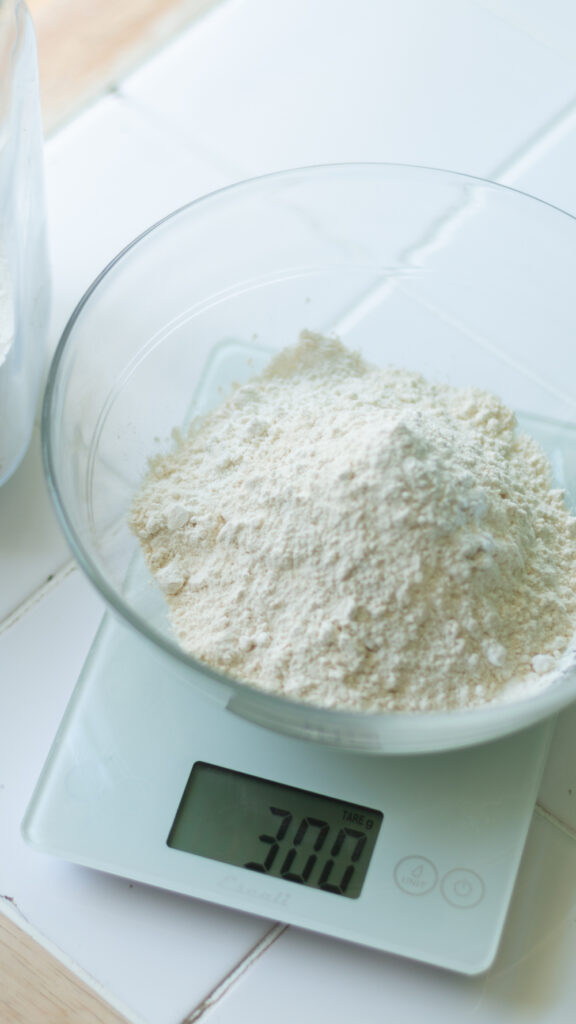
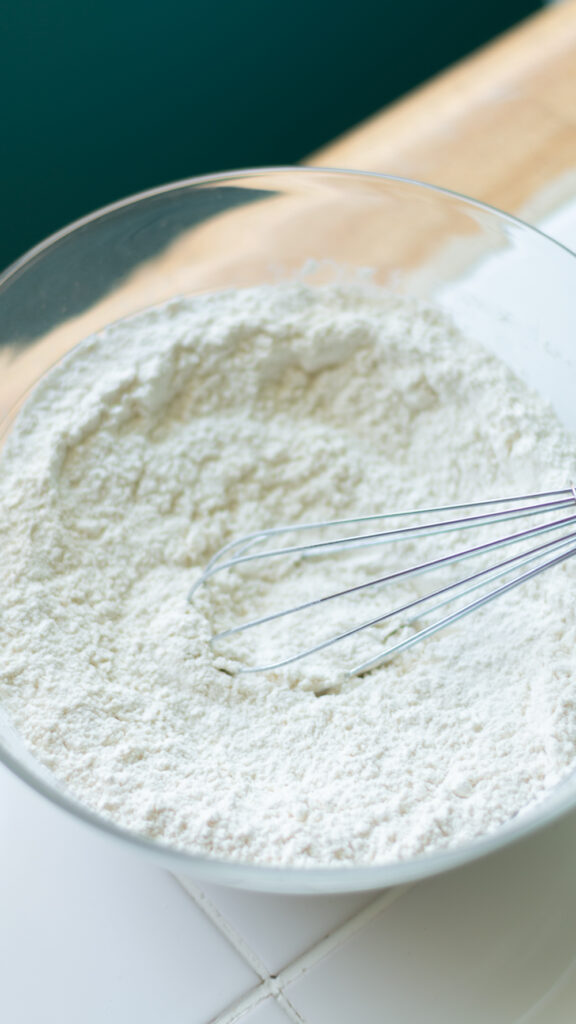
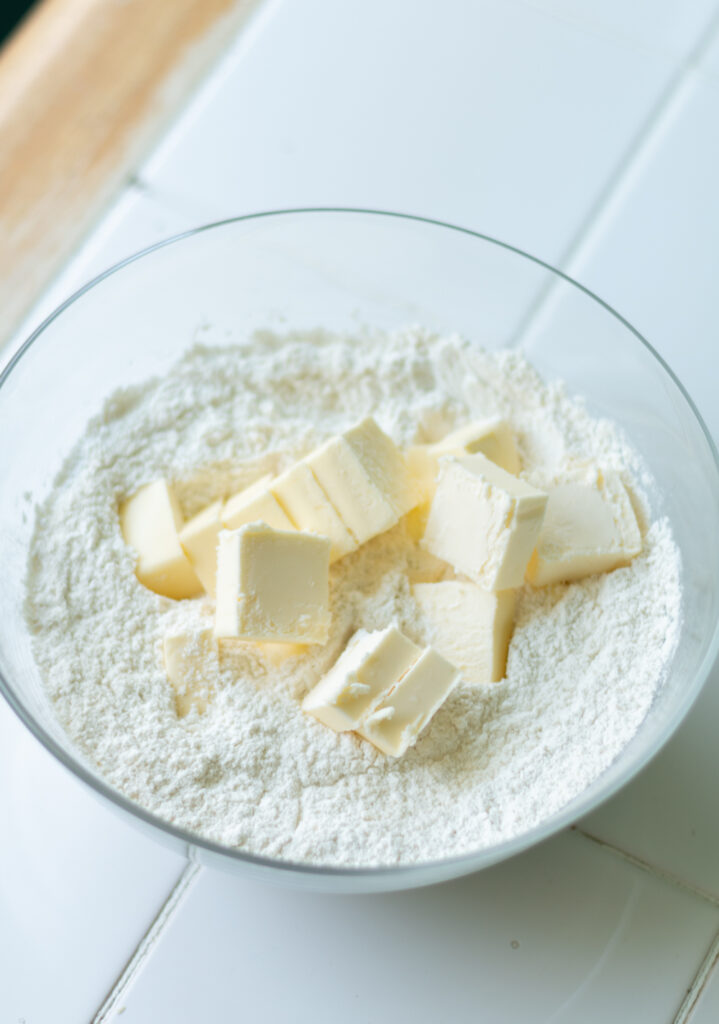
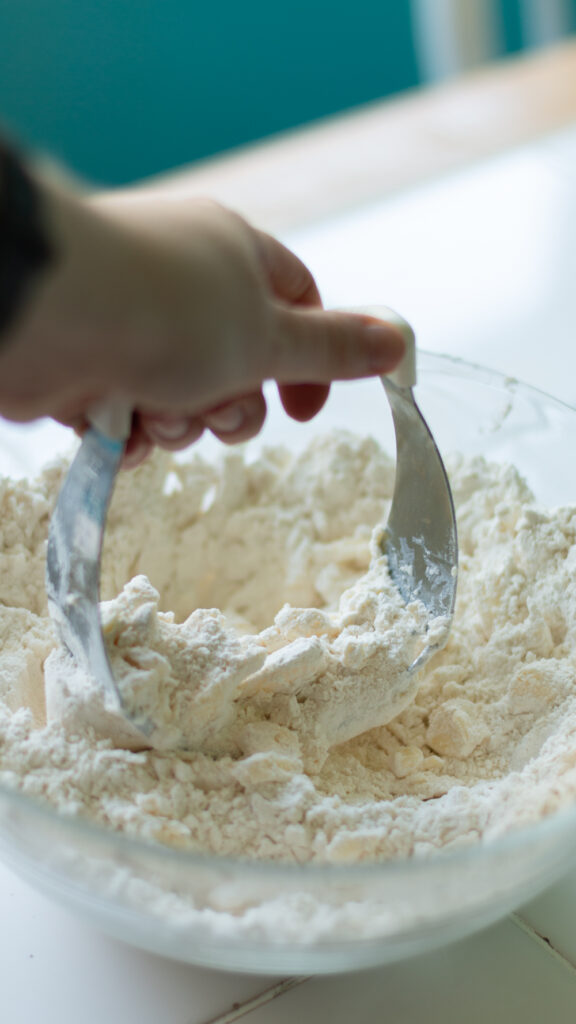
- In a large bowl, add the flour, sugar, and salt and whisk together. Add the cubed butter and use a pastry cutter to cut the butter into the dry ingredients. If using a food processor, add the dry ingredients and pulse 4-5 times to combine. Then add the cubed butter and pulse for about 30 seconds. You’re looking for pea sized crumbs, some larger pieces of butter are okay.
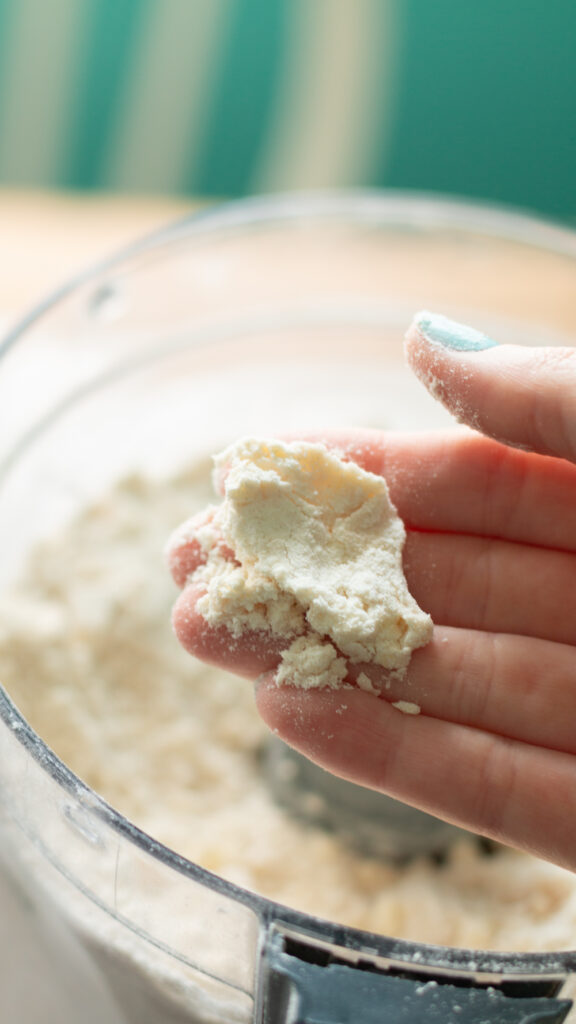
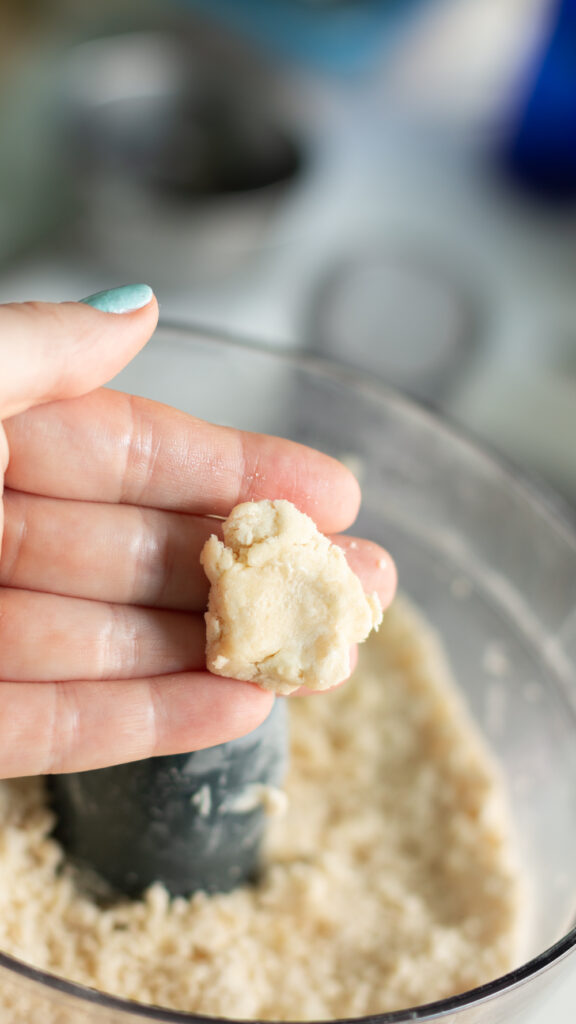
- Add 6 tbsp of ice water into the bowl and stir with a spatula until it starts coming together as large pieces. If using a food processor, and 6 tbsp of ice water and pulse 4-6 times (dough should never come completely together in the food processor).
To test, squeeze a small amount of dough in your hand. If it holds its shape, it’s done. If it’s too crumbly (see image on the left), add another tbsp of water until it holds its shape. The dough should not be wet.
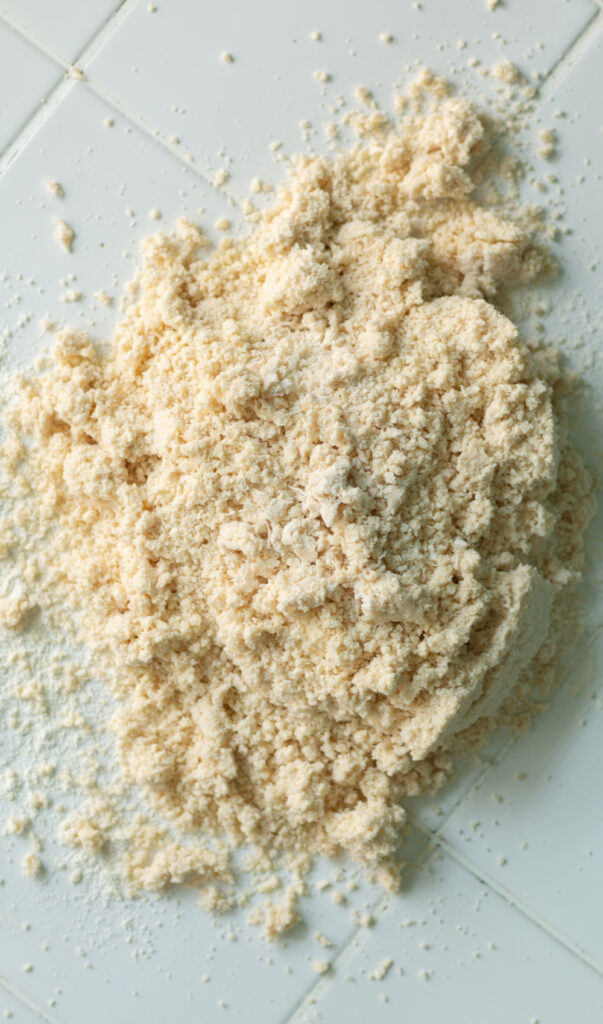
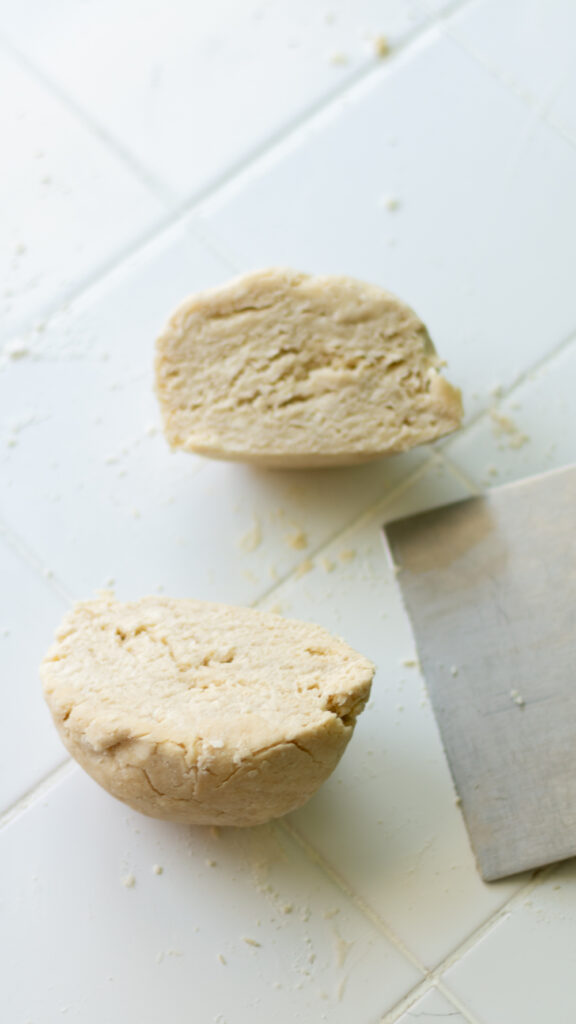
- Lightly flour a clean surface. Turn the crumbly dough out onto the surface and knead together until it’s smooth. Form into a ball and divide the dough into two equal parts. Flatten with your palm and wrap separately in plastic wrap.
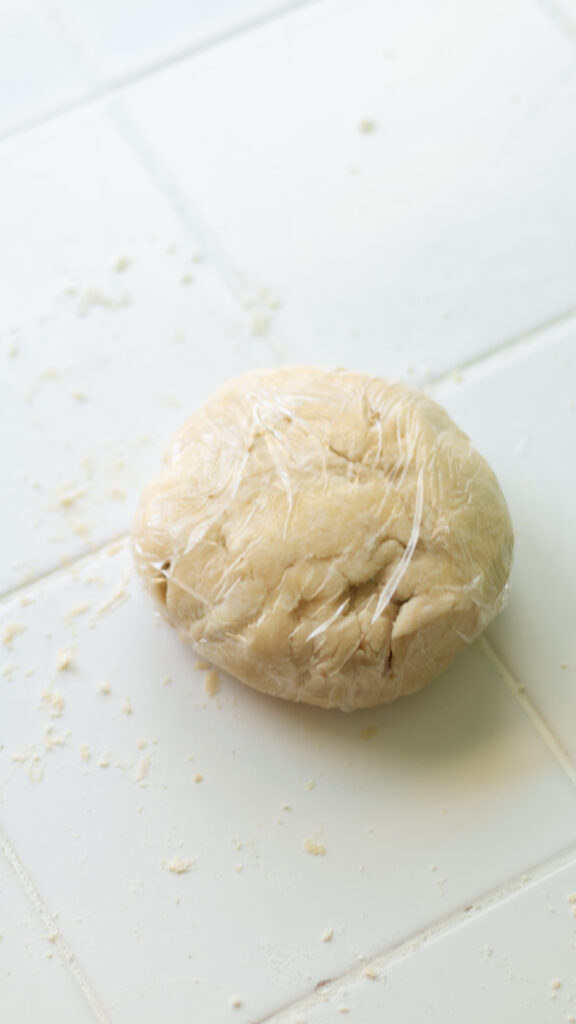
- Let the dough rest in the refrigerator for at least 30 minutes or preferably overnight.
- Follow the recipes instructions for how to proceed.
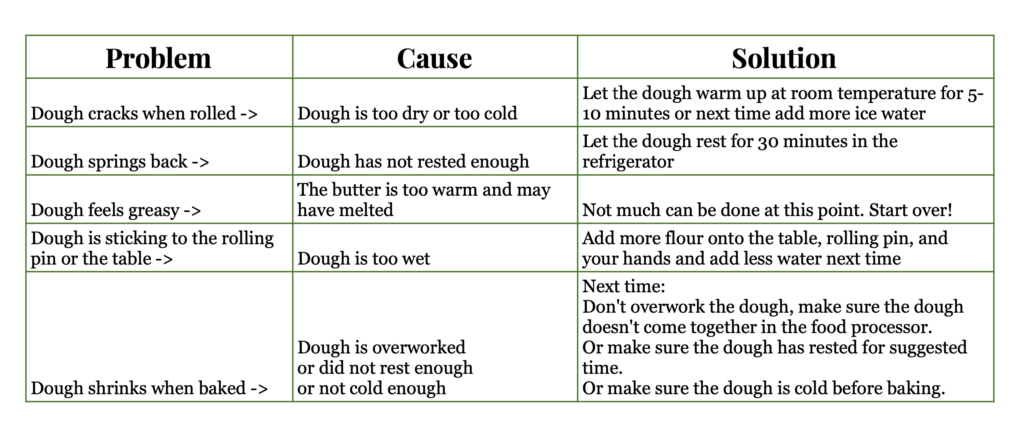
Pie Crust Troubleshooting
Check the chart below for common pie crust issues. Most of the issues that occur after a pie has been baked, is because it wasn’t properly made at the start!
Making pie crust can be challenging, but with some practice, you can make a perfect pie crust! 🙂
RECIPE CARD
All Butter Pie Crust
Equipment
- pastry cutter or food processor
Ingredients
- 1 ¾ sticks unsalted butter, cubed and chilled (198g)
- ½ cup ice water
- 1 tbsp red wine vinegar or apple cider vinegar
- 2 ½ cups all-purpose flour, plus more for kneading and rolling (300g)
- 2 tsp granulated sugar
- 2 tsp kosher salt
Instructions
- Take the butter out of the refrigerator and cut into 1/2-inch cubes. Put it back into the refrigerator until use.1 ¾ sticks unsalted butter, cubed and chilled
- In a bowl, stir together the ice water and red wine vinegar and set aside.½ cup ice water, 1 tbsp red wine vinegar
- In a large bowl, add the flour, sugar, and salt and whisk together. Add the cubed butter and use a pastry cutter to cut the butter into the dry ingredients. If using a food processor, add the dry ingredients and pulse 4-5 times to combine. Then add the cubed butter and pulse for about 30 seconds. You're looking for pea sized crumbs, some larger pieces of butter are okay.2 ½ cups all-purpose flour, plus more for kneading and rolling, 2 tsp granulated sugar, 2 tsp kosher salt
- Add 6 tbsp of ice water into the bowl and stir with a spatula until it starts coming together as large pieces. If using a food processor, and 6 tbsp of ice water and pulse 4-6 times (dough should never come completely together in the food processor). To test, squeeze a small amount of dough in your hand. If it holds its shape, it's done. If it's too crumbly, add another tbsp of water until it holds its shape. The dough should not be wet.
- Lightly flour a clean surface. Turn the crumbly dough out onto the surface and knead together until it's smooth. Form into a ball and divide the dough into two equal parts. Flatten with your palm and wrap separately in plastic wrap.
- Let the dough rest in the refrigerator for at least 30 minutes or preferably overnight.
- Follow the recipes instructions for how to proceed.
Notes
- Keep the pie dough cold! Warm dough will melt before baking, which means the process of butter melting and releasing steam in the oven doesn’t happen. That means no flaky crust and possibly melted butter on the bottom of your oven.
- Dough will look crumbly before kneading. It might seems odd to dump all of the pieces on the counter but this is traditional way of kneading pie dough together.
- Dough test. In step #4, if you can squeeze the dough and it feels wet, than you added too much water. If you squeeze it and it falls apart, than you need more water.
- Helpful tools that I use to make buttery and flaky pie dough: Pastry Cutter | Food Processor | Silicone Spatula | Glass Pie Dish (easier to see when the crust is done) | Rolling Pin | Pie Weights | Pie Crust Shield | Bench Scraper | Pastry Wheel
- Freezing. This crust can be made ahead and frozen for up to 2 weeks. Wrap with plastic wrap and store in a freezer bag. To use, take the dough out of the freezer and place in the refrigerator overnight. Before rolling, let the dough sit outside of the freezer for 30-40 minutes. The dough should be slightly colder than room temperature. If you dough is starting to warm as you roll it, place it back in the refrigerator until cold.
