7 Royal Icing Mistakes and How To Fix Them
Does your royal icing bleed? Break? Twist? Dimple? Crack? Crater? When you pipe letters does it all blend together? If so, then this royal icing mistakes post is for you.
Over the years I’ve experienced all of these royal icing “fails” and learned A LOT about royal icing. I’m sharing why they happened and what to do to prevent it from happening again.
Read the tips below to help you fix your icing so your cookies will turn out great!
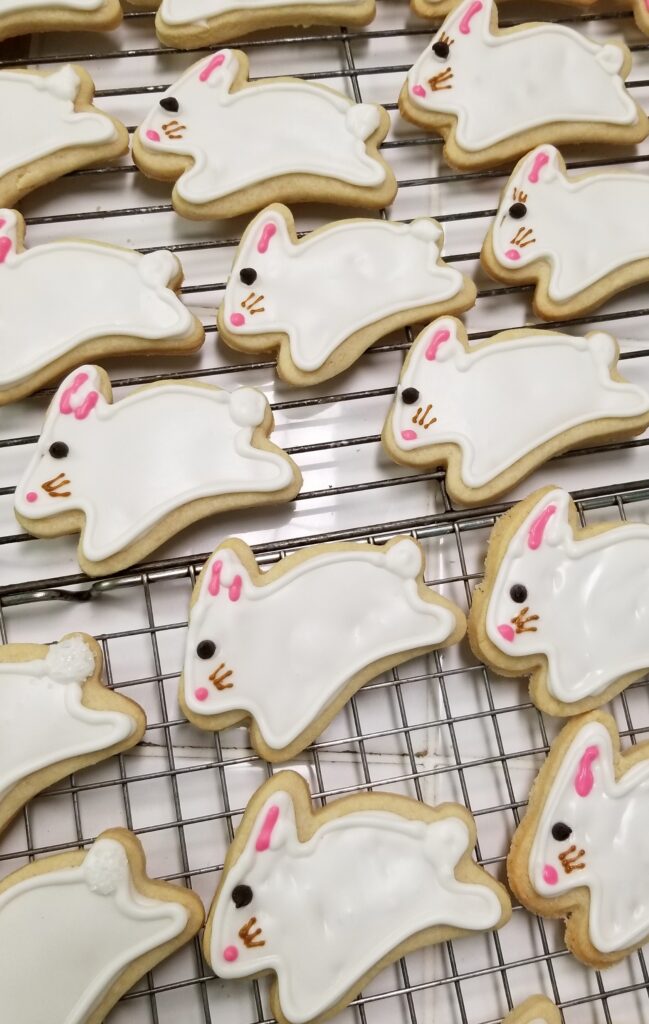
#1 Royal Icing Is Bleeding

Royal icing can bleed for many reasons, check out the black smiley faces bleeding into the yellow icing. But why does royal icing bleed?
Let The Royal Icing Dry In-Between Piping
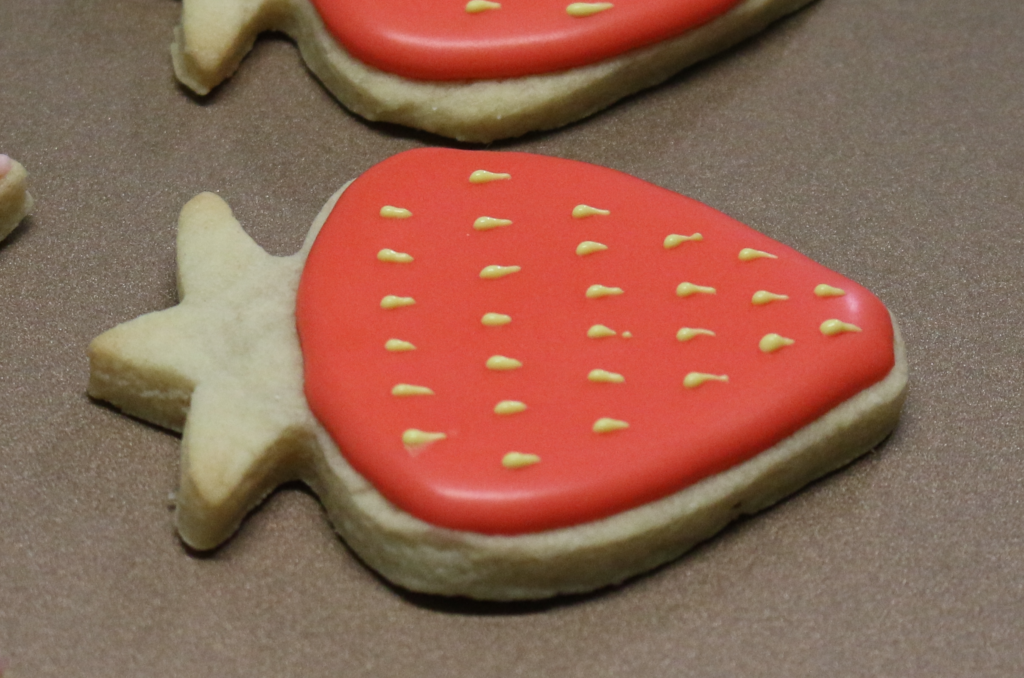
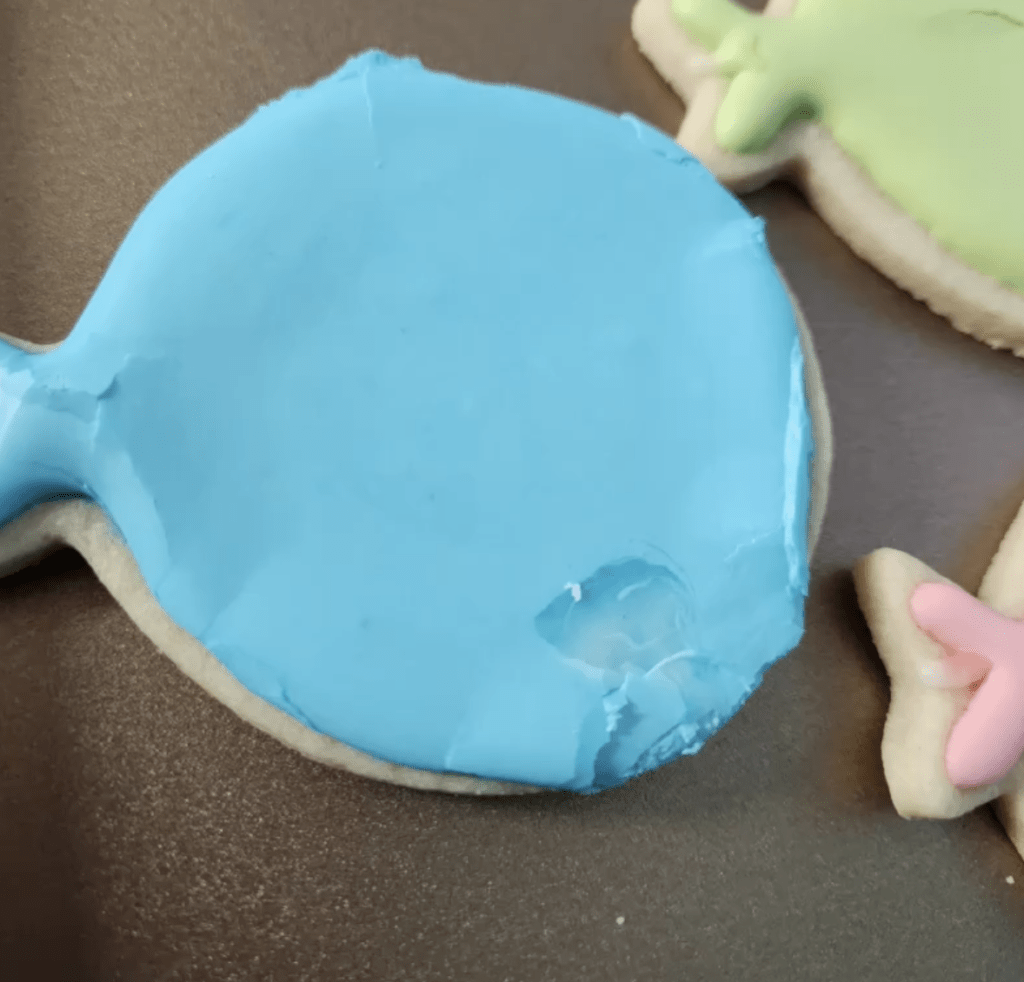
Let your icing layers dry in-between piping. Sometimes if you pipe royal icing details onto the base layer too quickly, it can sink right in!
My method to decorating a set of cookies is to pipe the base layers onto each cookie. When it’s time to add details with a different color icing, I start over with the first cookie since it’s had time to dry.
This way is more efficient because you can work on your cookies while also letting them dry as you move to decorate each one in order of the base layer.
For example: I piped the base layer on each of the strawberry cookies in the images below. By the time I finished the base layers, I started adding the details to the first cookie. The royal icing has slightly crusted over at this point but it is still delicate.
Humidity
Humidity can be hard to control depending on where you live. Icing that takes a long time to dry, means the base layer can take a long time to form a crust and has more chances of bleeding.
Wait longer in-between piping on details or try using the oven drying method to speed up the process.
Just be careful that you don’t leave your decorated cookies in the oven too long, or they will crack and explode (shown in the image below).
Oversaturated Icing From Too Much Dye
Oversaturated icing happens when you add too much food dye into the icing.
One fix is to use a gel based food dye because it has no liquid and it’s more saturated. Since the dye is more concentrated, it eliminates the need to add too many drops to achieve a vibrant color.
My favorite food gel is AmeriColor. The colors are rich and a little goes a long way.
The second tip, is that dyed icing can deepen in color over time. Make your icings the day before to let the colors develop overnight. This is also a great way to break up the amount of work if you find color decorating is overwhelming!
#2 Icing Breaks or Twists When Piping
When you want your lines to look straight and even, the last thing we need is for the icing to break mid pipe.

Icing that breaks mid pipe is can be from pushing the icing out of the piping bag without consistent pressure. Make sure to use your hand to apply even, steady pressure and kept the tip as close to the cookie as possible. Don’t “drag” the icing behind your piping bag tip, let the icing flow out of the bag evenly.
Breaking or twisting also happens if you have lots of air in the piping bag. After you fill a piping bag with icing, use a bench scraper, or your hands to push it down into the bag.
Watch the video!
#3 Lines Are Thick Or Lack Definition
Sloppy lines? Details blending into each other? This could be due to the wrong consistency icing. (The image above are from the beginning of my sugar cookie days).
If your details are melting into each other, look very thick or sloppy, you’re probably using a flooding consistency. Flood consistency is when more water has been added into the icing and becomes thinner and runny. Flood consistency icing is usually used to pipe the base layer of icing because it has to fill a large space and doesn’t need to be used for detail piping.
To fix this, make sure to use the right consistency icing for your details, like pipe-able or stiff icing. My 2 ingredient royal icing recipe makes pipe-able icing consistency and explains how to alter the recipe to make stiff consistency (used for tiny details and things like flowers).
Another fix is to make sure you cut the piping bag hole smaller than you think you need. You can always cut it bigger but test the icing first. You’d be surprised how much icing pipes out of a small hole with enough pressure.
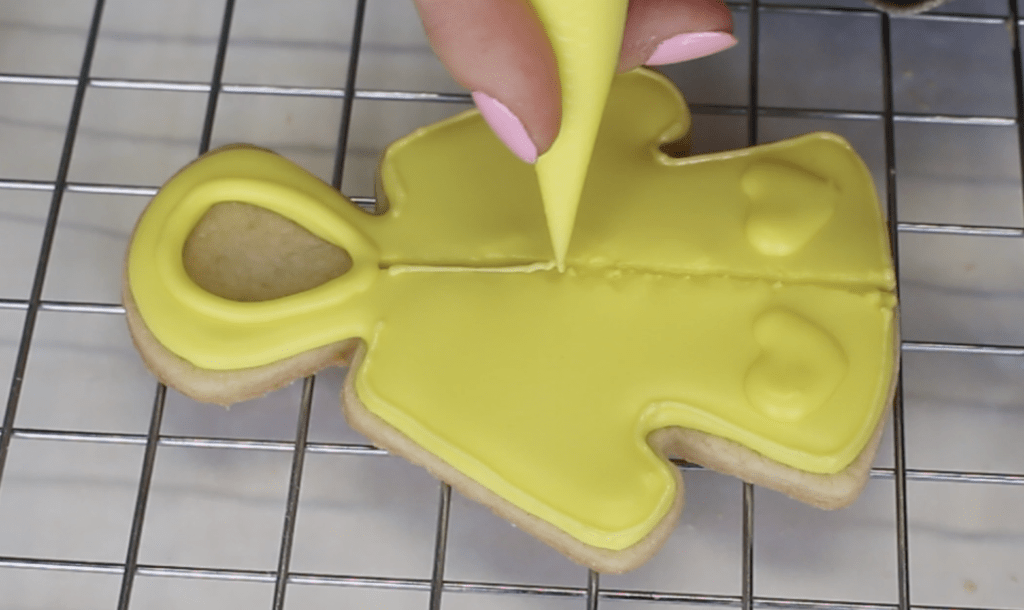
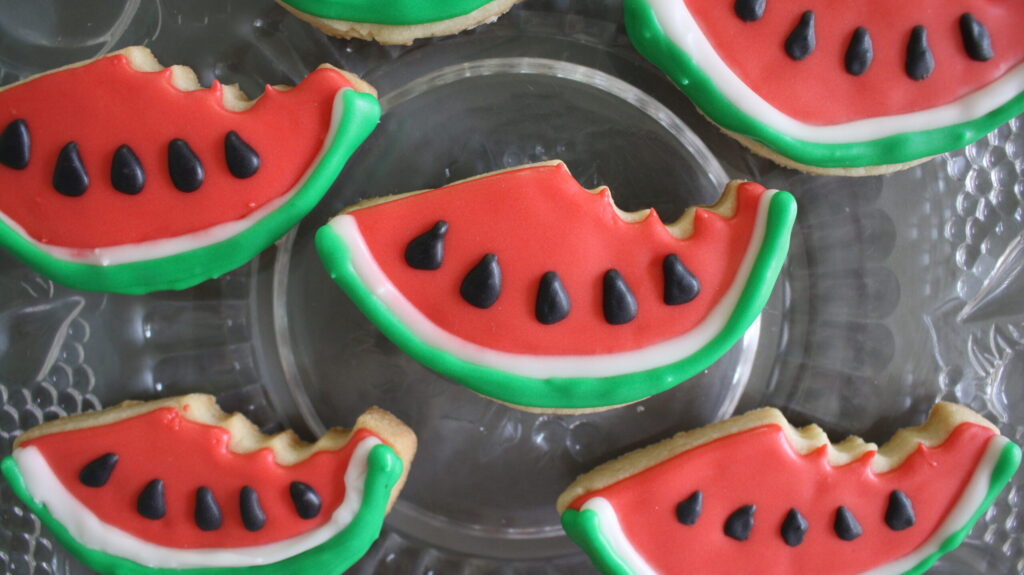
#4 Use The Right Royal Icing Consistency
This is similar to the last royal icing troubleshooting tip except it applies to more than just piping the little details.
In order for your decorated sugar cookies to look clean and to take them to the next level, make sure that you are using the right icing consistencies for different parts of the decorating process.
Flood icing: This icing is thinner and best for flooding cookie surfaces (the base layer). This icing is too thin for detailed piping.
Pipe-able/medium icing: This icing consistency is great for outlining cookie borders, write, some flooding in small cookie spaces, and details that aren’t too delicate.
Stiff icing: This is a much stiffer consistency that can be used to pipe small intricate details that need to dry quickly. Stiff icing will hold it’s shape so you can use it to pipe flowers or other details that have defined shapes. Don’t pipe your entire cookie with stiff icing because not only is it going to make the icing look bumpy, but it can hurt your hand! (bumpy icing shown in the watermelon rind above)
Check out this video about icing consistencies here.
#5 How to Fix Royal Icing Craters/Dimples
This one is frustrating because dimples/carters usually appear after royal icing has dried.
Why does this happen? Air bubbles in the royal icing can happen from being over mixed. It is also possible to have uneven cookies if they weren’t rolled out with a rolling pin correctly or have little fingerprints (happen to us all).
To fix this, look for air bubbles on the surface of your cookie after piping the base layer. Use a toothpick or a scribe tool to gently pop them. You can also gently drop the cookie onto the table to even out the icing.
This one is important! Skimping on the icing can also cause craters because when you try to get away with using less icing, the surface won’t be even. Don’t skimp!
#6 Layer Your Icing Correctly
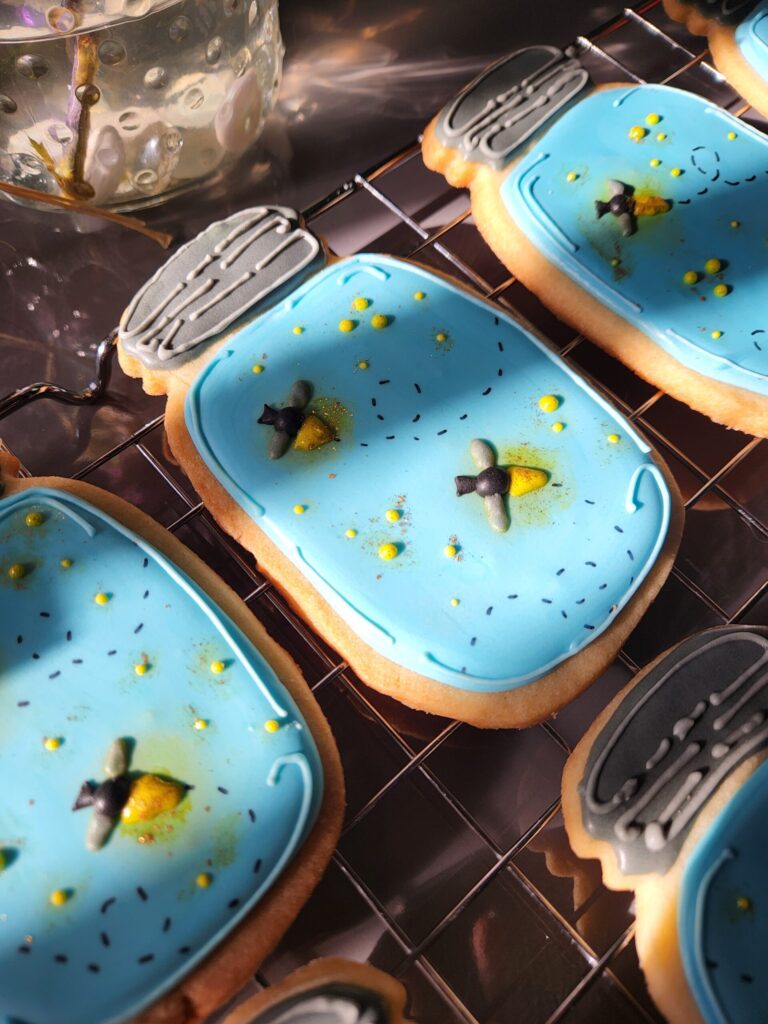
This requires you to think ahead about your cookie design. For example, let’s use the lightning bugs in a jar cookies in the image above. There are multiple layers and design techniques that you must do in the correct order so the final cookie appears like lightning bugs are glowing in a jar.
Let’s break this down.
If coming up with designs is overwhelming, take a few minutes to draw or write out the design and color theme. This way you can check off the icing colors you need to prepare. Then, write what order you need to add each icing layer and detail. Checking things off a list can help! If it didn’t turn out how you wanted, remember that royal icing cookies are all about practice!
For the lightning bugs in a jar example the colors we need are:
- Sky blue
- Grey
- Yellow
- Black
Extra details:
- Edible glitter
- Powdered food dye
- Edible black marker
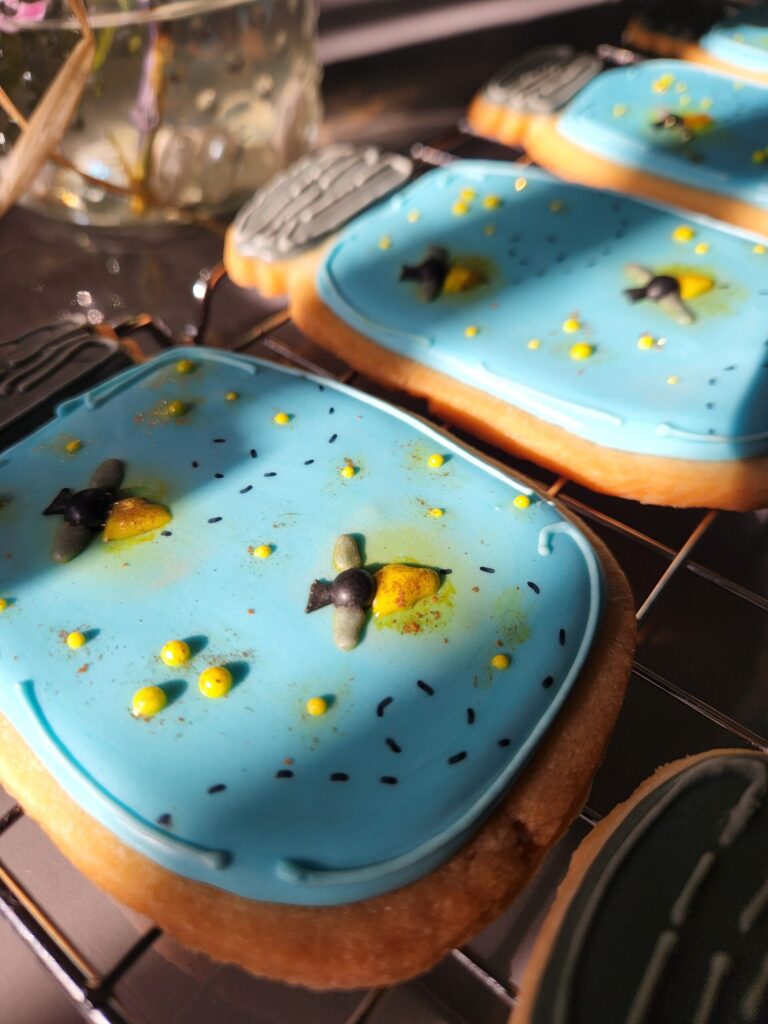
- To make these cookies, make flood icing consistency, dye it blue, outline and flood each cookie, and let it dry.
- Then add the grey lid which is using a medium consistency icing.
- Next, add the outlines to make the jar and lid to make it slightly more realistic.
- Then gently paint some yellow food powder where the lightning bugs will be.
- Start adding the lightning bug body by piping the yellow, then black, then finally the grey details.
- Add the little yellow dots for some added detail.
- Add the bug trail using an edible food marker.
- Finally lightly dust with edible glitter.
While it seems like a lot of steps, when you practice enough you get used to understanding what details have to be added in the correct order.
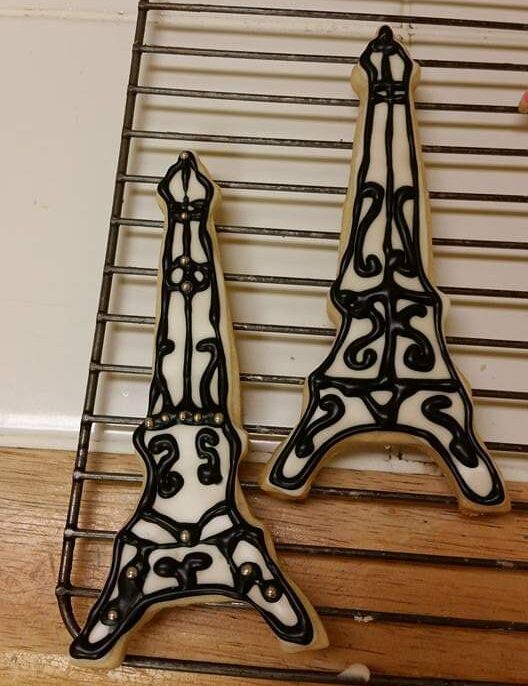
#7 Practice Designs Before You Pipe On Cookies
Practicing piping your design on a cookie or two to figure out how you want to decorate. This will also give you a chance know if the royal icing consistences are right.
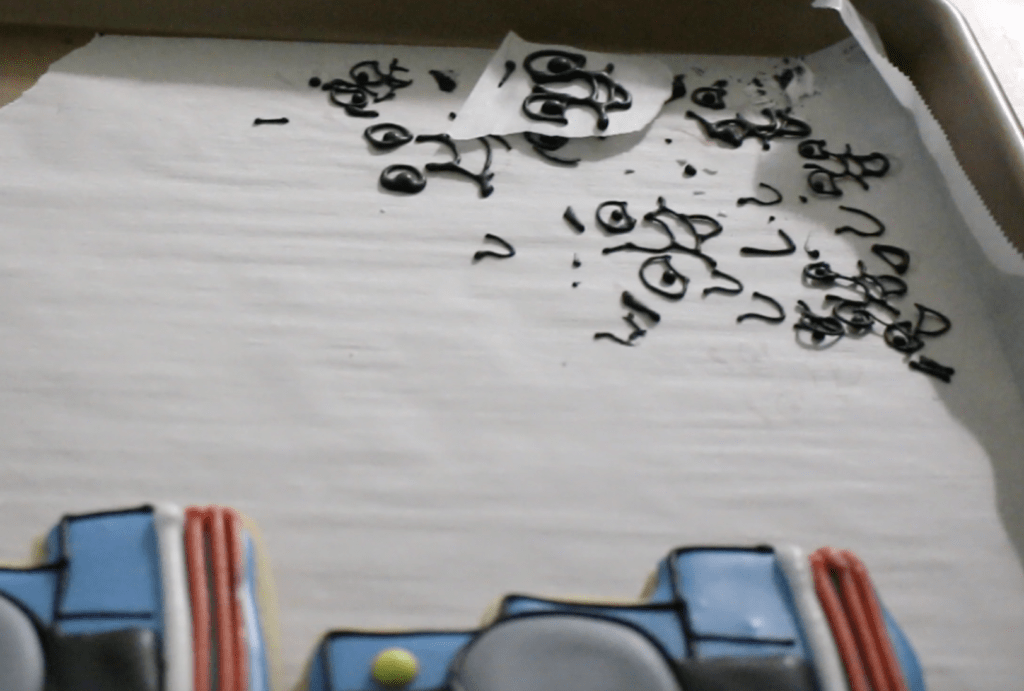
When it comes to lettering and making faces and characters, it is hard so don’t beat yourself up if it doesn’t look perfect! Sometimes you need one or two cookies to practice on. You can also practice on a paper-towel or plate. Above, I practiced Thomas the train faces on parchment.
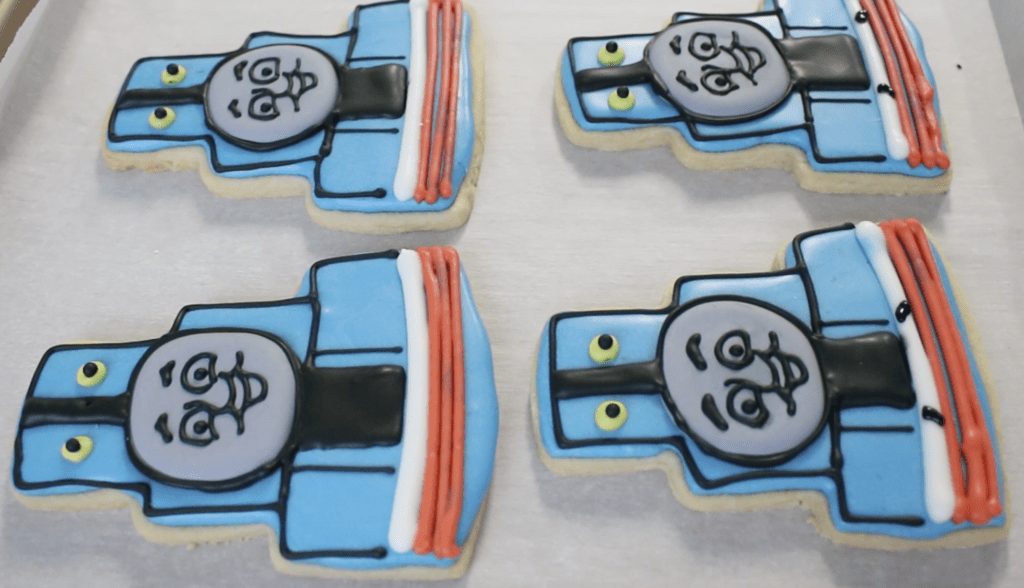
Also note that faces and character cookies are hard because we want to try to get the same likeness and using icing is a tough medium.
Home Baking Business Tip: I avoided character cookies as much as I could. Instead I’d make designs that relate to the theme. i.e. Minnie Mouse bows instead of the Minnie Mouse face

Lettering is also very hard. Practice makes perfect when it comes to royal icing (the image above is my earlier tries at writing)
There are different techniques for lettering. You can lightly draw on the cookie with an edible pen to outline where to place letters which will help you get used to how much pressure you need for letters.
When adding letters, you will also need to understand how to “push” the right amount of icing out of a piping bag. I recommend printing out a cursive workbook sheet. Place this under parchment paper and practice piping the words.
Take your time when piping letters for better precision (the image below is after a few years of practice! it’s not perfect but it’s much better than it was lol).

At the end of the day, only you will really notice the little mistakes. Sure, another cookier might notice but normally people who don’t bake or decorate cookies with royal icing will notice those tiny details.
Have fun, practice, and have patience.