Easy Homemade Salted Caramel Recipe
Easy Homemade Salted Caramel Recipe
COOK TIME: 15 MIN
TOTAL TIME: 15 MIN
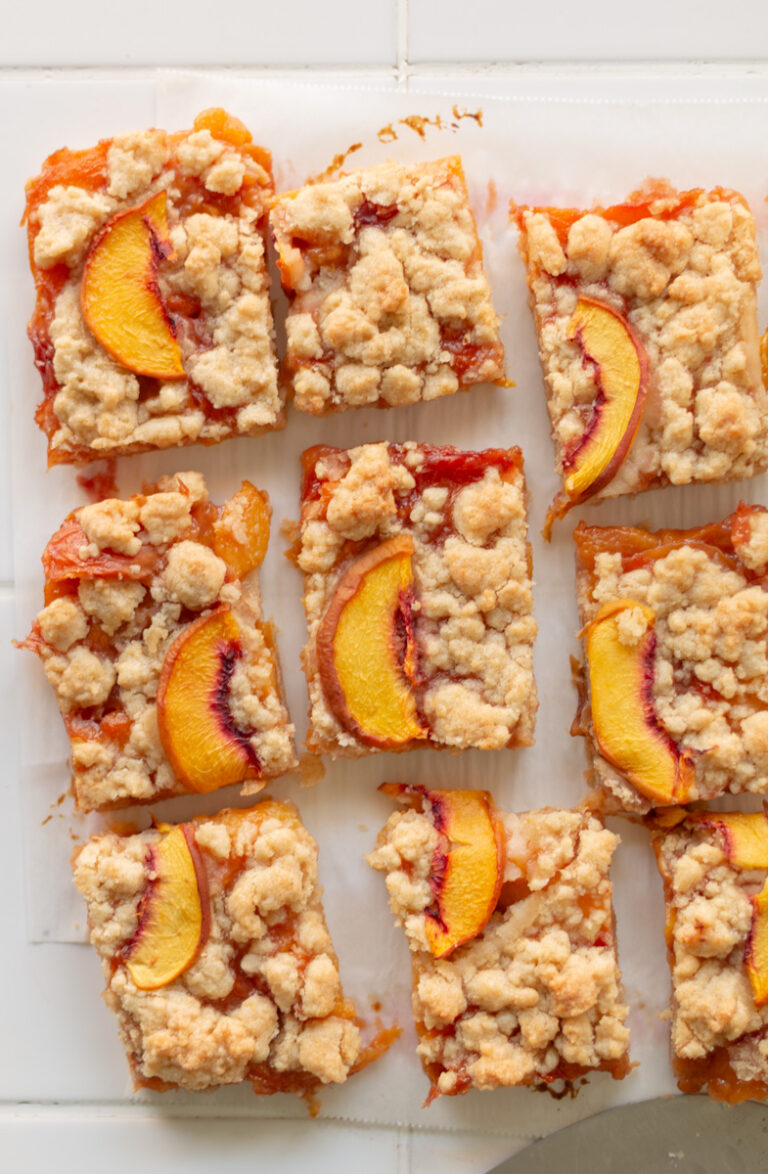
Salted caramel doesn’t have to be as scary as it may seem. Learn a few tips so that you can make it at home with this easy method. This salted caramel recipe is perfect for drizzling over your favorite desserts.
This site uses affiliate links which may result in a small commission at no cost to you. Thanks for supporting Midwest & Wonder!
The thought of making salted caramel makes my mouth water. It’s such a delicious and rich flavor that can elevate so many desserts.
This homemade salted caramel is delicious, rich, with a buttery flavor. Perfect for drizzling over your favorite desserts! This recipe is perfect for drizzling, not for candy making.
Why You’ll Love This Homemade Salted Caramel Recipe
Making salted caramel seems to come with a lot of intimidation. If I’m being honest, I was definitely intimidated by it too when I first started testing this recipe. I learned a few tips that makes it a lot less scary!
- Easy to make once you get the hang of it!
- Salted caramel has a delicious rich, buttery flavor with a sweet warmth that pairs with so many desserts.
- You won’t have to go out to the store for any last minute salted caramel purchases.
- Adjust the amount of salt for your saltiness liking.
- A candy thermometer is optional.
- You can eat it with a spoon 🙂
Ingredients List
Make sure to check that you have all of the ingredients before getting started.
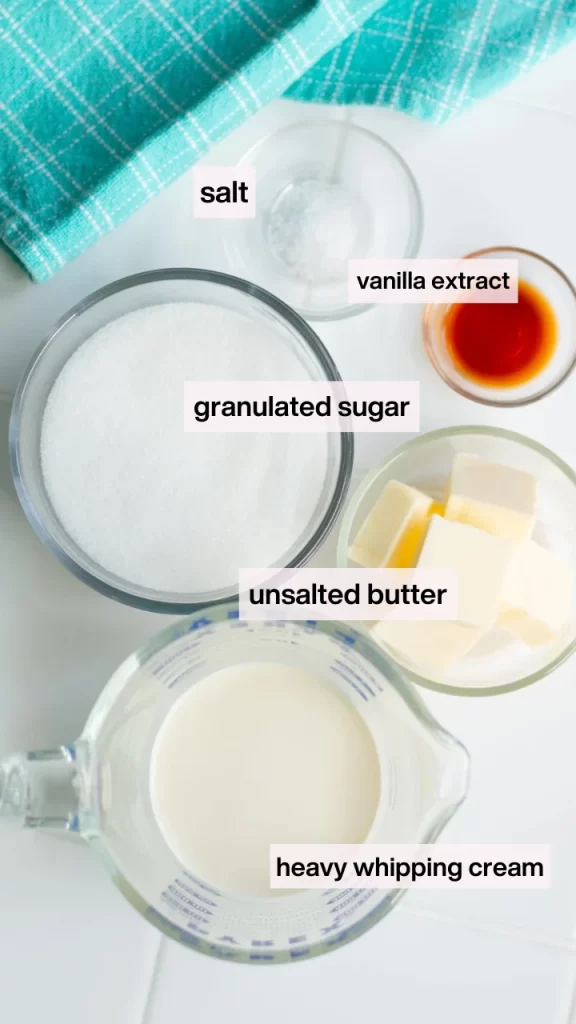
- granulated sugar
- unsalted butter
- heavy whipping cream (milk does not work for this recipe)
- vanilla extract
- kosher salt (or sea salt)
A few helpful tips
How To Make Homemade Salted Caramel
Let’s break it down into steps and walk through it together, so it’s less intimidating.
- Step 1: Melt the sugar over medium-low heat
- Step 2: Whisk the sugar and let it caramelize
- Step 3: Add in the butter and heavy cream
- Step 4: Add the vanilla extract and salt
- Step 5: Let it cool
The top tip is to not walk away from it because it can burn quickly.
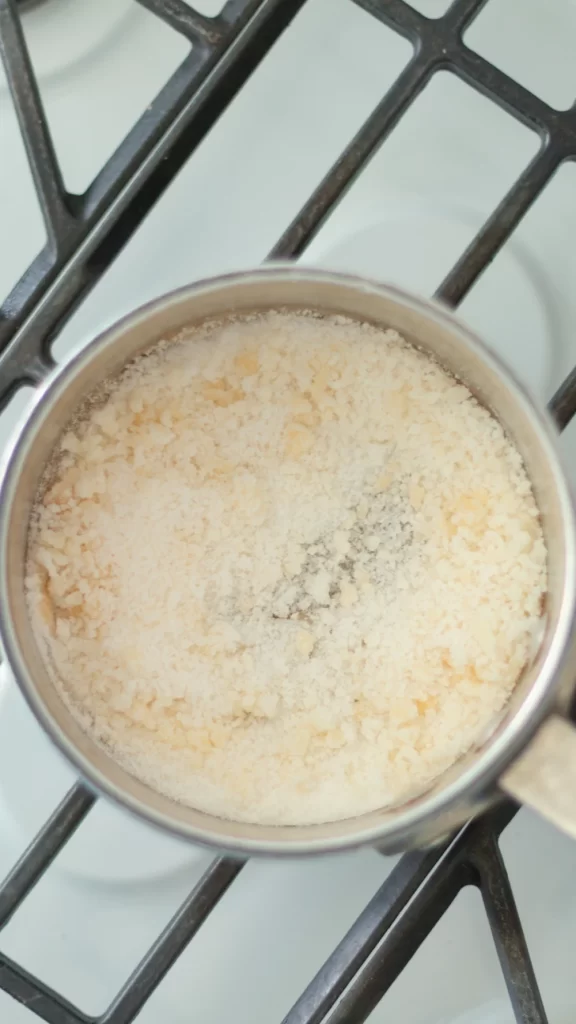
Step 1: Melt the Sugar
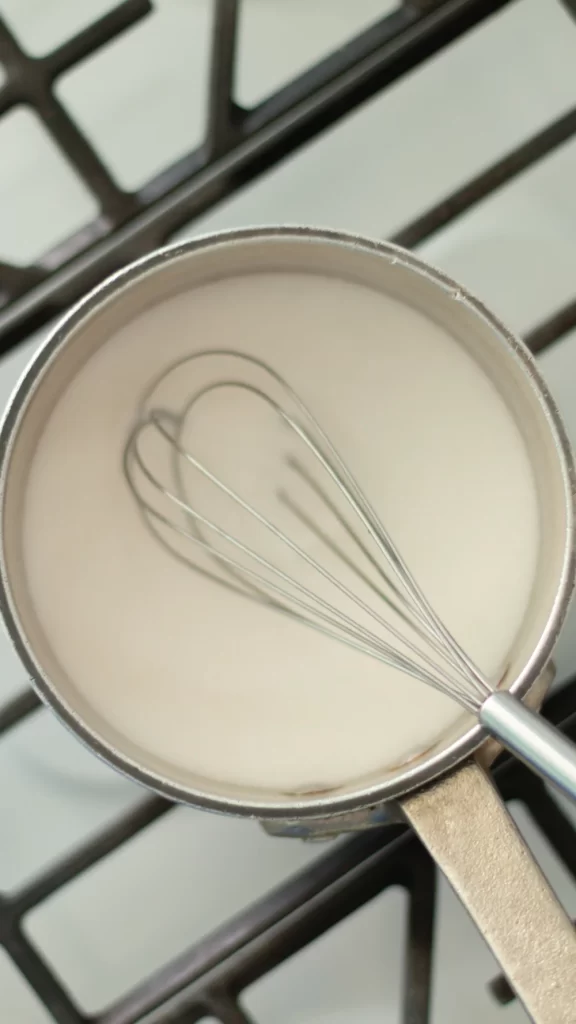
Before beginning, make sure the butter and cream are at room temperature. If not, heat the cream for 1-2 minutes in the microwave.
In a medium to large heavy-bottom saucepan, add the sugar and turn the heat to medium-low. Gently stir and watch for the sugar to start forming clumps (this can take 3-5 minutes). As you see larger clumps form, start stirring constantly to help break down the clumps. Get your whisk into the bottom edges of the pot to avoid sugar sticking at the base.
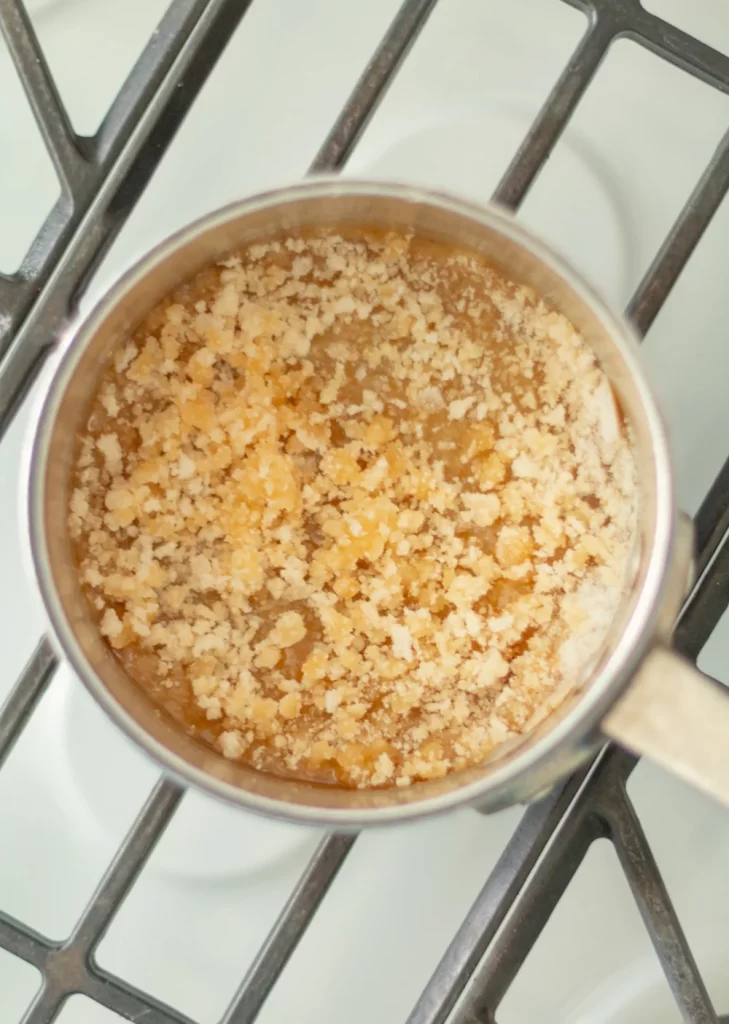
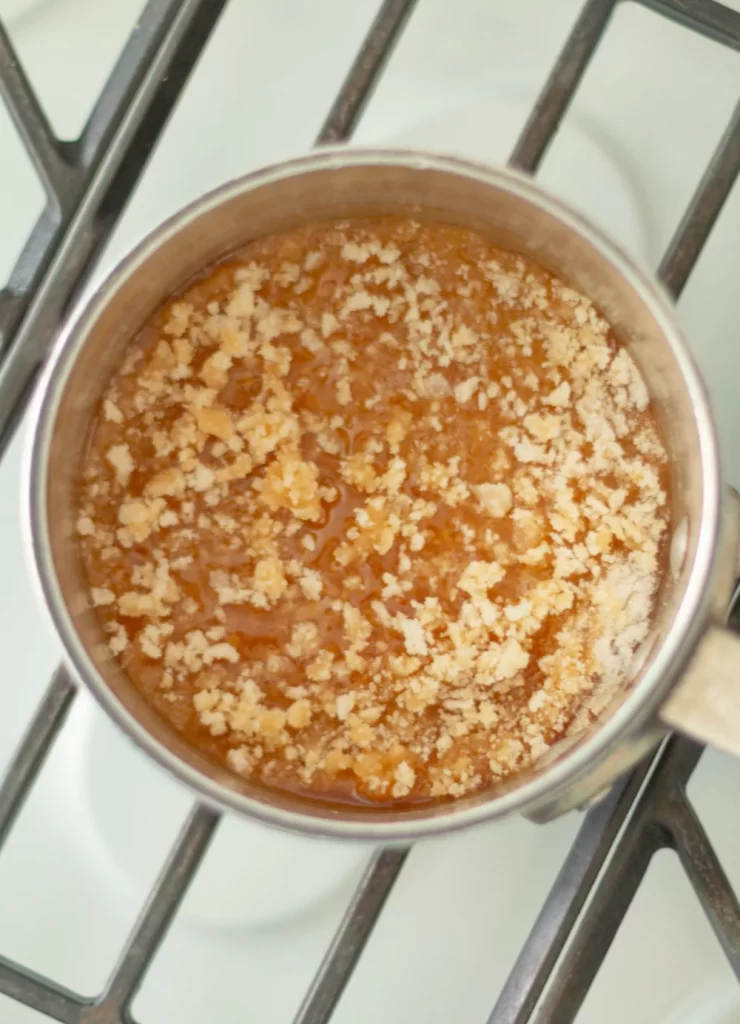
Step 2: let the sugar caramelize
The sugar will melt into a golden brownish color and have a thinner liquid consistency. As soon as you see it turn into a amber/darker color, remove it from the heat (this happens very fast!).
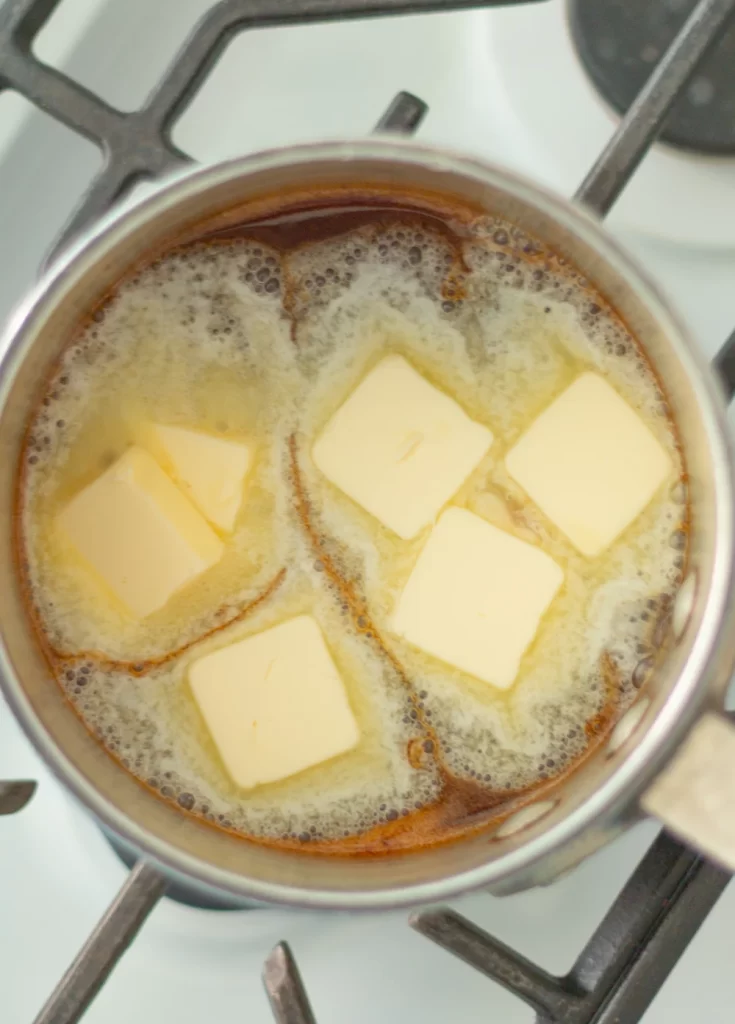
Step 3: add the butter and heavy cream
Be careful with this next step! Adding butter and cream will often cause a semi-violent bubbling. Wear kitchen gloves if you feel nervous about any sugar splatter. Carefully add in the room temperature butter and whisk together. Pour in the room temperature cream and whisk together.
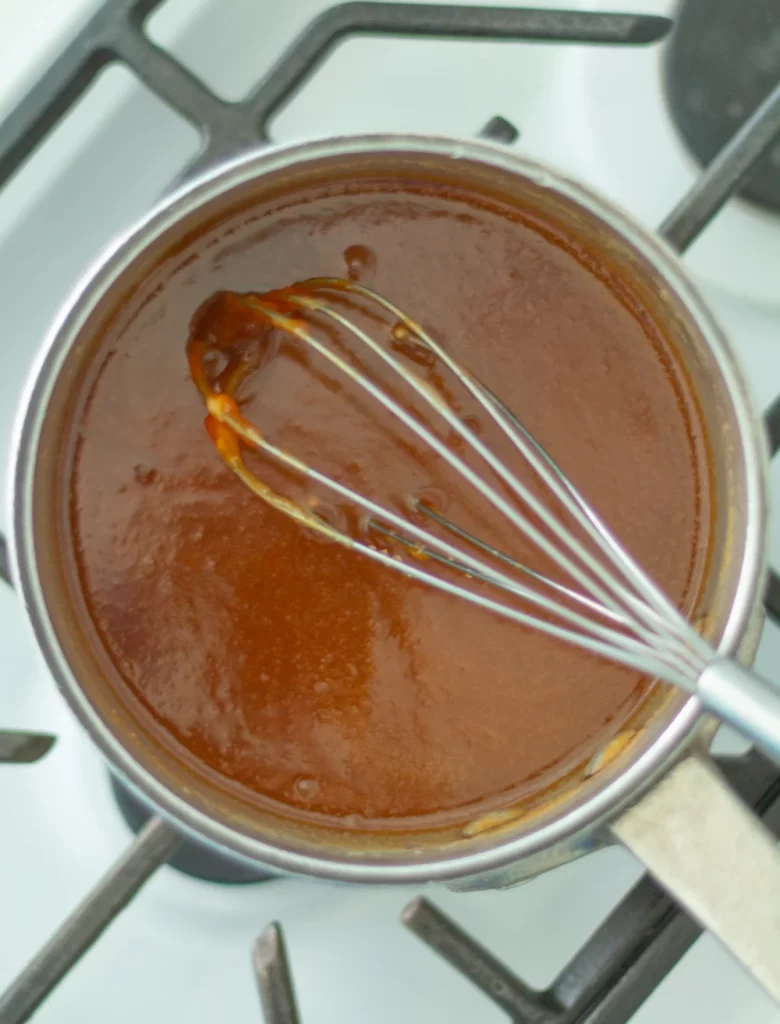
Step 4: add vanilla and salt
Add the vanilla extract and kosher salt and whisk until everything is smooth.
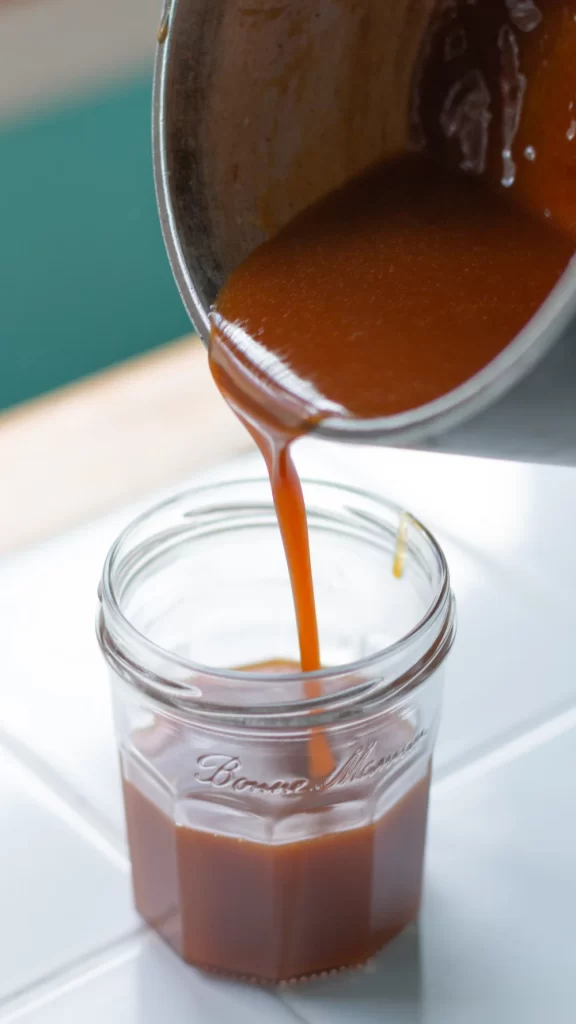
Step 5: let it cool
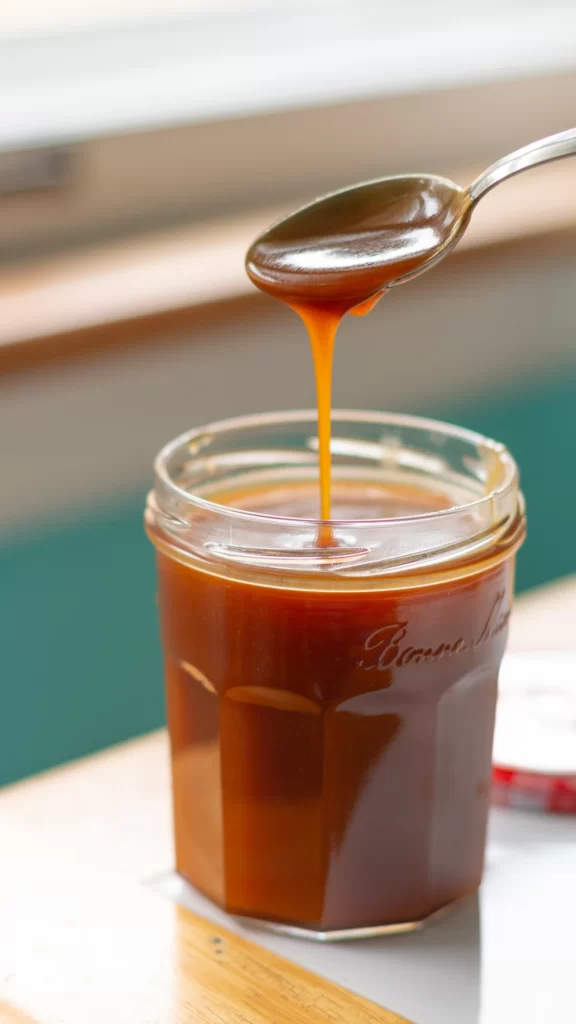
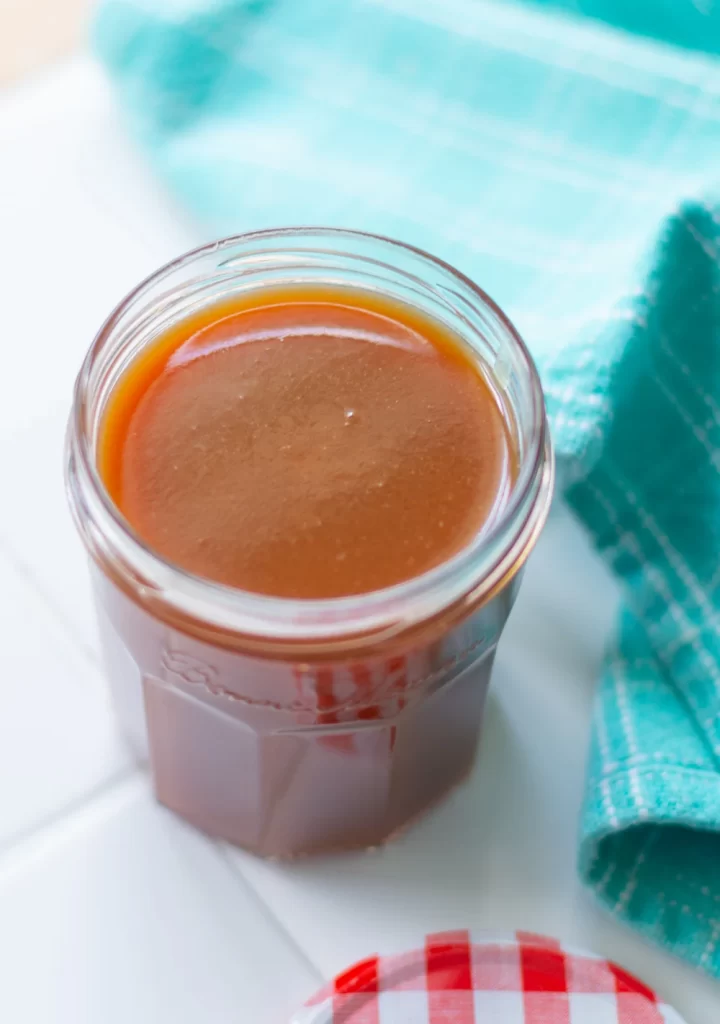
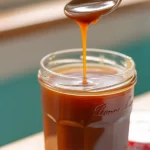
Pour the caramel into a heat safe jar and let it cool. It will thicken once it has cooled. This lasts in the refrigerator for up to 3 weeks. To use it, warm it in the microwave for 15 second increments. Drizzle over your favorite desserts.
Troubleshooting FAQ’s
My Sugar Burned
So you turned your back and that’s when the sugar decided to heat up. Unfortunately, there is no saving this sugar. Start over and make sure to watch it and stir continuously.
Caramel seizing up
You added your butter and cream and the caramel stiffened, and became impossible to stir. To fix, put the pot back over medium-low heat and allow it to warm. Whisk it as best as you’re able until it’s loosened.
To avoid this in the future, make sure the butter and cream are at room temperature.
RECIPE CARD
Easy Homemade Salted Caramel Recipe
Equipment
Ingredients
- 1 cup granulated sugar (200g)
- 6 tbsp unsalted butter, room temperature (85g)
- ½ cup heavy whipping cream, room temperature (120ml)
- 1 tsp vanilla extract
- ½-1 tsp kosher salt
Instructions
- Before beginning, make sure the butter and cream are at room temperature. If not, heat the cream for 1-2 minutes in the microwave. If these ingredients are cold when adding to the caramelized sugar, it can seize up.
- In a medium to large heavy-bottom saucepan, add the sugar and turn the heat to medium-low. Gently stir and watch for the sugar to start forming clumps (this can take 3-5 minutes). As you see larger clumps form, start stirring constantly to help break down the clumps.
- The sugar will melt into a golden brownish color and have a thinner liquid consistency. As soon as you see it turn into a amber/darker color, remove it from the heat (this happens very fast!).
- Be careful with this next step! Adding butter and cream will often cause a semi-violent bubbling. Wear kitchen gloves if you feel nervous about any sugar splatter. Add in the room temperature butter and whisk together. Pour in the room temperature cream and whisk together.
- Add the vanilla extract and kosher salt and whisk until everything is smooth.
- Pour the caramel into a heat safe jar and let it cool. It will thicken once it has cooled. This lasts in the refrigerator for up to 3 weeks. To use it, warm it in the microwave for 15 second increments. Drizzle over your favorite desserts.
Notes
- Use high quality unsalted butter. Salted caramel only has 5 ingredients, so it’s important to use the best quality for the best flavor.
- For freezing, let the salted caramel cool completely. Transfer to an airtight container and freeze for up to 3 months. To thaw, place it in the refrigerator overnight.
- For thicker salted caramel, add 1/3 cup heavy whipping cream.


One Comment