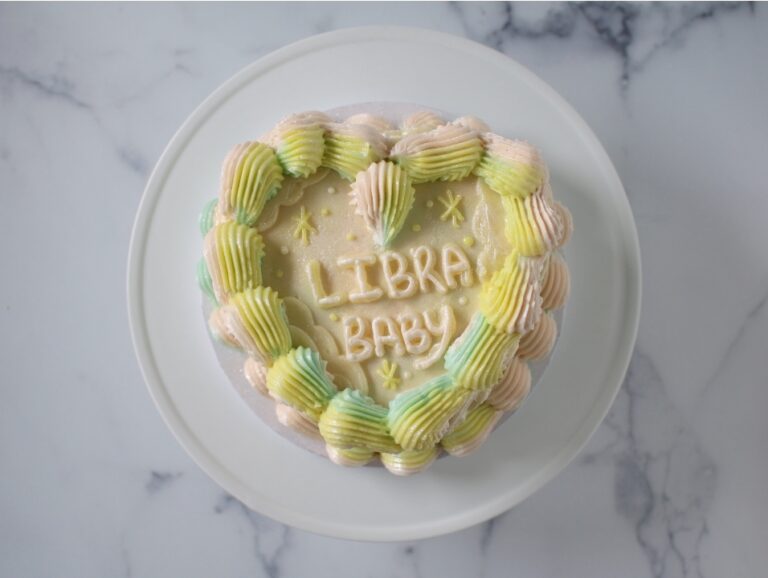
Vanilla Cake Recipe

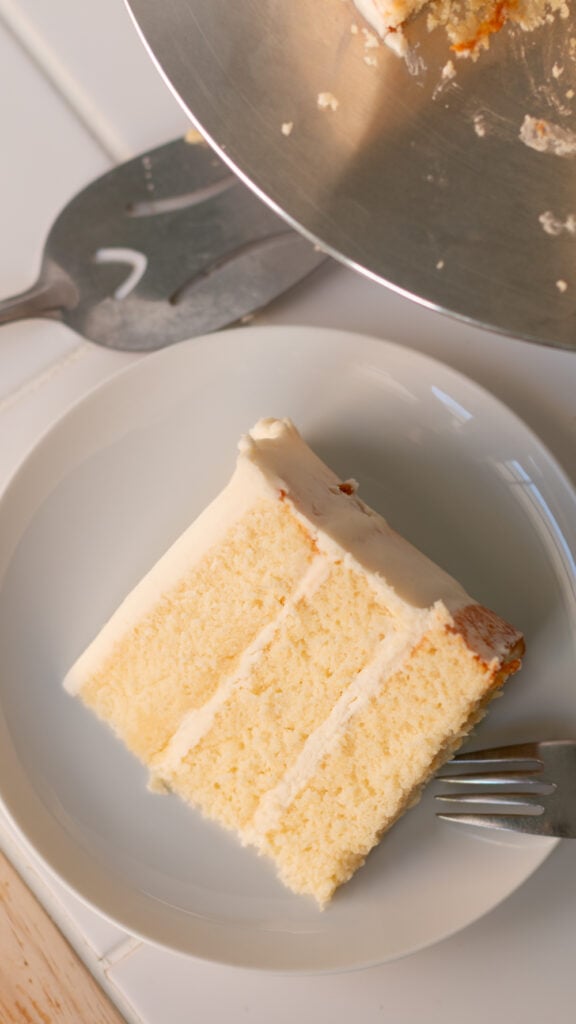
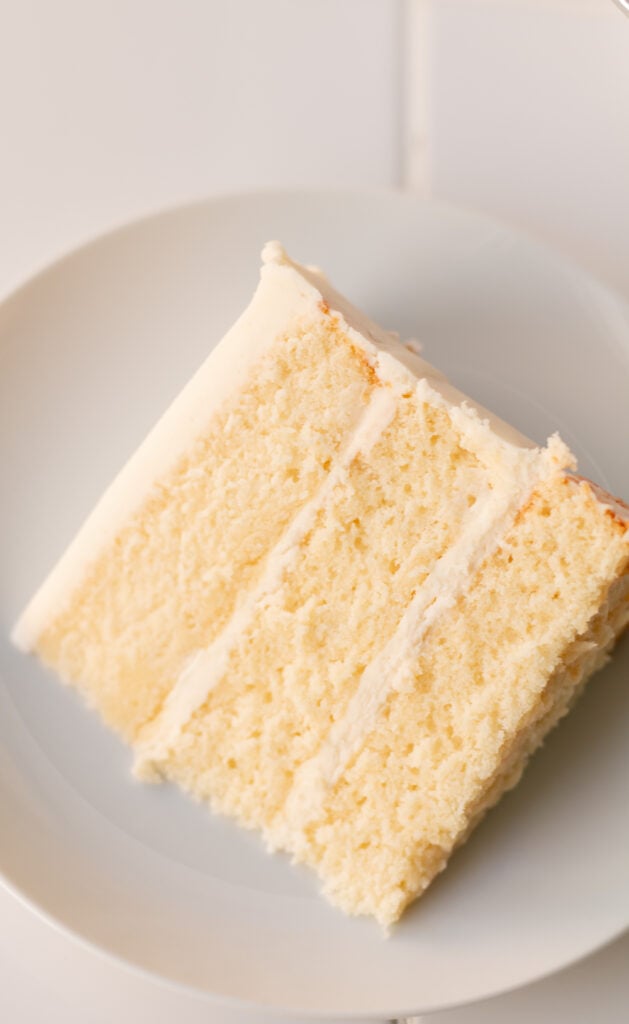
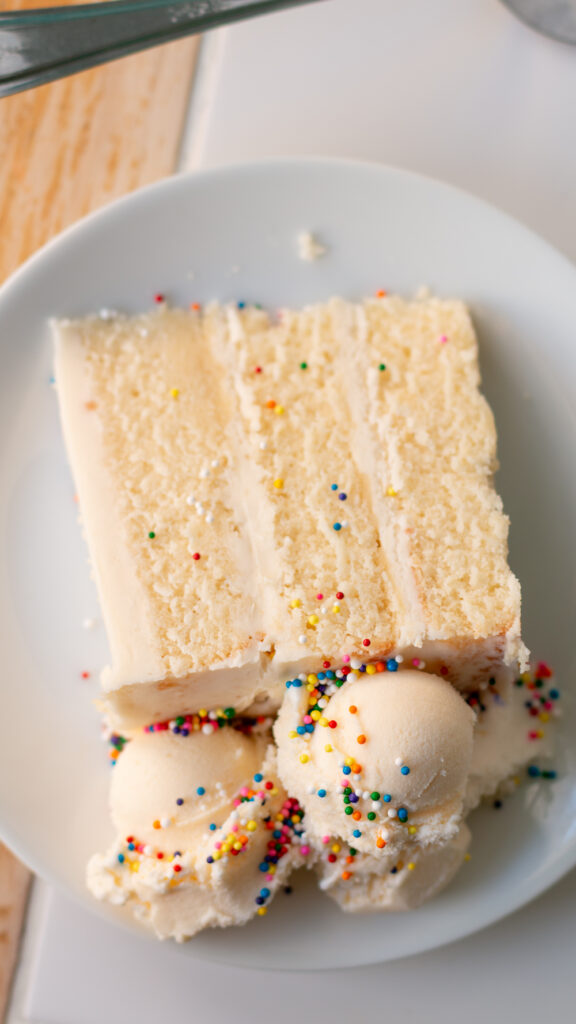
This easy homemade vanilla cake is full of flavor! It’s tender and moist but sturdy enough to frost. This recipe makes a three layer, 8-inch cake, enough for 20-24 servings.
This site uses affiliate links which may result in a small commission at no cost to you. Thanks for supporting Midwest & Wonder!
Vanilla Layer Cake Recipe
I happen to be a huge vanilla cake fan, so I took my time to test vanilla cake recipes over and over. I think I’m tapped out from vanilla cake taste testing….😅 (Until next week.)
Over the years I’ve made countless vanilla cakes for all kinds of events but was never really happy with the results. I grew up in a butter only baking home (no oils or shortening), so I wondered if it was possible to get a great buttery taste by keeping butter as the main fat, and find ways to add more moisture.


No More Dry, Tasteless Vanilla Cake
Have you ever baked a vanilla cake, taken a bite, and it’s dry?? Or flavorless? That’s happened to me.
The trick is to use buttermilk, vegetable oil, and an addition of egg whites. I caved in on the vegetable oil but not too much that butter is still the star.
This combination of moisture adding ingredients helps to achieve a light and velvet texture while also being slightly dense and moist. I know those things sound opposite of each other but it works and it’s my favorite cake texture.
Why Is This Cake So Good?
- The baking steps are easy to follow
- Has common ingredients in your pantry and fridge
- Buttermilk gives a nice tang + adds moisture (you can make this at home)
- Lots of vanilla flavor
- Perfect vanilla cake base to pair with fillings and frostings
- Soft but sturdy enough to frost and stack
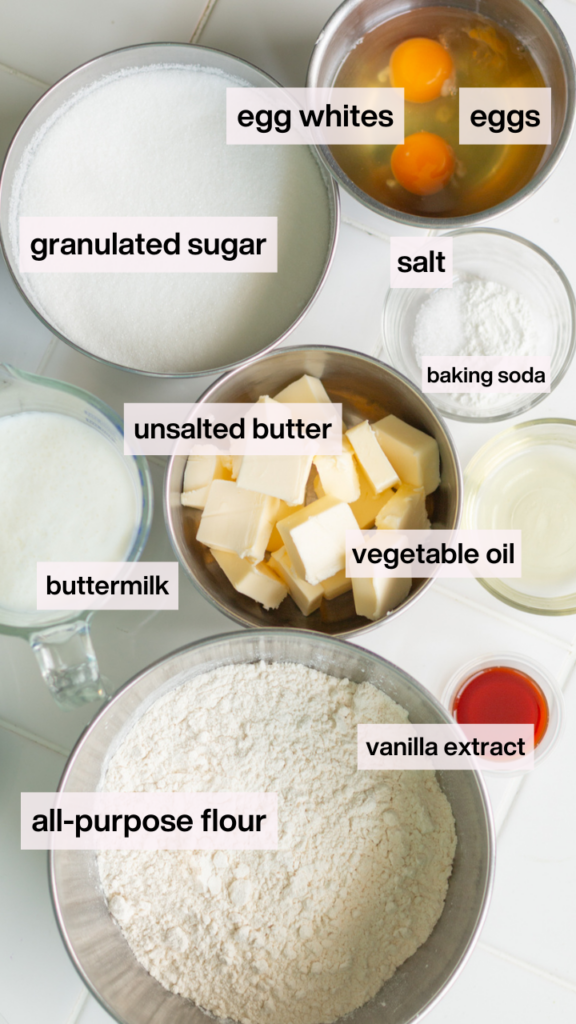
What Do These Ingredient Do For A Cake?
Let’s do a little deep dive on how ingredients work together. I love learning all about the “whys” of baking – it helps make me a better baker.
all-purpose flour: adds structure which holds up to the other ingredients that add moisture
granulated sugar: creates structure, moisture, caramelization (it’s important not to change the amount of sugar listed in a recipe for this reason), and of course adds sweetness!
baking soda: used with an acid in baked goods to trigger a chemical reaction and a lift (the buttermilk in this recipe is the acid)
kosher salt: adds flavor and enhances texture plus the larger the salt crystal, the slower it takes to dissolve, giving a more even distribution
unsalted butter: helps to control the amount of added salt, while also adding lots of good flavor, tenderness, moisture, and contributes to the cakes texture
whole eggs + egg whites: (whole eggs meaning the egg white and the yolk) adds structure, moisture, and a richness while the additional egg whites create a lift and lightness
buttermilk (the secret!!): adds extra moisture, a tangy flavor, softer cake crumb, and is the acid that interacts with baking soda to help the cake rise
vanilla extract: adds delicious vanilla flavor, you can also use vanilla bean paste
vegetable oil (another secret ingredient): adds moisture, richness, and helps create a soft crumb
How To Bake A Great Homemade Vanilla Cake
Making a great cake at home can be intimidating but with some patience and practice you can do it! Here’s some of my best tips.
- Read the recipe carefully and follow it exactly the first time!
- Have all the ingredients at room temperature! Don’t skip this. Cold ingredients don’t mix too well. Room temperature ingredients will come together much easier and you’ll avoid overmixing.
- Properly measure and level ingredients or use a kitchen scale. I love using a kitchen scale for accuracy and I find it much easier than having to scoop and level.
- Use parchment rounds to line the bottom of the cake pans and spray the sides with baking spray. This helps cakes turn out of the pan perfectly every time.
- Let the layers cool completely before frosting to avoid melted buttercream and crumbs everywhere!

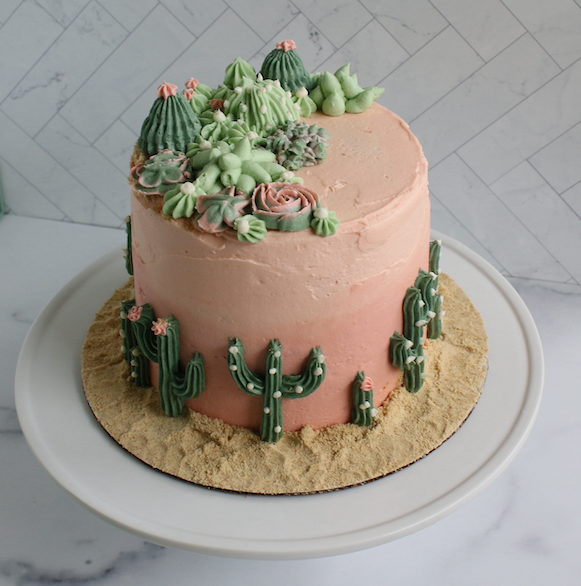
Cake Pairing Ideas
The best thing about this cake is that it pairs well with almost any flavor buttercream, filling, or topping.
Matcha Vanilla Latte: vanilla cake + american buttercream filling + ice the cake in matcha buttercream
Chocolate & Vanilla Swirl: 2 layers vanilla cake + 1 layer chocolate cake + chocolate buttercream filling + ice the cake in american buttercream
Berry Cake: vanilla cake + pastry cream filling + fresh fruit filling + ice the cake in american buttercream
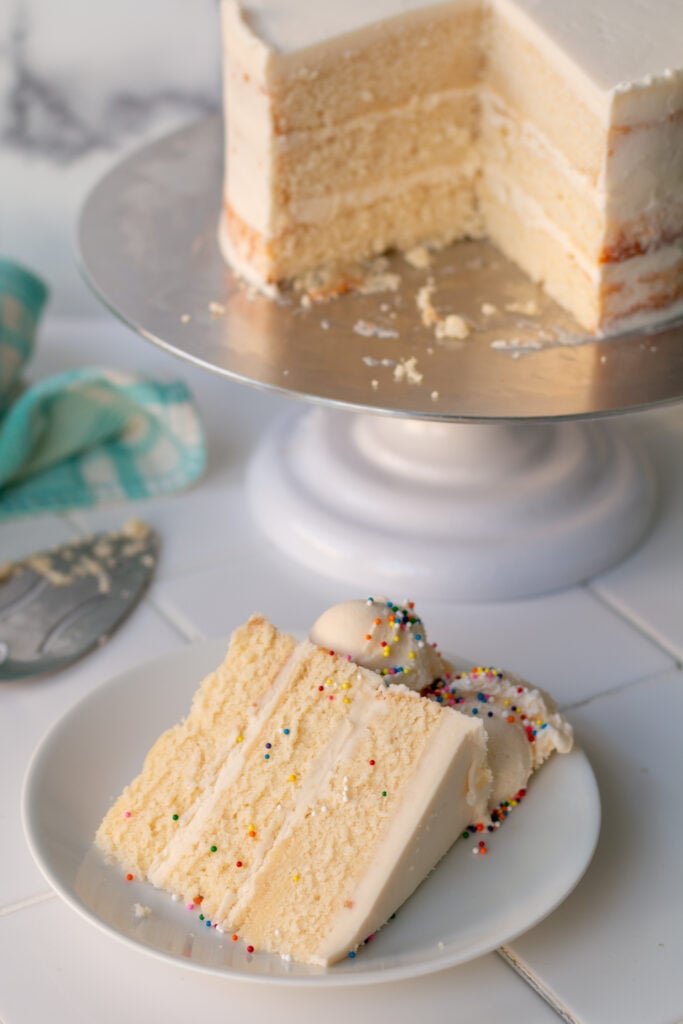
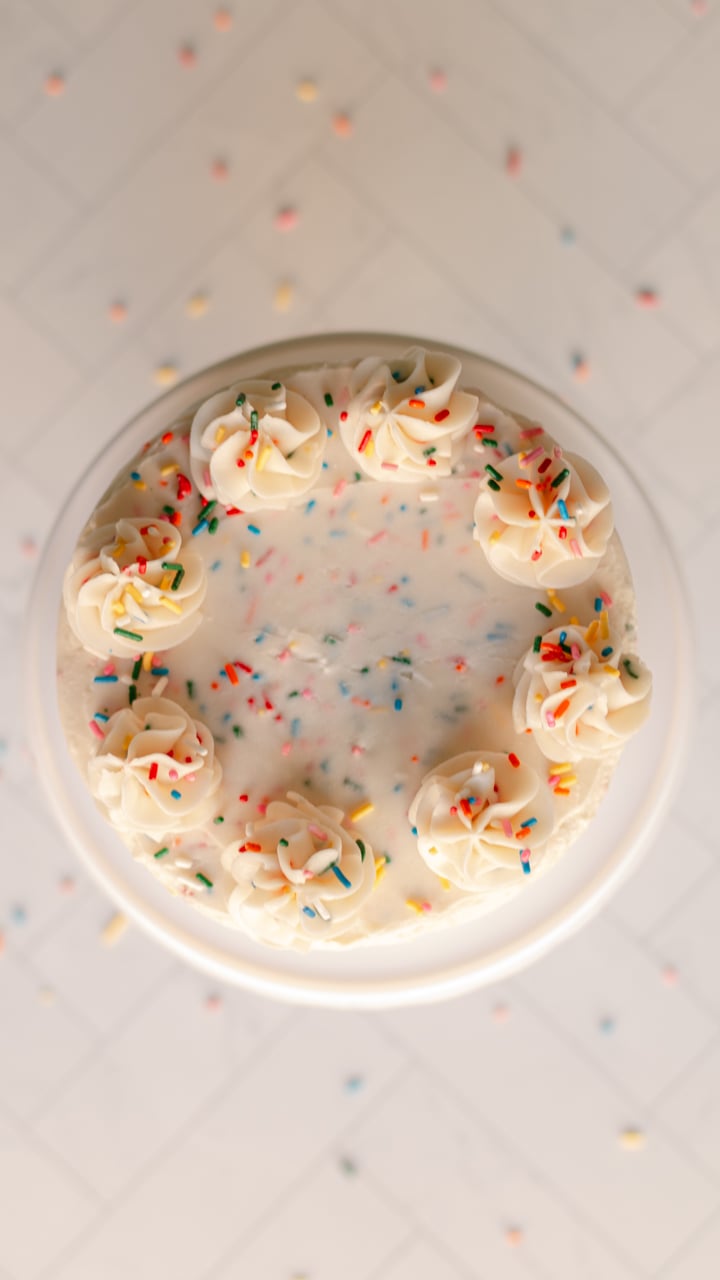
Vanilla Birthday Cake: vanilla cake + chocolate buttercream + sprinkles
Sour Cherry Vanilla Cake: vanilla cake + sour cherry jam filling + american buttercream
FAQ’S
How To Bake Cakes Ahead Of Time
Wrap slightly warm cakes tightly in plastic wrap. Put the warm cakes directly into the freezer! It might seem weird, but it helps to lock in the moisture.
You can freeze cake layers for up to two months. To use, take out the cake layers and let them thaw for 15-20 minutes or until slightly cool. It’s much easier to frost colder cakes to avoid crumbs getting into the frosting!
You can also make the frosting ahead of time! Cover frosting in an airtight container and keep in the fridge for up to a week. The defrosting process can cause air bubbles to form, so whip it again to bring it back to life!
Trimming The Caramelization & Leveling
This isn’t necessary but if you prefer no browned areas on the cake, use a serrated knife to gently remove the caramelization on the tops and edges.
To level, eye ball where the cake has domed. Use a serrated knife to slowly cut the domes off. It doesn’t have to be a fancy process, I kneel down and look at the cake to see any unevenness and then trim.
Stacking cakes with a dowel or bubble tea straws
To support taller cakes or when stacking tiered cakes, you can add dowels or bubble tea straws (I use colorful straws so it’s easy for someone to see it and remove it). Add a support in the center and then a few around the outside depending on how big the cake is. For 6-inch cakes I use 4 dowels, for 8-inch cakes I use 5 dowels, and for 10-inch cakes I use 6 dowels.
Let frozen cake layers thaw to room temperature before adding dowels or you could split the cake layer.
Storing Vanilla Cake
Cover with plastic wrap or airtight containers. The cake can be left at room temperature for two days and then I suggest refrigerating. You can freeze iced cake slices in airtight or freezer safe containers for up to two months. Let it thaw before serving.
Serving Size & Cake Pan Variations
This vanilla cake is a three layered 8-inch round cake which is enough for 20-24 servings. Unfrosted cake layers are about 1-inch tall.
This recipe can be used for other cake pan sizes! For pan variations, you’ll have to keep an eye out on the baking times. You can also use this helpful cake pan converter online tool.
| Pan Size | Batter Amount |
| 9×13-inch sheet cake | 1 vanilla cake recipe |
| three layered, 4-inch round cake pans (slightly thicker layers) | 1/3 of the recipe (it’s much easier to use gram measurements for this) |
| three layered, 6-inch round cake pans (they’ll be slightly thinner) | 1/2 the recipe |
| four layered, 7-inch round cake pans | 1 vanilla cake recipe |
| three layered, 9-inch cake pans | 1 vanilla cake recipe + 1/3 more |
RECIPE CARD

Vanilla Cake Recipe
Equipment
- Stand mixer with paddle attachment (or hand mixer)
Ingredients
Vanilla Cake Recipe
- 3 cups all-purpose flour (360g)
- 3 cups granulated sugar (600g)
- 2 tsp baking soda (10g)
- 1 tsp kosher salt (6g)
- 1 cup unsalted butter, room temperature (226g)
- 2 large whole eggs, room temperature
- 3 egg whites, room temperature
- 1 ½ cups buttermilk, room temperature (360g)
- 3 tsp vanilla extract (12g)
- 2 tbsp vegetable oil (30g)
Easy American Buttercream
- 2 cups unsalted butter, room temperature (452g)
- 7 ½ cups powdered sugar (855g)
- ½ tsp salt
- 1 tbsp vanilla extract (12g)
- ¼ cup heavy whipping cream (or milk) (60g)
Instructions
Vanilla Cake Recipe
- Preheat the oven to 350°F(175°C). Line three 8" round cake pans with parchment rounds then spray the sides with non-stick baking spray.
- In a stand mixer with the paddle attachment or a large bowl with a hand mixer, add all-purpose flour, sugar, baking soda, and salt together and whisk together until combined.3 cups all-purpose flour, 3 cups granulated sugar, 2 tsp baking soda, 1 tsp kosher salt

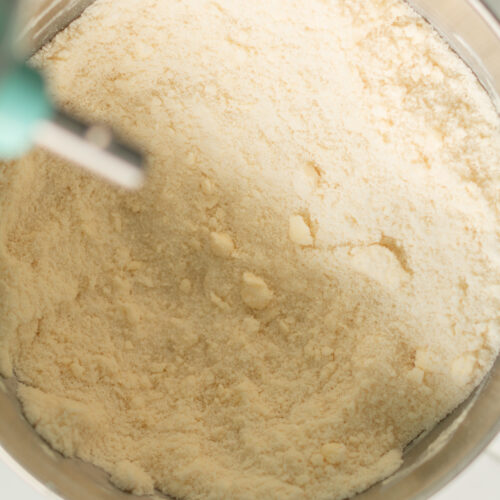
- Use a knife to cut the room temperature unsalted butter into tablespoons. Add the butter into the flour mixture slowly on low speed. Mix until there's no more large pieces of butter. It should look like moist sand and a few pieces of small butter chunks are okay. Scrape down the sides of the bowl with a rubber spatula.1 cup unsalted butter, room temperature
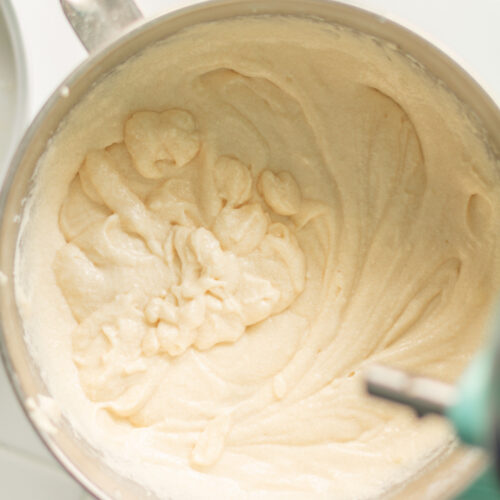
- In a separate bowl, whisk together the whole eggs, egg whites, buttermilk, vanilla extract, and vegetable oil.2 large whole eggs, room temperature, 3 egg whites, room temperature, 1 ½ cups buttermilk, room temperature, 3 tsp vanilla extract, 2 tbsp vegetable oil

- Add the wet mixture in two parts on low speed, making sure to scrape down the sides of the bowl. Mix everything on medium speed until it's fully combined.
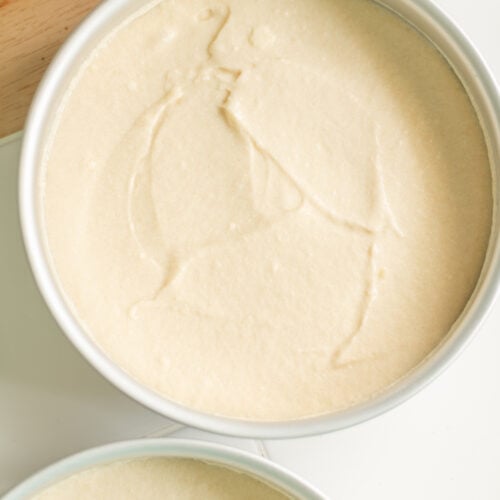
- Pour the batter evenly between the three prepared baking pans. I use a digital kitchen scale for accuracy so the layers will be the same height. Bake for 28-30 minutes or until a toothpick inserted in the center of the cake comes out with only a few moist crumbs.
- Let the cakes cool for 5 minutes. Use a knife or offset spatula to run around the edges of the cake. Use oven mitts or a dish towel to hold the pans (they'll still be hot) and turn the cakes onto a wire cooling rack. Let the cakes cool completely before frosting. You can put the cakes into the freezer for 10-20 minutes to cool them faster.

- If you prefer to level your cakes and remove any caramelized tops or sides, use a serrated knife to trim them. If you're baking ahead for freezing, trim the cakes and wrap tightly in plastic wrap. You can freeze cake layers for up to two months. To use, take out the cake layers and let them thaw for 15-20 minutes. It's much easier to frost colder cakes to avoid crumbs getting into the frosting!
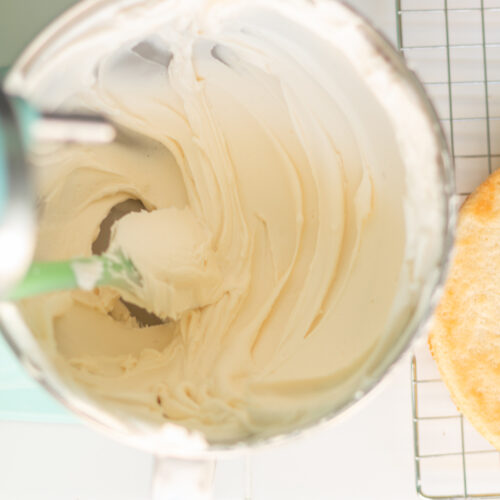
Easy American Buttercream
- Equip the paddle attachment to your stand mixer or use a hand mixer. Beat the room temperature butter on high speed for one minute. Scrape down the sides with a rubber spatula.2 cups unsalted butter, room temperature
- Add one cup of powdered sugar and mix on low. Continue to add powdered sugar one cup at a time to avoid sugar clouds. After all the powdered sugar is all added, scrape down the sides of the bowl.7 ½ cups powdered sugar
- Add the salt, vanilla, and whipping cream and mix everything on medium speed for two minutes. Then, change the speed to low and mix for 5 minutes. After 5 minutes, if the buttercream is too stiff, add 1 tsp of additional whipping cream at a time.½ tsp salt, 1 tbsp vanilla extract, ¼ cup heavy whipping cream (or milk)
Assemble
- My favorite way to easily frost cakes is using a turntable with a cast iron base. You can also frost a cake without one. Stack a cake layer on a grease proof cake round.
- Spread a layer of buttercream in-between each layer. Use an offset spatula to smooth out the buttercream. Add more buttercream to the top and the sides, smoothing it out with a bench scraper. This is the crumb layer. This means it will "catch" all of the crumbs!
- Chill the cake for 10 minutes. Then add more buttercream and smooth it out again with a bench scraper. You can clean up the edges or leave them for a rustic design.
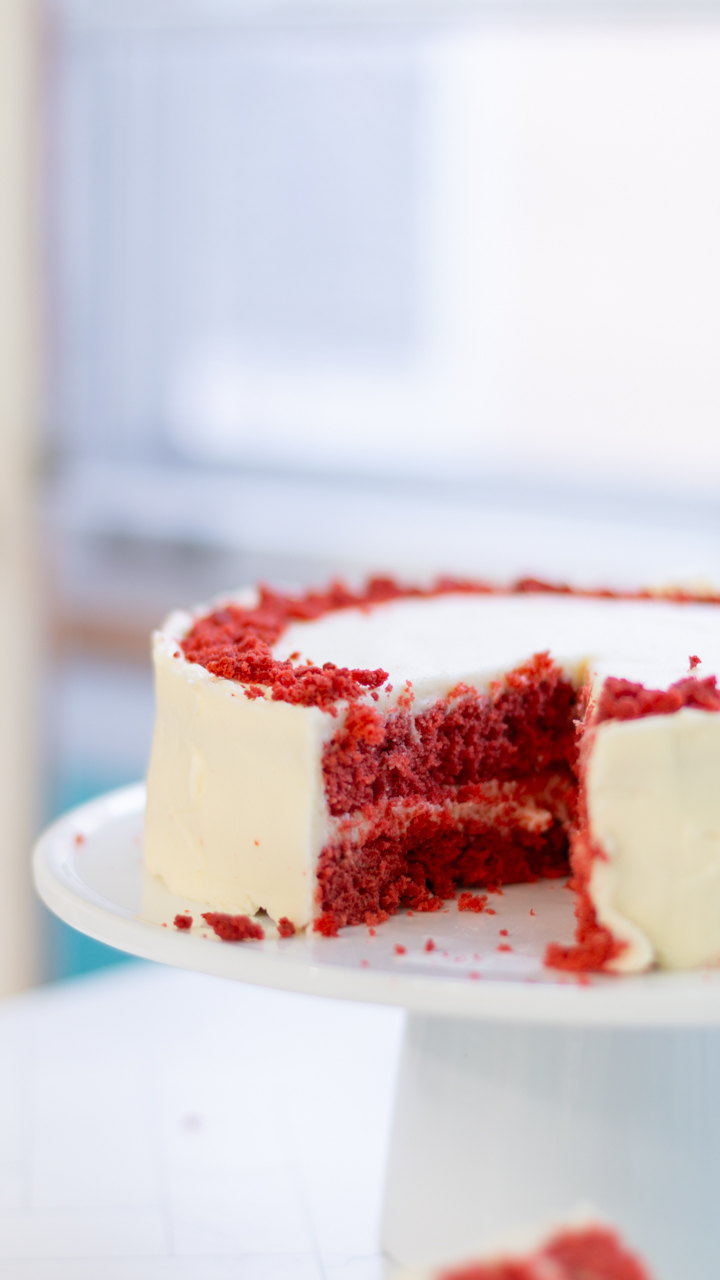
- *Optional* To make a naked cake as pictured in this post, Follow steps 1 and 2 above. Add a thin layer of buttercream to the sides and use the bench scraper to evenly distribute the buttercream.

Notes
Tips for the best vanilla cake
-
- Room Temperature: take the cold ingredients out 30 minutes to an hour ahead of time. Room temperature ingredients mix better and the cakes texture will be better.
- Scale: use a digital kitchen scale to measure your ingredients.
- Bake Ahead: you can make these cake layers ahead of time, which will save you a lot of time! See the section above about making ahead.
- Level: use a serrated knife to level cakes and remove caramelization.
- Frost: take your time to make the buttercream correctly. Smooth and silky buttercream frosts better and won’t have any lumps.


I really like the recipe
Delicious!! my kind of texture
I’ve tried multiple vanilla cake recipes and this one is the best by far!! Perfectly moist and the frosting is amazing. Not too sweet at all. The only thing I did differently was using vanilla paste instead of extract. 10/10 recipe and will be using this as my go-to!
Thank you for trying my recipe Chloe! I’m so glad you liked the cake! 🙂
Thank you! Would this recipe work for cupcakes? If so, what time would you recommend baking them for?
You can use this recipe for cupcakes, bake for 18-20 minutes, and check with a toothpick until it comes out clean! 🙂
Thank you so much!
We tried these in cupcake form, but the middles were caved in and the cupcakes stuck to the cupcake wrappers even with spray. We tried it once with the exact recipe and tried it a second time with butter cut in half and had the same results. Any suggestions?